
Brett had needed to leave, but Mick had arrived in the meantime, and so I was able to have the unusual experience of playing Advanced Squad Leader three times in one day! Admittedly, just the starter kit rules, but nonetheless, it was a good experience. Mick’s now played a couple of games with me, and having seen quite enough of S4 Welcome Back, I moved on to S5 Clearing Coleville. Same map, but different forces and situation. Mick chose to play the Germans, and was gratified to see I had no flame-throwers. His goal? To defend the centre of Coleville. He’d win if, after five turns, he had a squad in a stone building within 3 hexes inclusive of the centre of town (M5).
Mick set-up first, and I set-up second. We didn’t have many units on the board to begin with, and most of them were stacked together in kill-stacks. Or did I mean “to be killed” stacks?
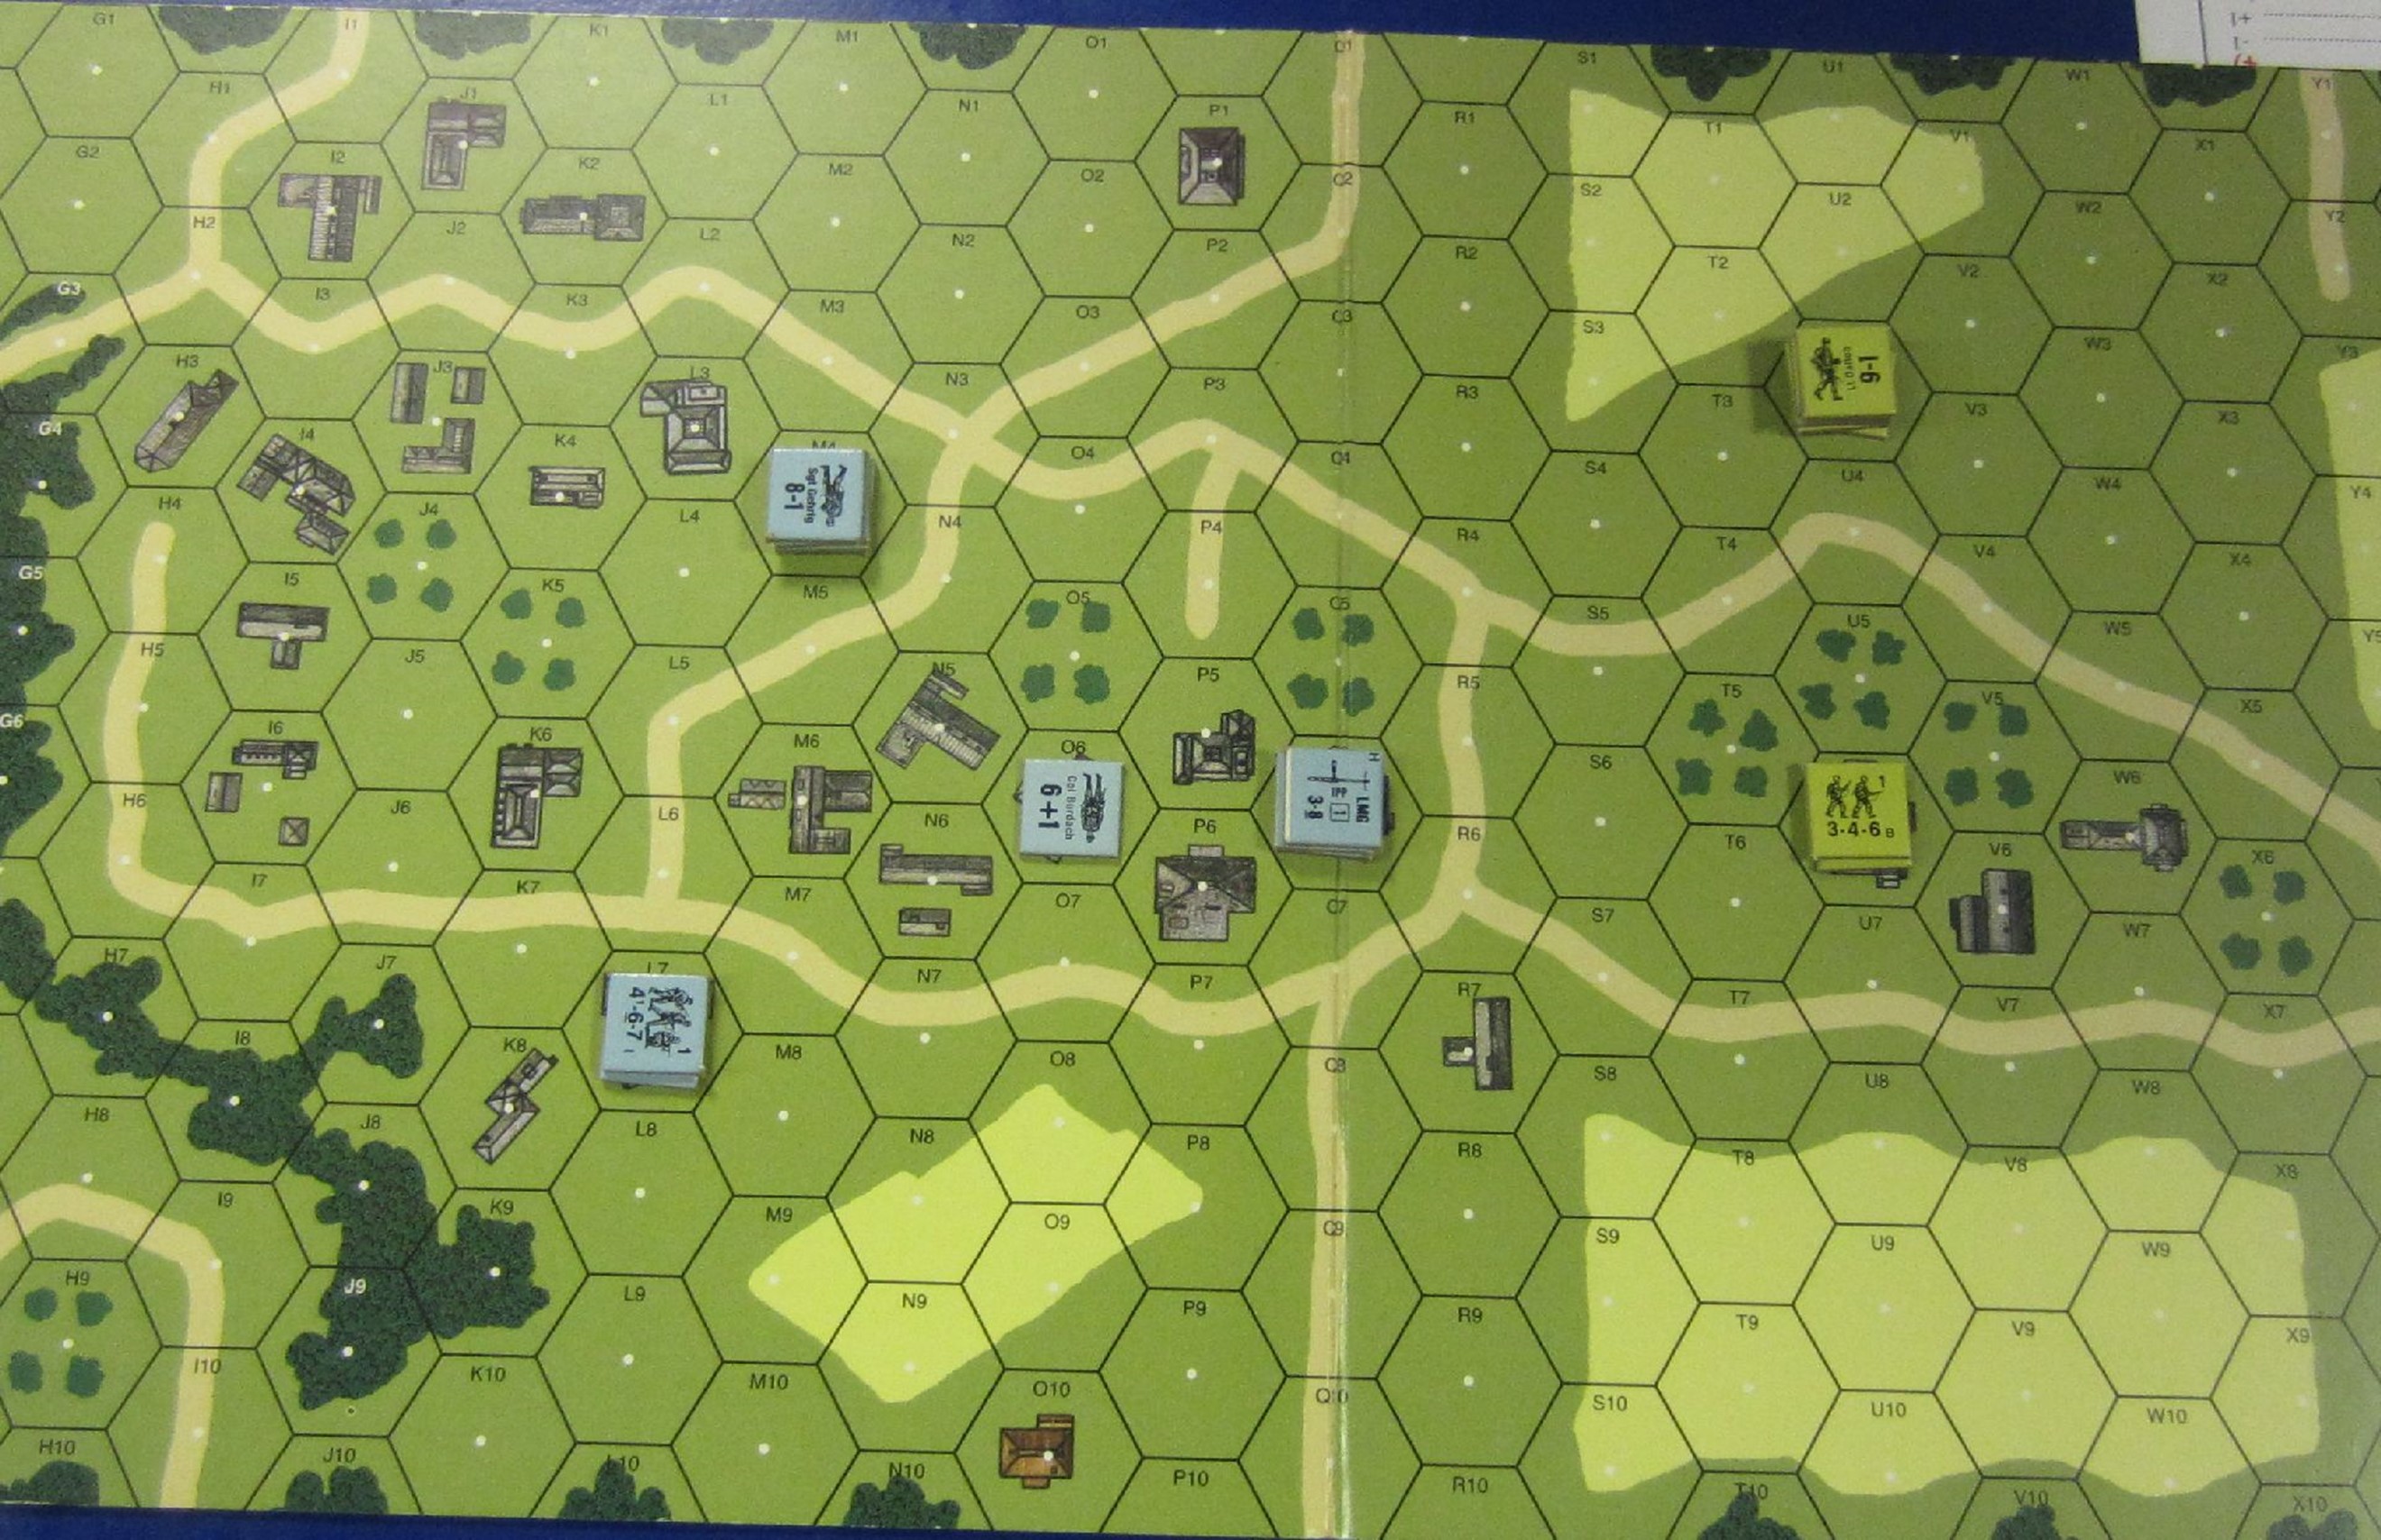
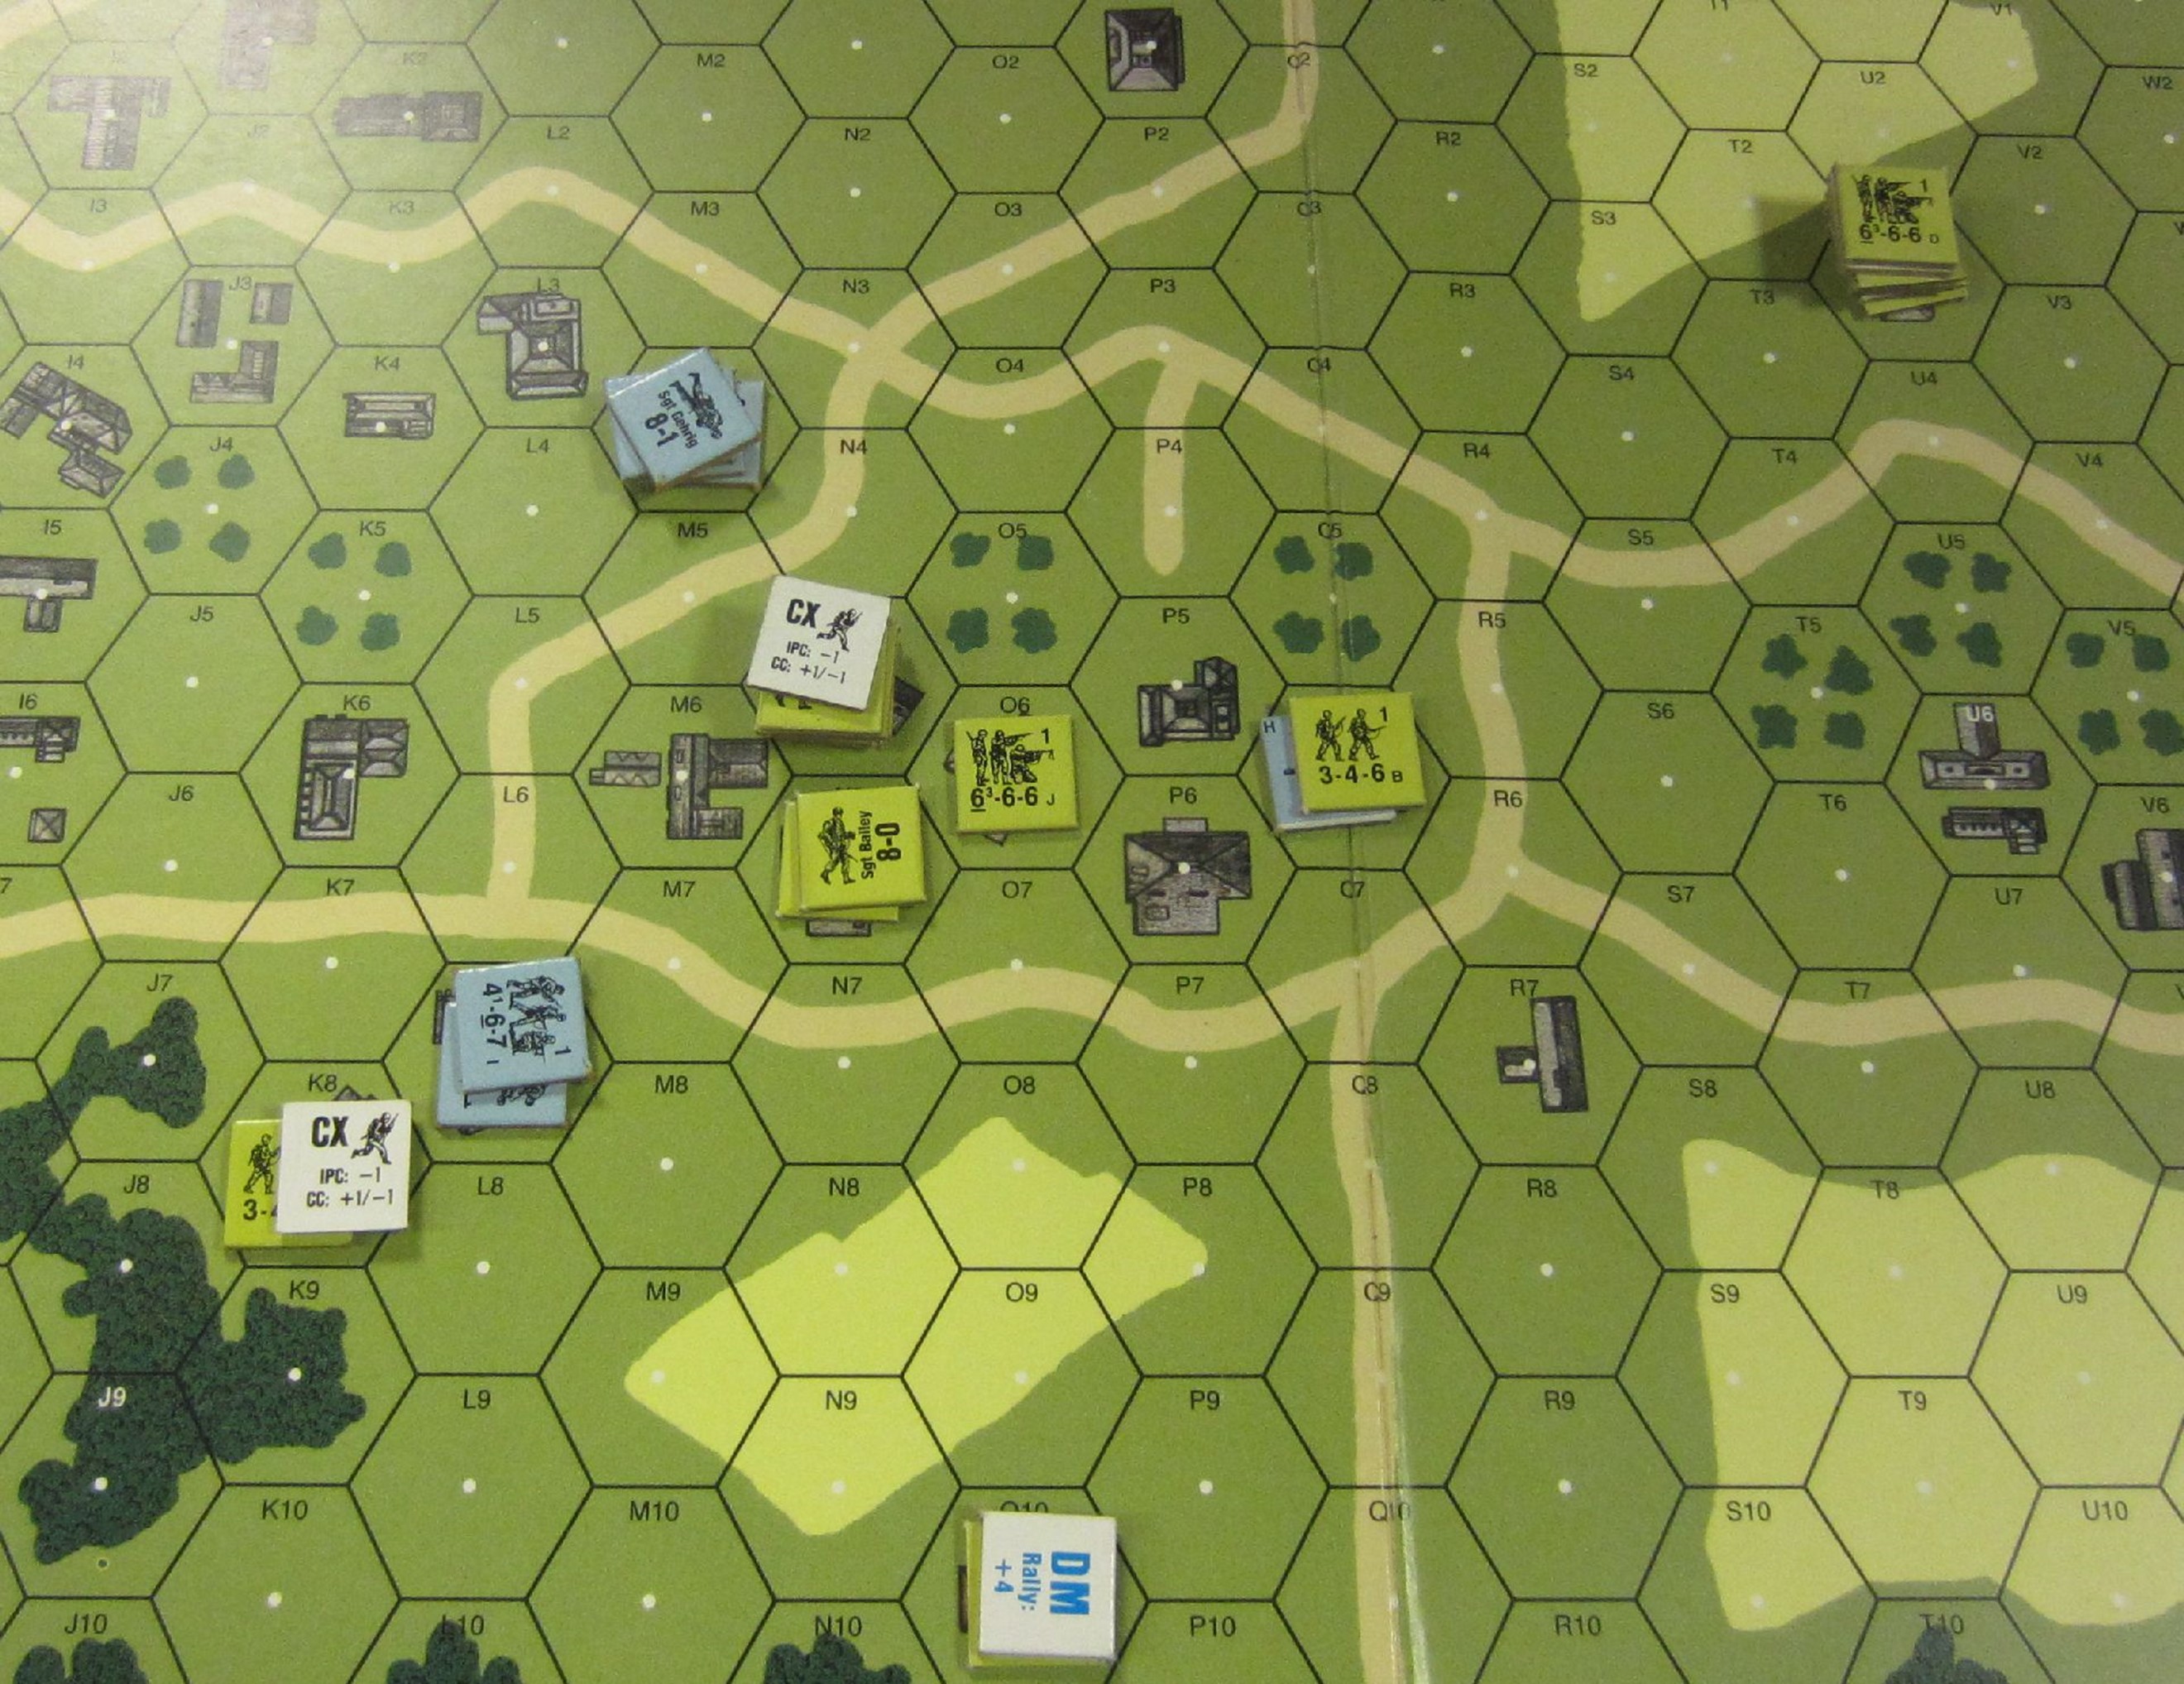
I would be entering units from the bottom of the board in the first two turns, thus Mick’s units in L7 to the south were protecting him against that. U3 (top right) contained my main forces, including a medium machine gun. And Mick discovered very quickly why it is a bad idea, when playing second, to set up your forces in stacks: a good roll breaks them. And I was rolling well today. The fire from my own kill-stack in U3 was enough to break his defenders in Q6, and my half-squads in U6 moved up to eliminate the broken defenders. Meanwhile, I rolled well for my reinforcements, gaining 4 half-squads along with the three squads entering this turn, and I took full advantage of the half-squads, moving them up and adjacent to Mick’s L7 troops.
Mick was able to resist the lure of one half-squad moving adjacent, but the second was too much: he opened fire with one, then the other of his squads in that hex. My half-squads broke or were eliminated, but they’d done their duty: Mick had no more defensive fire, and I was able to bring up my squads without fear of retaliation. Mick’s 6+1 leader discovered himself in melee and was eliminated, and soon I held the centre of the town. At least Mick managed to break a few units in my kill-stack in U3 with fire from his remaining troops!
Mick, probably unwisely, moved his troops from L7 into a close combat with my exhausted half-squad in the adjacent building, and eliminated it. Mick’s remaining troops came under heavy fire: that CX counter conceals a 9-2 leader and some angry Americans! His squads broke, and routed away as his pinned leader watched them go in despair.
Once again, I moved my squads up to surround his broken units, and they were eliminated – the leader killed in close combat. More reinforcements (not that I really needed them) arrived from the bottom of the map and surrounded Mick’s remaining troops – at least he’d get reinforcements when his next turn began!
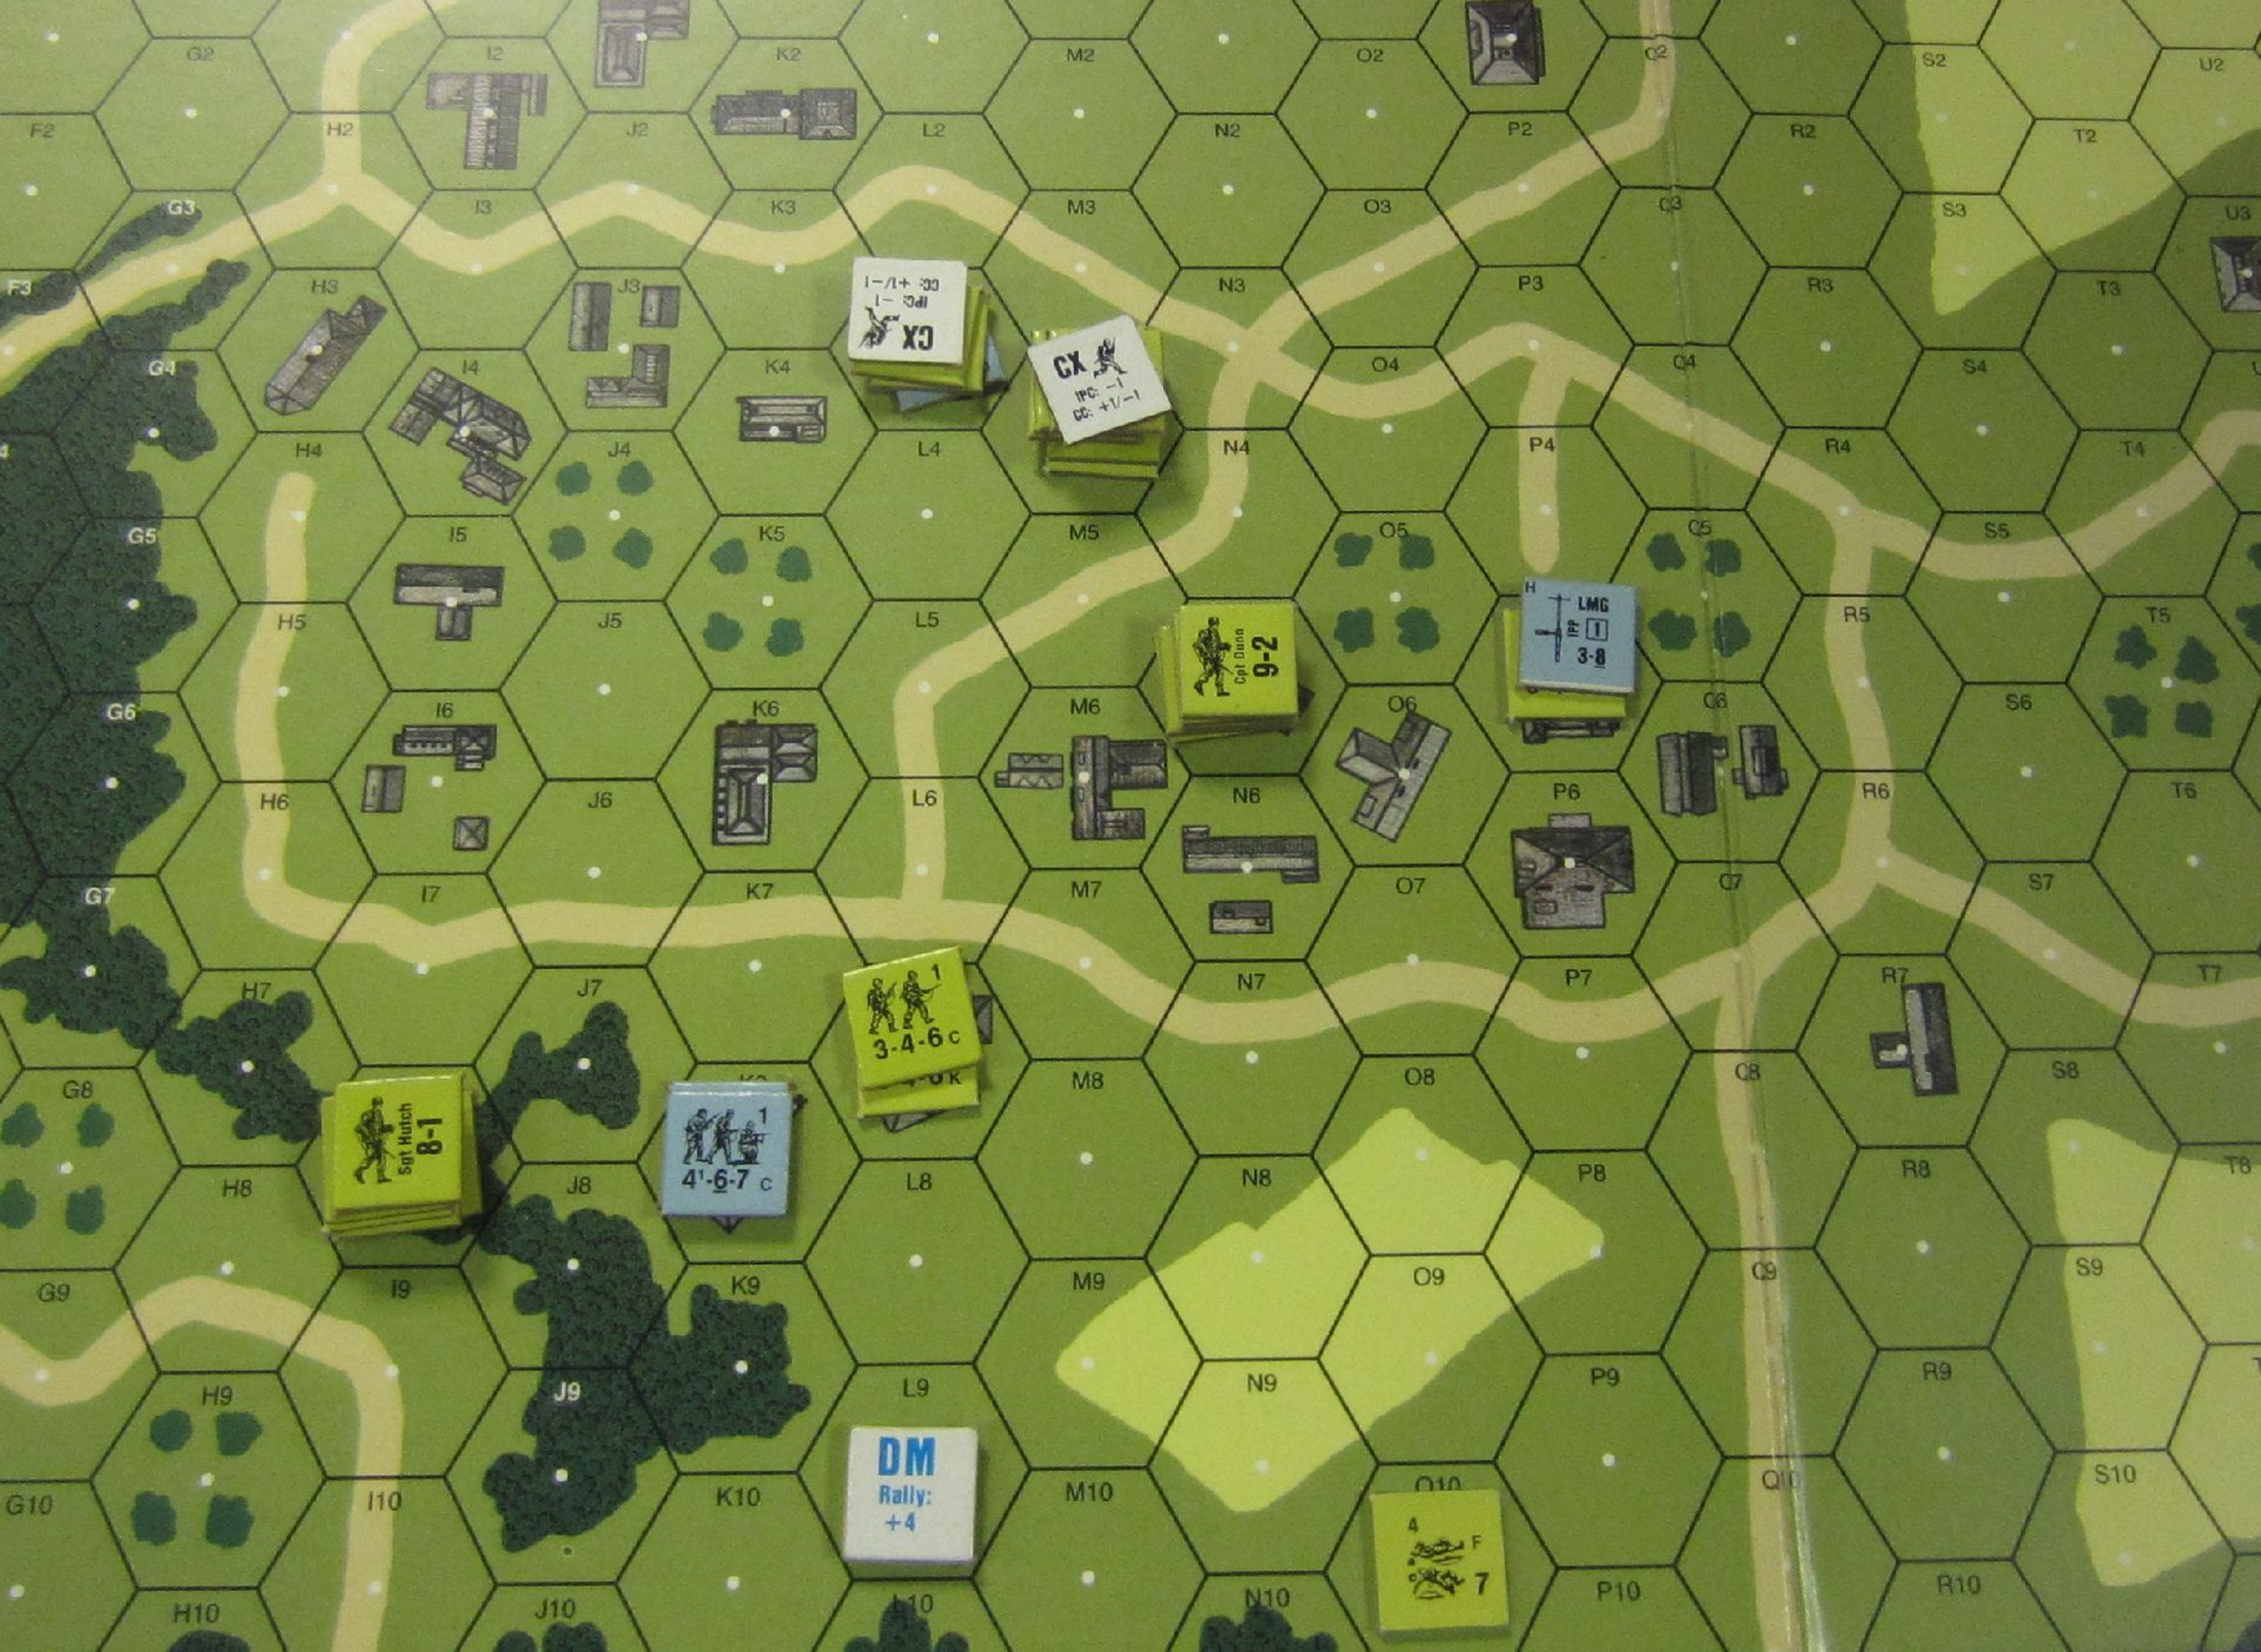
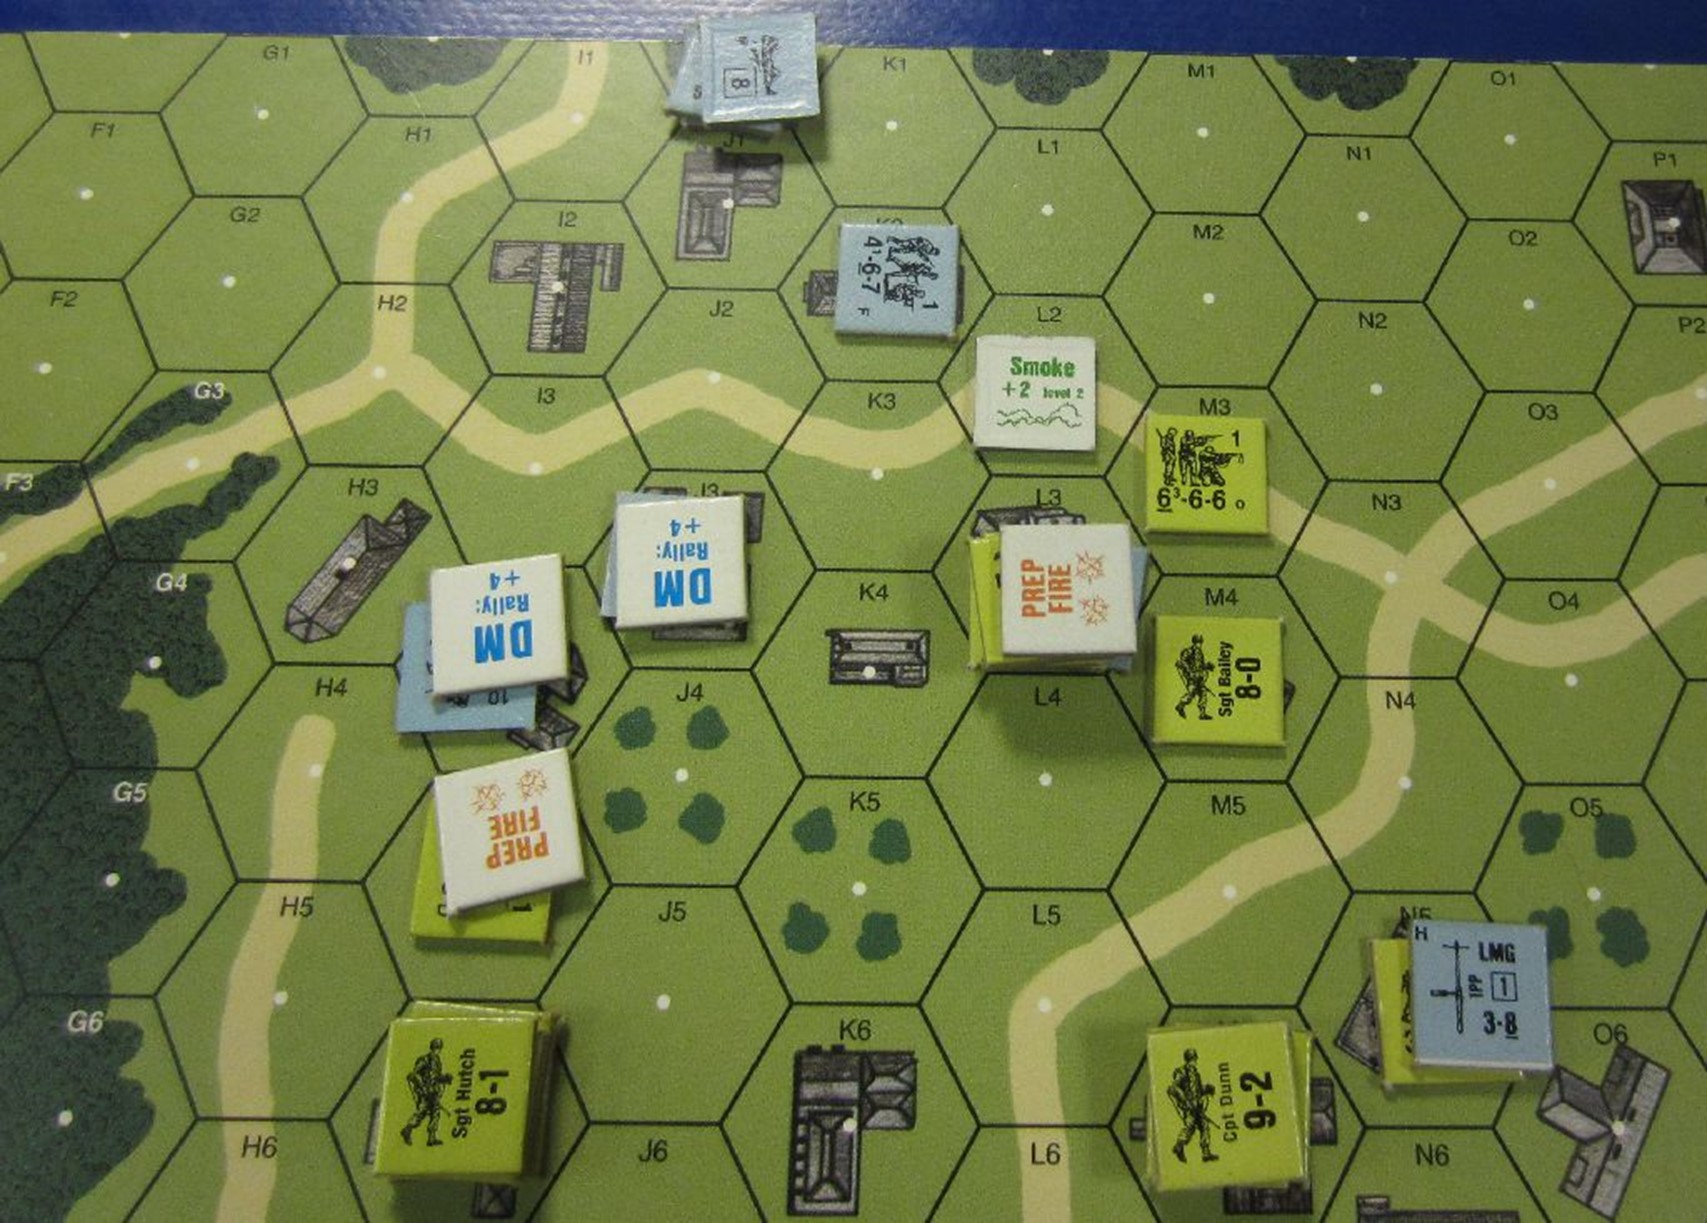
Mick’s reinforcements moved in circumspectly, and in the south he moved into melee as fire from my forces in the woods made his position there untenable. Mick took up position in the buildings to the top-left of the town centre, as my exhausted troops looked for good firing lanes to use. Again, I used half-squads to lead the way and draw defensive fire, as more of my units came up to engage Mick’s forces at close-hand.
As far as these things go, I think Mick had the right idea about how to manoeuvre his troops, but their fire-power was so much less than my own! He’d get his troops into position, but they really couldn’t hold those positions and, more importantly, couldn’t damage my positions.
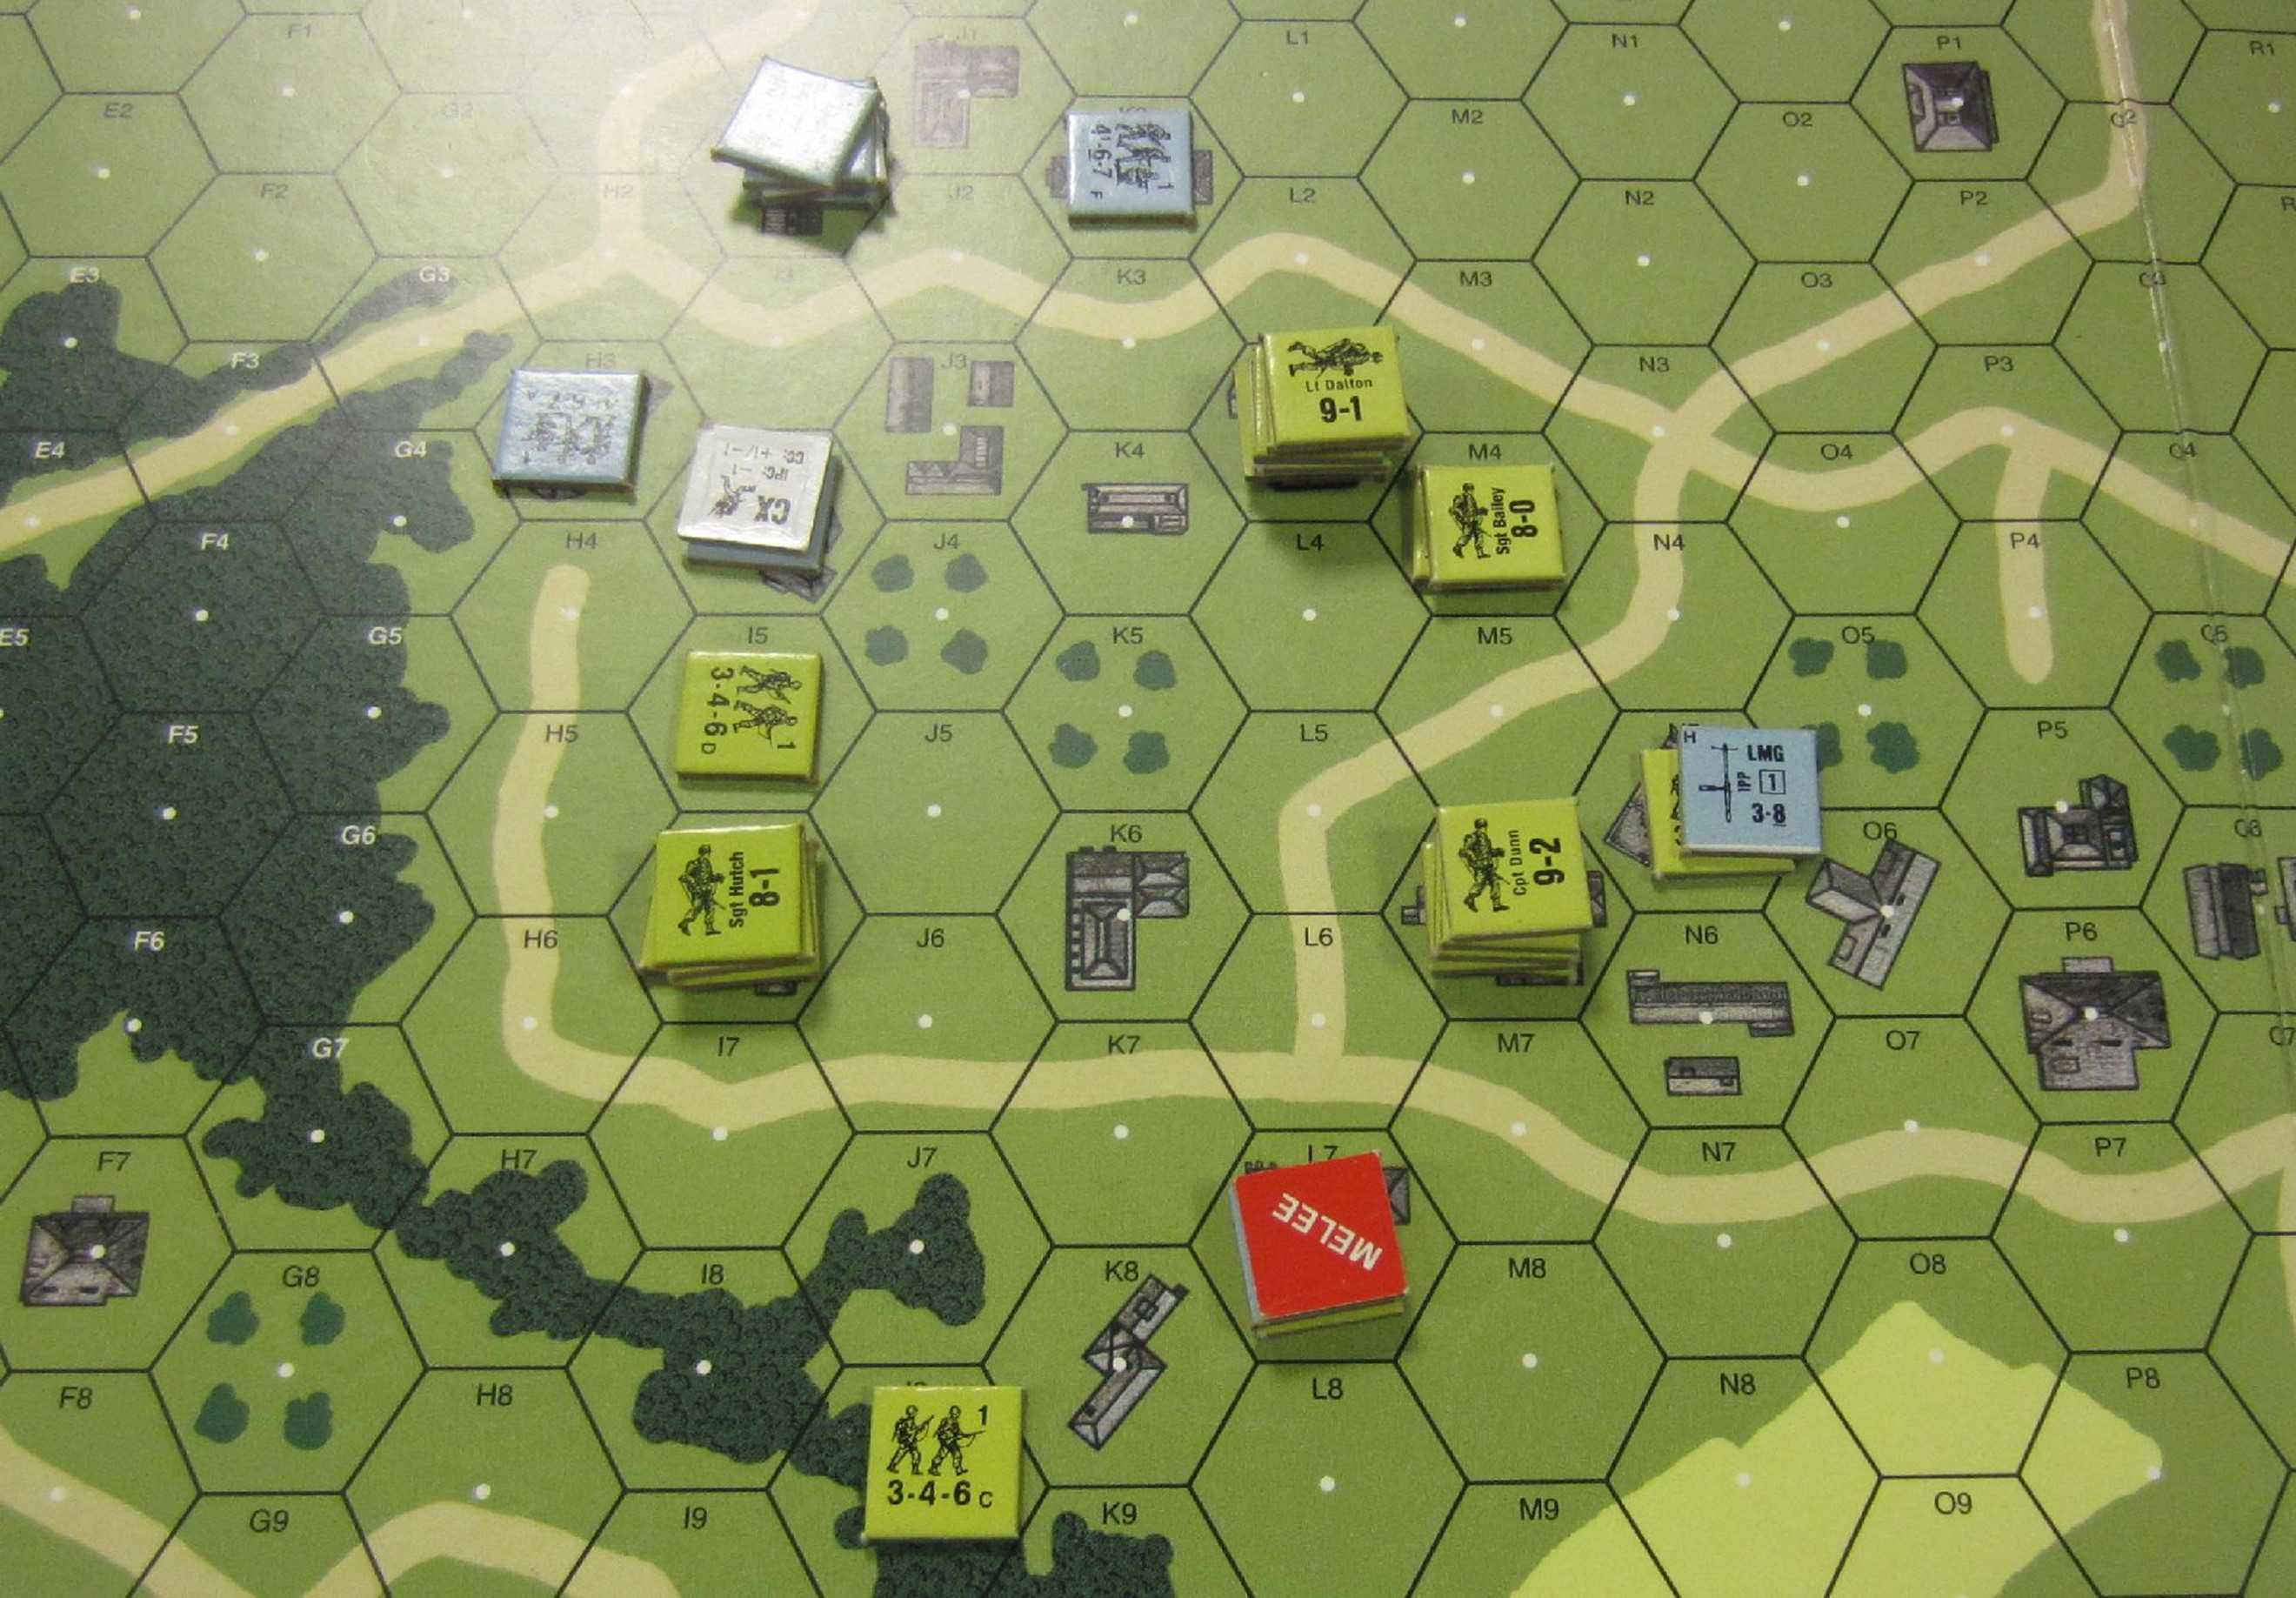
I sent in reinforcements into the melee down the bottom of the map, and the units there basically eliminated each other. I actually managed to use smoke to cover my advance around Mick’s positions, and rolled well in my firing into his defensive positions.
I now really held the upper hand: far more troops than Mick had available, and the ability to move them to positions where his forces, once they broke (which against the American firepower was inevitable) would be surrounded and eliminated. This did not take long to put into practice. Double-timing my troops up from their southern positions allowed me to get everyone into the best possible positions, and – eventually – into this position:
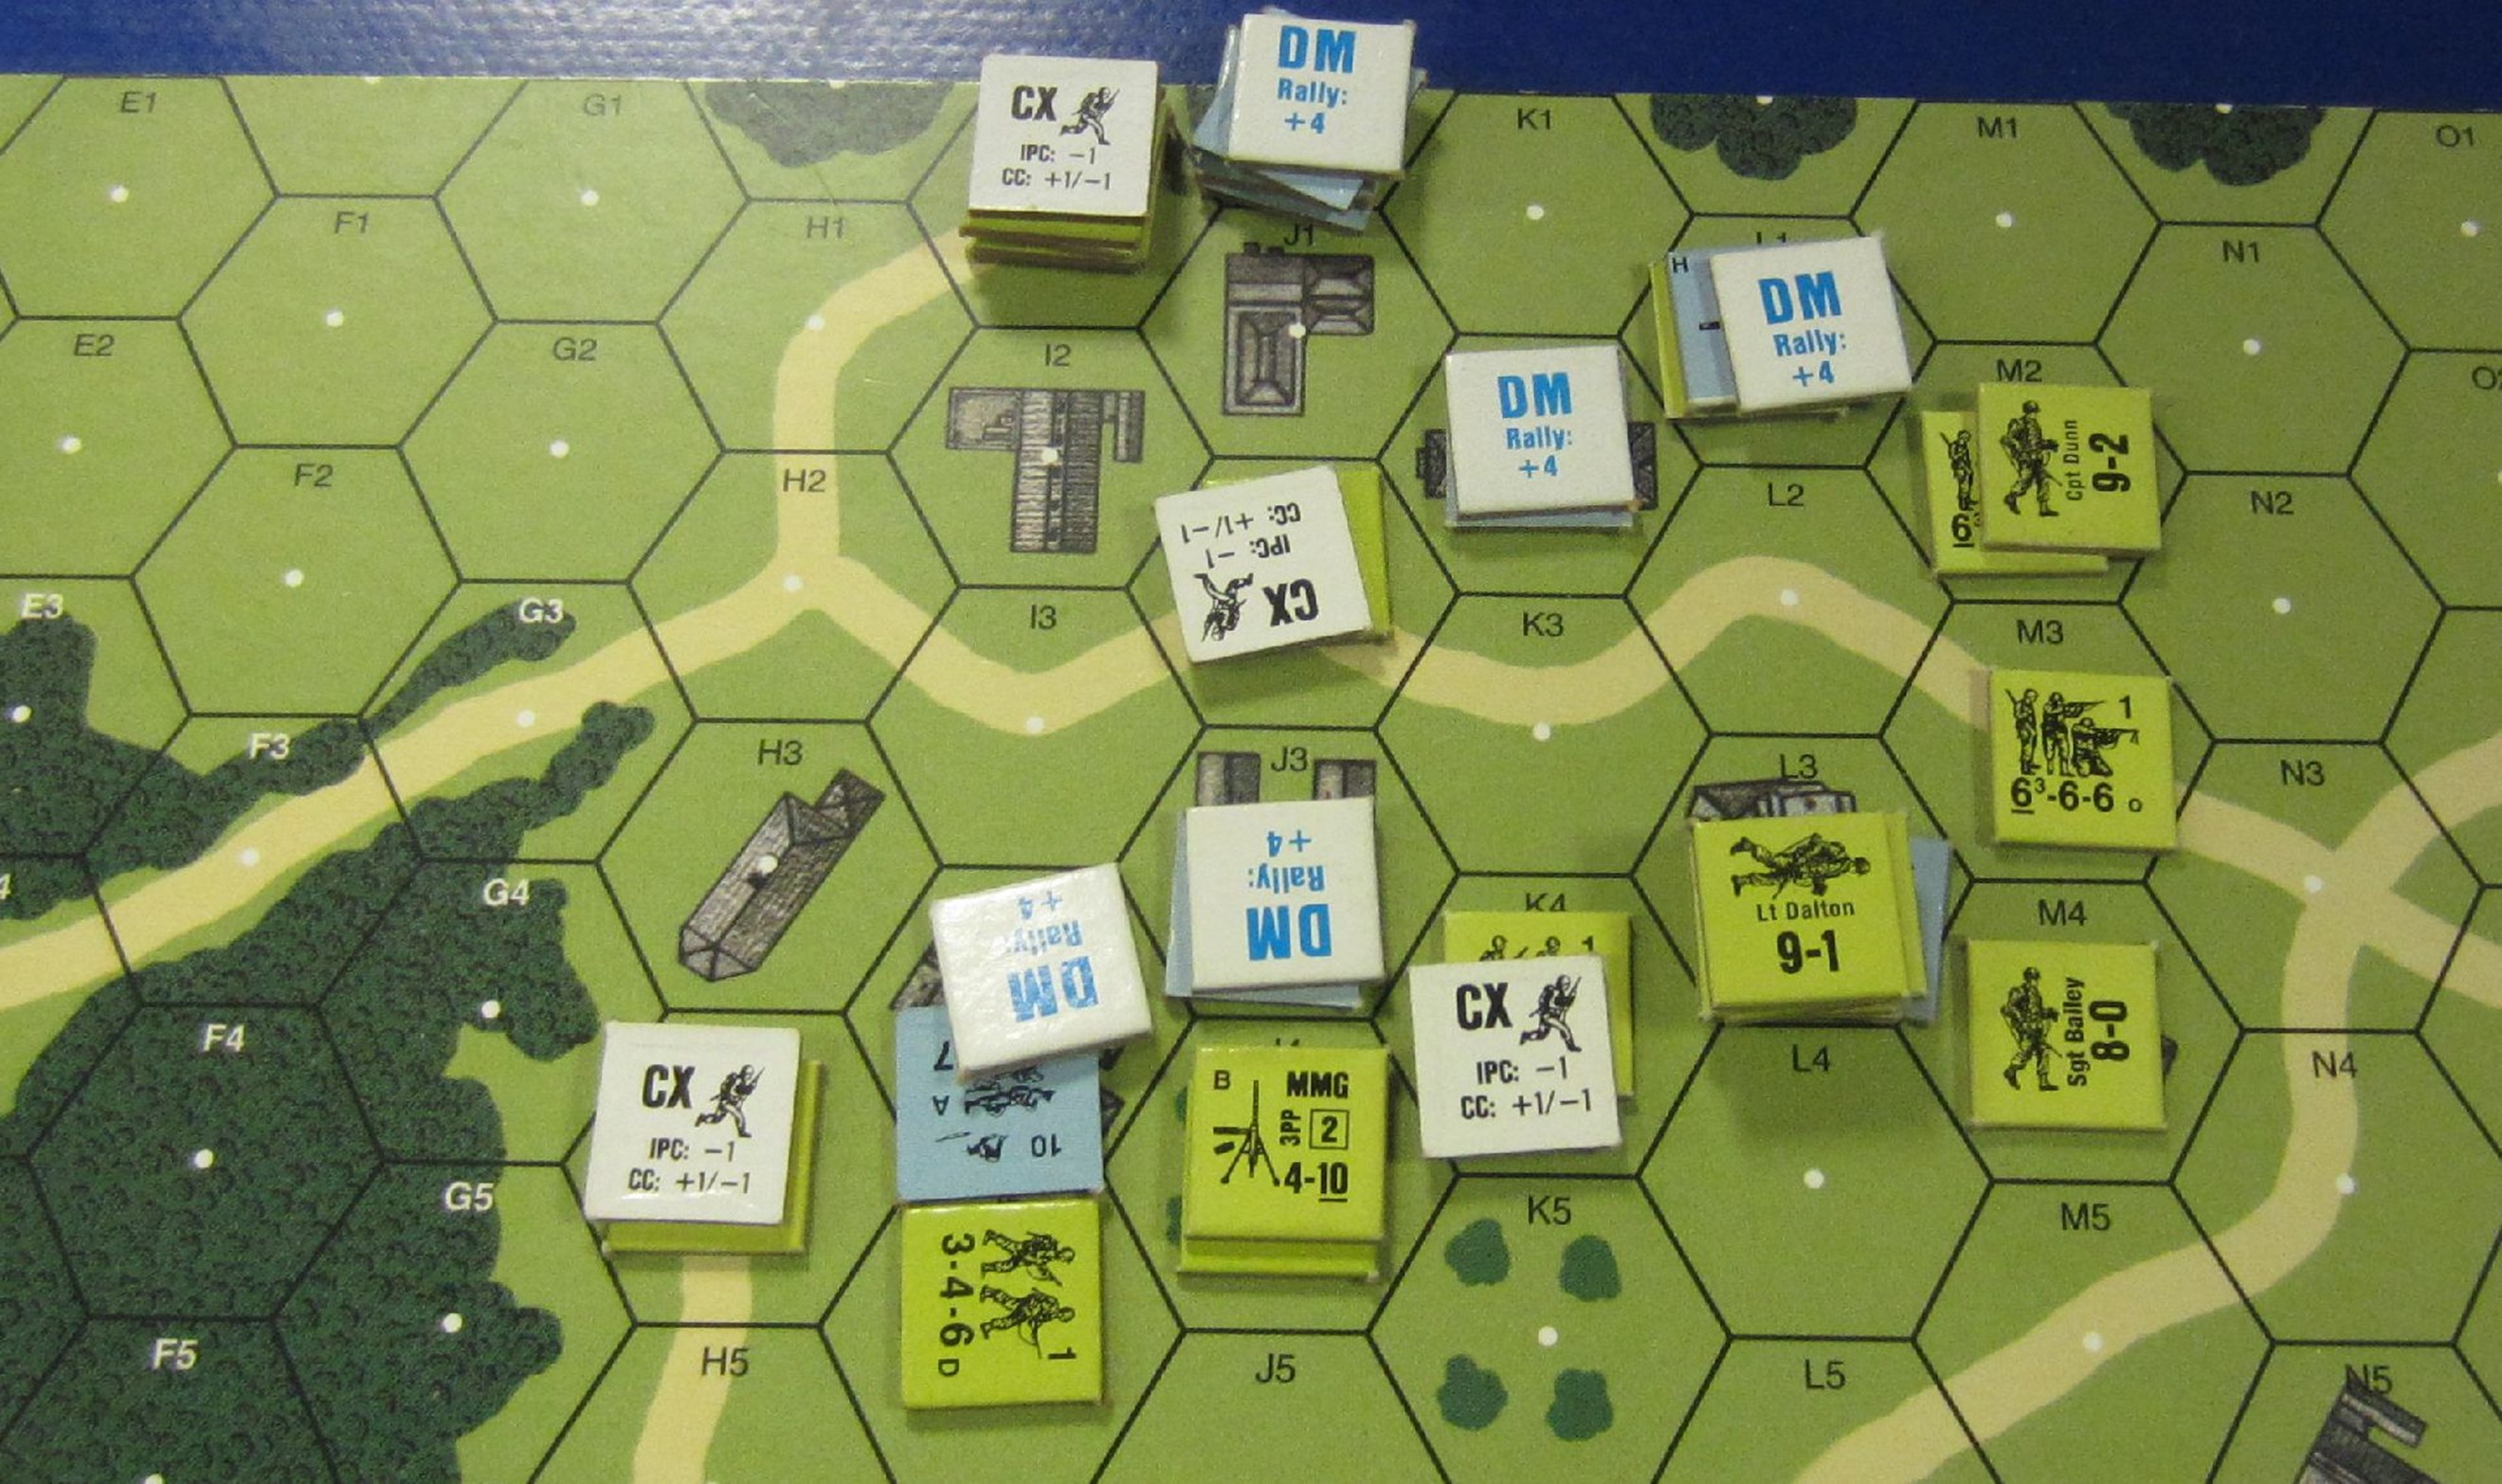
Mick’s units had nowhere to go. Well, almost nowhere: he was able to rout some units into K1, but they remained under Desperation Morale, and – unable to rally – they were just surrounded and eliminated on the next turn.
It had been a dominant performance from the Americans. Mick’s initial fragility in the defence had been fully exploited, and he’d never recovered from it. Another turn of holding out – if possible – would have significantly delayed the American advance and allowed his reinforcements to make the job a lot harder, but my kill-stack had performed its job and after the initial barrage of attacks, the defenders had nowhere to go. I’m very pleased with my use of half-squads; Mick would have been wiser to delay his fire until he could hit my full squads, but I may have just kept them out of sight otherwise – so hard to defend well against a lot of defenders.
Three ASL games in one day, and I wouldn’t be surprised if I can get in another game or two tomorrow. Or do I mean today, seeing how late it is as I’m writing this. (About 5 am; the weather here has been extremely hot and I’ve been having a lot of trouble sleeping). I also played some Netrunner and A Game of Thrones LCGs, so it ended up being a busy day.