
Much to my delight, I’ve been able to play two games of Advanced Squad Leader (Starter Kit version) in two days; Mick was more than happy to play the game again, and it looks like our sequence of games will be continuing, whenever both of us are free and it’s just the two of us. (So, not daily!)
We moved onto the third scenario of Starter Kit #1 today. I let Mick choose which side he wanted to play; after considering it, he chose the Americans. The Yanks in ASL have a very interesting design about them. Units in ASL have a morale score (normally from 5-8) which must be rolled equal to or under on two dice when they come under effective fire (there may be modifiers). Most units in ASL have the same morale on their good order and broken sides; the Americans first line troops break very easily (ML 6), but rally more easily (ML 8). So, you might be able to make them run away, but they’ll keep coming back! Mick rather appreciated this design, although the real reason he took the Americans was because they had a flamethrower – having met my flamethrower in our previous game, he rather wanted to not be on the opposite side of it this game!
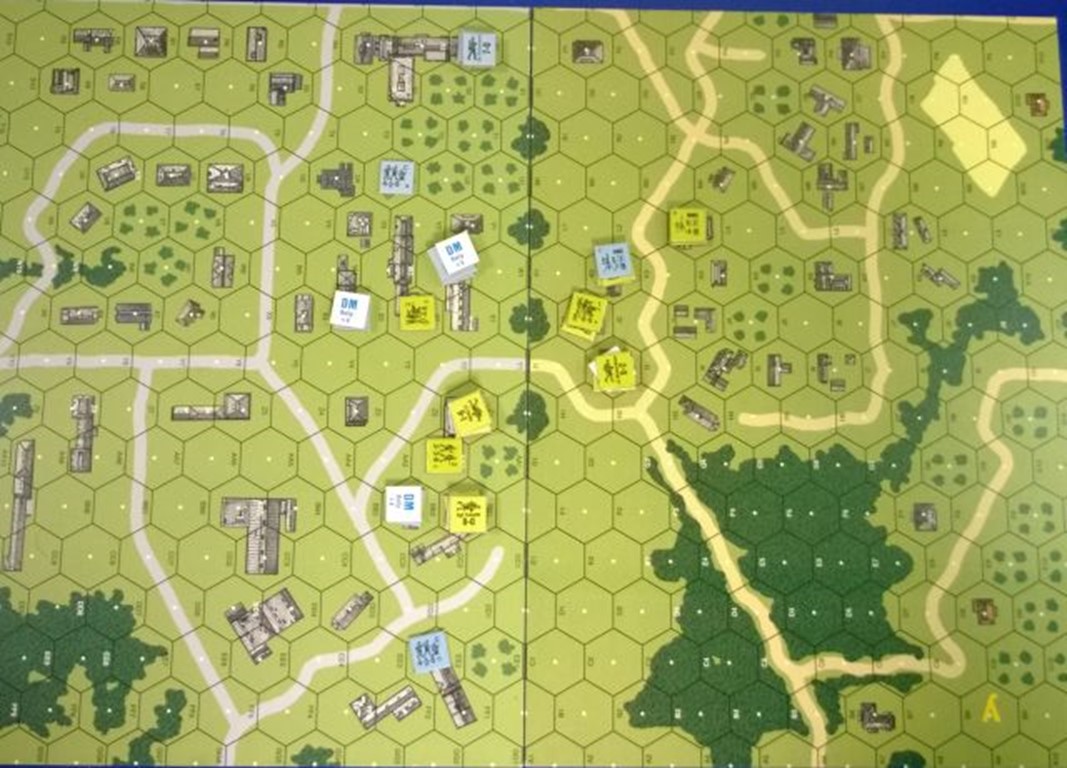
Our set-up was as follows:
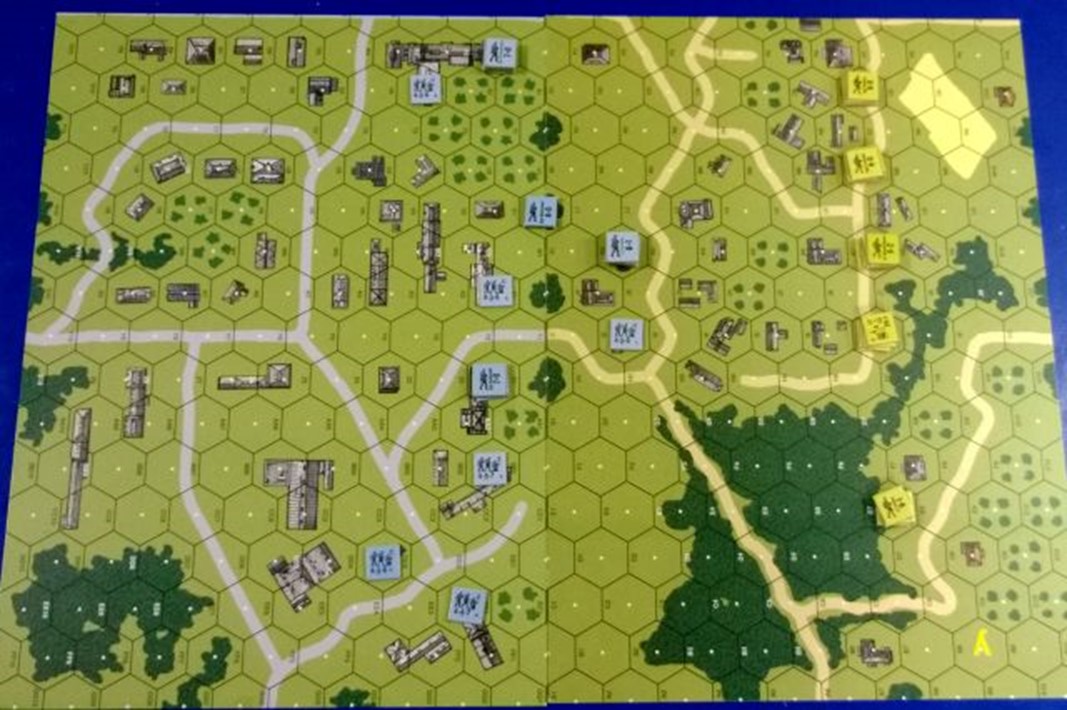
I had a collection of relatively ineffective German second-line and conscript troops, but I had the advantage of being on the defence – and Mick had a lot of open ground to traverse before he could reach me. I put a machine-gun post (HMG, LMG and leader) in a fortified building in the centre (yK2) and let Mick come to me. Mick was not keen to cross the fields on either side, and did as I expected, although his flamethrower unit didn’t move into position in the first turn, instead dallying about in the woods – something of a mistake, as it proved.
Mick spent a lot of this game with big stacks of units, which allowed me some particularly effective fire opportunities; when the Americans break as easily as they do, it gets very, very dangerous to put three squads in one hex. Of course, it’s dangerous when they get to fire (and it’s not a bad strategy), but I was able to break three units as they tried to enter the first line of buildings which I wouldn’t have been able to do if they’d been moving singly. It was something of a surprise shot – through the orchards from the building up the top of the map – but I was very pleased to make it
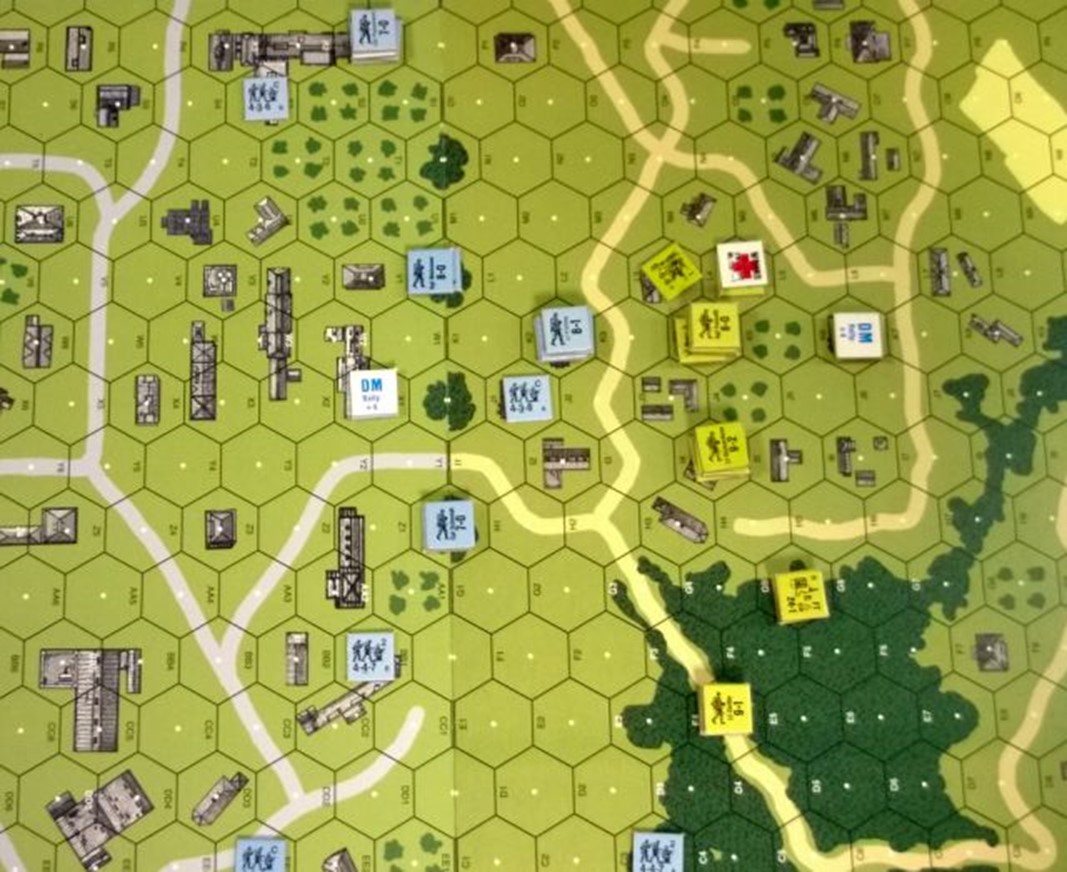
Noticing Mick’s forces making their way through the forest towards my lines (and a stack of three first-line units made my conscripts in the nearby building reconsider their positions; however, I was rather pleased with the second-line troops I ran into the forest. I was hoping that if Mick ignored them, they’d be able to sneak behind his lines and play merry havoc with his broken troops. Mick wasn’t willing to allow me to do that, though, and moved two of his troops into the same hex where a melee started. That melee would last for the next three turns!
I was greatly tempted to break up my machine-gun post (fortified though it was) when Mick reached a total of over 30 firepower threatening it, but I decided to stay one more turn; the Prep Fire phase was great for me, and I broke and routed one of his big stacks of units. Hooray! My machine-gun post could remain for another turn.
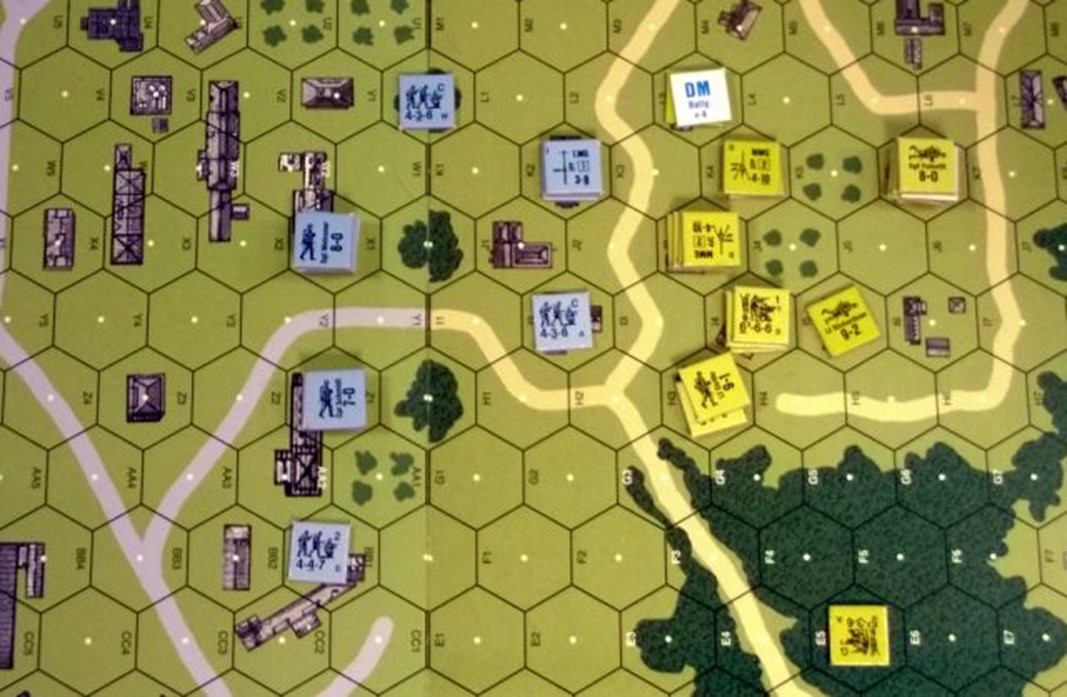
The melee ended with my second line squad taking out a first-line squad of Americans, but they didn’t survive the process. And, with the superior rallying power that Mick had, he was able to send enough troops back into the fray to break my troops in the machine-gun post. I moved some conscripts into there to take over the HMG, but I was now moving my troops back to form a second line of defence.
Despite my troops now beginning to break and fall back, I was pretty sure I’d won the game. Mick needed to capture 25 building hexes on the left-hand map sheet, and he hadn’t even reached that board on the sixth turn of eight! Worrying more about killing my units than actually capturing the terrain has been the downfall of many an inexperienced player (including myself), and it was definitely a problem for Mick this game.
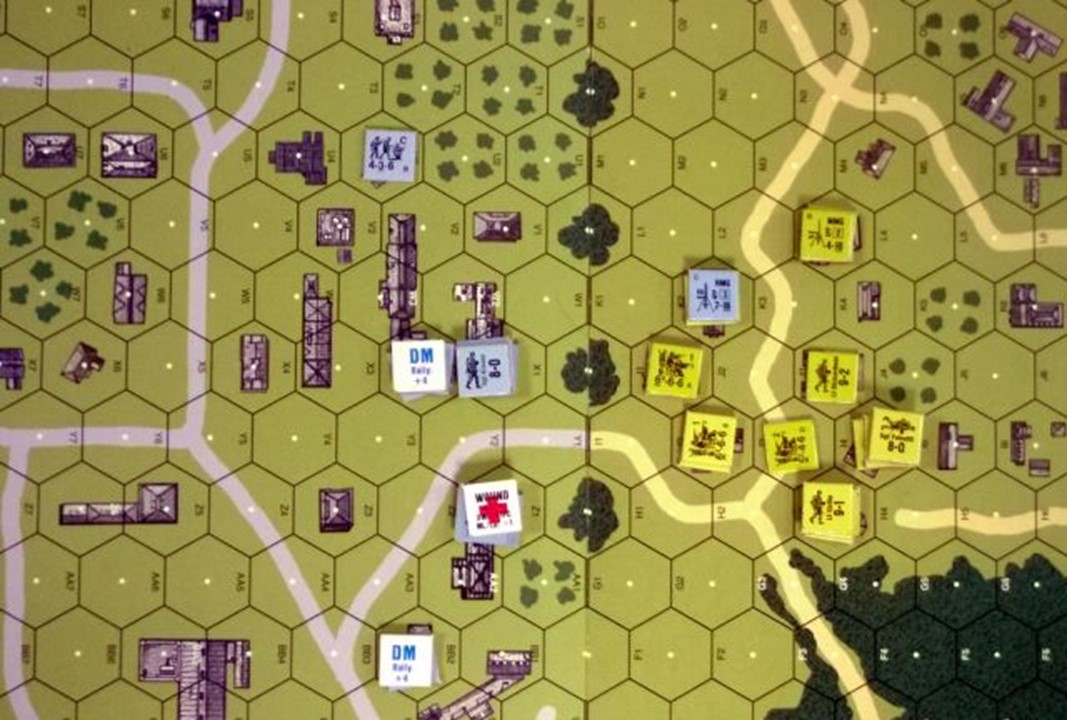
It was hilarious looking at the map as we ended Mick’s seventh turn: I had three unbroken units, and Mick had… err… a LOT more. I had wounded leaders, broken troops and generally dispirited fighting men. Mick had captured my HMG and far outnumbered me. I had only two things to smile about: the first was that Mick’s flamethrower had been eliminated (broken down or run out of fuel) on its first shot. (Poor, Mick). The second was that I had delayed his troops enough that now victory was impossible for him.
The last few turns played pretty quickly for me; the bulk of the time being taken up by my rallying attempts and Mick’s “defensive” fire. Mick raced his troops down in the final turn, but could only capture five of the twenty-five hexes he needed. Too slow, too late!
Simple Equation is a very challenging scenario for new players when they’re playing the Americans. (It can be challenging for the Germans, but that wasn’t the case in this game). My feelings are that the best strategy for the Americans is to have a few kill stacks whilst moving up with a lot of units to overwhelm my few (and second-rate) defenders, but I’m hardly a tactical genius – with this game or others.
Mick didn’t try using smoke at all, instead relying on his Prep Fire to break my units and allow him to move unopposed. That just took too long, and I was able to disrupt his forces just enough to avoid a few really dangerous attacks. This is a game you need to be quite conscious of the time left!
The game took us about 2 hours to play, which I found quite acceptable. Tomorrow will bring multi-player boardgames and more D&D, but I’ll see if I can get a game with Mick sometime next week.