
In September, 1356, the armies of France and England once more faced off on French soil. Led by Edward, Prince of Wales (the Black Prince of later writers), the English army were delayed by a river when the French caught up to them. What to do? Edward found a good place to defend – a hill with thorny hedges and on which he dug ditches to protect his right flank.
The French army weren’t about to charge in, save for the German mercenaries who did… rather reluctantly, the first wave of French men-at-arms, dismounted this time after the disaster at Creçy…
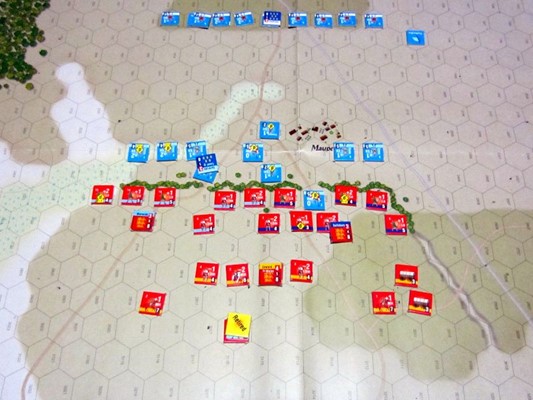
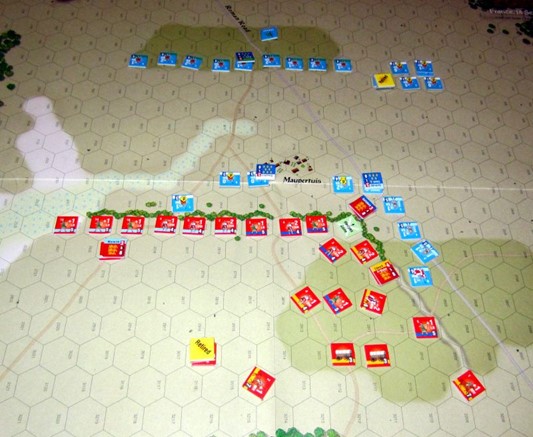
The initial attack worked poorly for the French, with Saarbruken leading his troops into a volley of arrows from the English longbows – the French crossbows were having trouble shooting over the hedge, although they did disrupt a couple of units.
Their main success saw one dismounted unit get onto the other side of the hedge through the road hexside, causing its opponents to retreat before it, but it just meant that the English bowmen concentrated their attention on him.
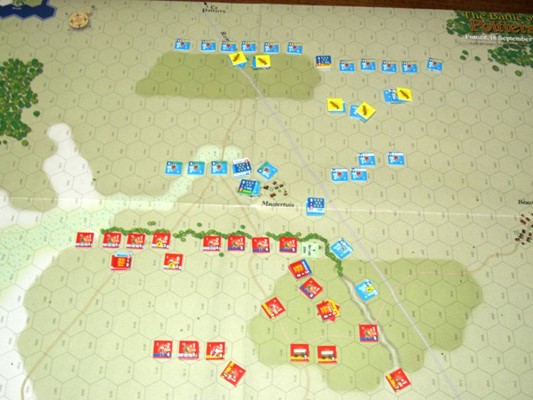
The French tried to regroup their lines, but doing so within the range of the longbows proved impossible, and most of Saarbruken’s units fell back to their standard some way behind the main battlelines. The second wave of French troops began to make their way up, reaching the crest of a nearby hill before starting their way towards the English right flank.
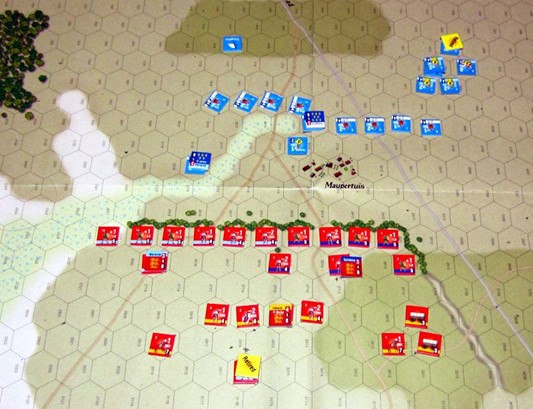
The respite allowed the English lines to reform. At this stage, several of the French troops had been eliminated, but the English had taken no significant casualties. The French were too impatient, however, and launched an attack against the English right near the hedge rather than trying to move further around to the ditch (or beyond it). Edward began to consider commit his reserves as the French took heavy casualties as the fighting over the hedge continued ferociously.
(French flight points: 15 of 45, English: 1 of 30).
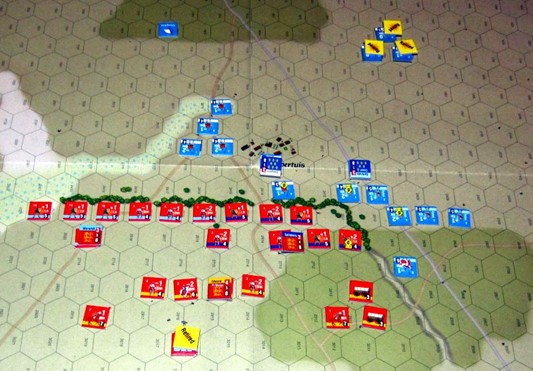
In the distance the third line of the French began to appear. The hedge was finally trampled down in the right corner, but any French troops that crossed it entered into a hail of English arrows. French crossbows attempted to take off the archers, but suffered more damage in return and the English leaders rallied any English troops that began to waver. The hedge defences did look weak, however – could they hold?
It seemed that they could. The English forced back the French lines, although they became just a little extended in the process…
However, the French weren’t able to eliminated the English leader – his unit retreated as it was attacked, and the English line was reformed.
Finally, a breakthrough: the French were on the other side of the hedges and the English were retreating – surely this was the break they were looking for? In the distance, Jean’s forces finally arrived on the battlefield.

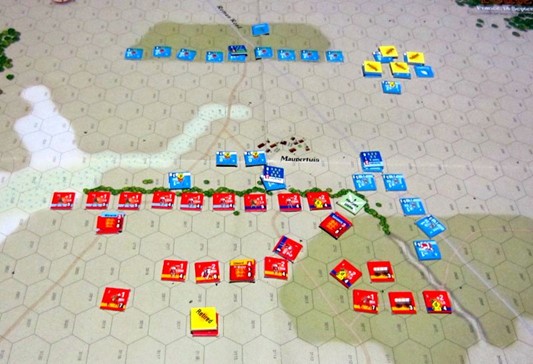
However, it was too late. The English forces, slew Saarbruken and threw his men back. The archers and men-at-arms combined were far too strong for the French knights – if they penetrated the fire, they still had swords to worry about, and the defences were such that even crossing the thorny hedges proved almost impossible. Only a few English units had even retired to their standard, and those had been rallied. In the end, only one English unit was eliminated, and the score was 3 English flight points to 40 French flight points, and the roll of 7 on the die as the French regained the initiative was enough for them to flee the battlefield in shame.
This was a particularly difficult scenario for the French, as are many in Men of Iron, and a good reason why the game works best solo; its rules also aid solo play greatly as there is no hidden information and the way activation works allow easy decisions as to when try seizing command from the other side.
I noticed during the game that I was placing the wrong units near one of the standards and quietly moved the correct standard to the same area. (It didn’t make that much of a difference). The French really need to attack from a couple of directions at once – threatening near the hedge, but making the best attack from the rear. The trouble is just how much damage the English longbowmen can cause.
I’m delighted to finally finish this scenario; it’s been sitting on my table for about three months, but I haven’t had much time for solo play at home of late. The battle took about 90 minutes to play through, though there were moments there, as the French took a long time to lose more casualties, that I thought it would take far longer!