
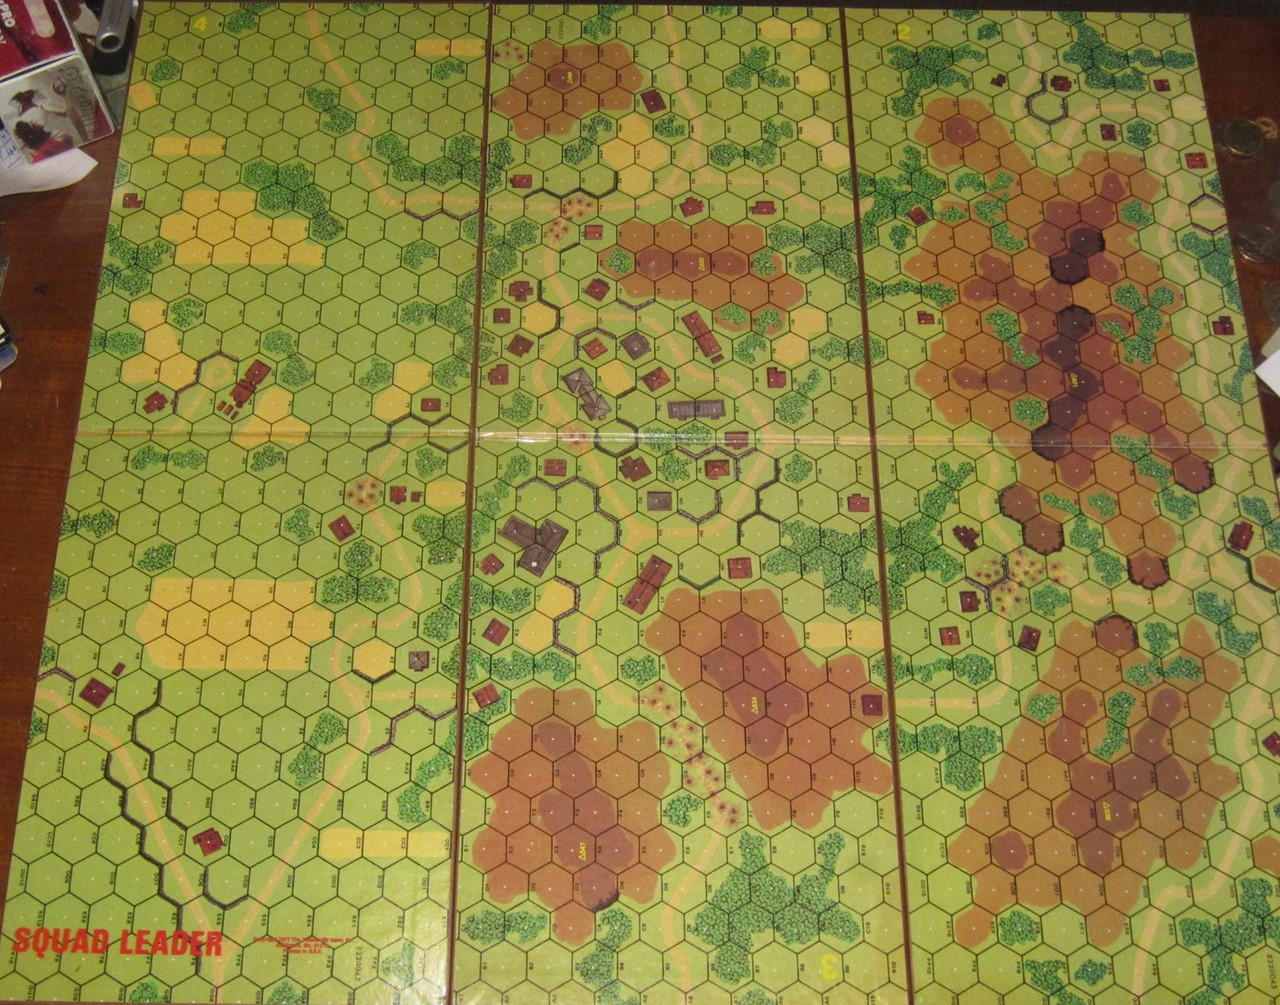
It’s a relief to get away from the first three scenarios, which are really different variations on one, to the wilds of Russia. Hills! Trees! More complicated line-of-sight rules I’ll get wrong! Off-board Ordnance! And no tanks!
(This is the last Squad Leader scenario without tanks for a bit. I’ll just enjoy the infantry-only battle for a bit).
However, Piepsk has one particular special rule that was going to cause me a lot of problems as a solitaire player: Hidden Initial Placement. Yes, when you play this scenario with a friend, the initial set-up looks like this:
Yes, that’s right: no counters begin on the board at all! Instead, the German player needs to write down the locations of his or her eight squads, the leaders, and their support weapons, and only bring them onto the map when they act or the Russians find them (either by moving adjacent or by just happening to fire into the right hex and force a morale check). Obviously, for the solitaire player, HIP is an absolute pain! My solution – such as it was – was to place the German units on the map and cover them with concealment counters. The Russians would advance unaware of their actual position, and we’d just try to work it like that. This is not a scenario I am likely to replay solo, but I do want to see what the shape of it is.
Along the way of revising the rules for this scenario, I found another of those little differences from ASL that will trip me up: In ASL, infantry spending their turn moving entirely on roads gain one extra MF. In SL, infantry move along roads for ½ MF each hex; a key difference. So it made a lot more sense to have the Russians moving onto the map along the roads. So they did. The first turn saw their columns entering the battlefield, out of line-of-sight of the German troops, and so the German turn was very swift indeed. Then came the second Russian turn, and the battle was joined!
I’d set a couple of German units protecting the flanks, and it was the one on the left flank that was first encountered. It rolled really poorly for its point-blank fire attack, and found itself broken in the Advancing Fire Phase step – that wasn’t so good! Meanwhile, the initial Russian advance reached the main street of the village, and the massed German defenders. The Russians took up position on the hill above the village, and discovered that the Germans had a radio with which they could call for Artillery. This started in the German Rally phase (contact made – excellent!) and continued into the German Close Combat Phase where the accuracy proved also excellent. Soon, the first Off-Board Artillery would hit the map!
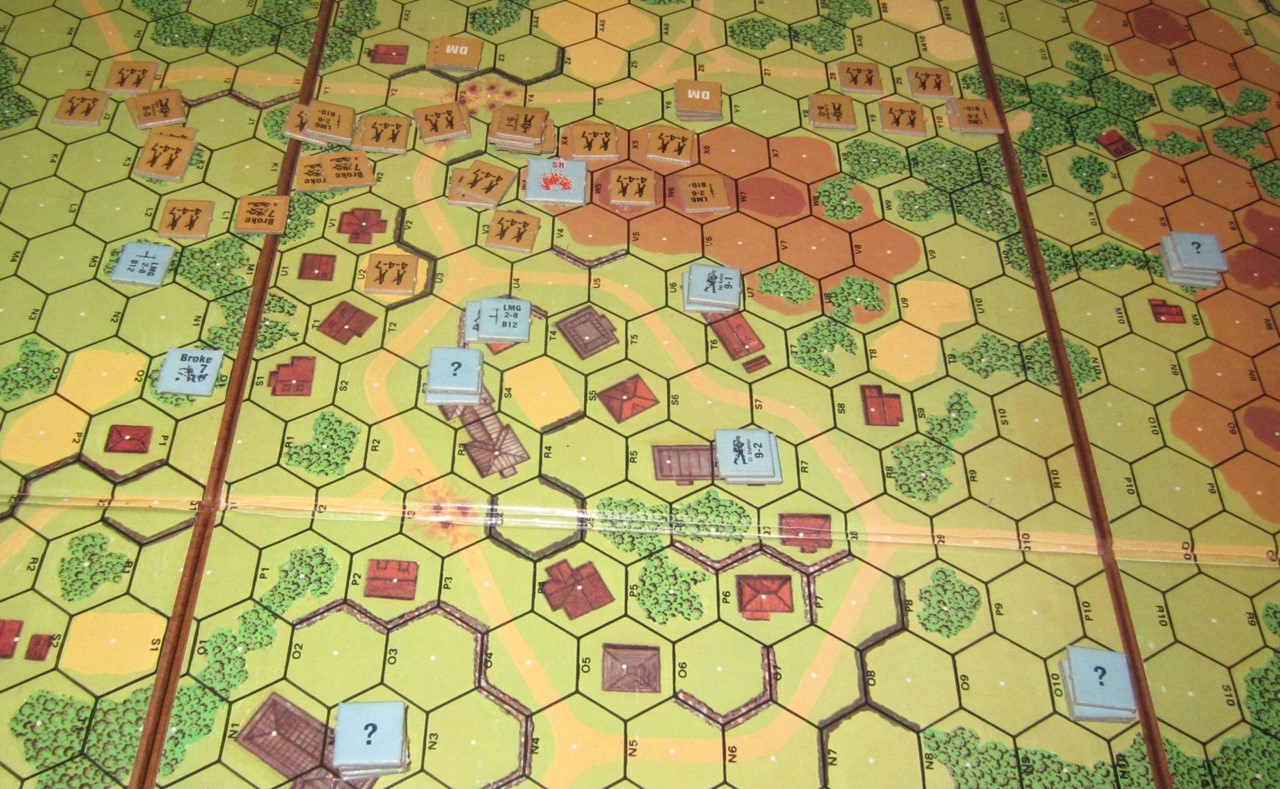
Upon seeing the spotting round whistling down, the Germans scattered, retreating or going sideways to get out of the area of effect. The leader with the radio is hidden in N2 at the bottom of the picture ahead, on the upper level of a multistorey building. There’s a rule that allows you to adjust the attack by up to three hexes as long as it is in Line-of-Sight. I missed that last bit, as it’s in a later part of the rulebook. The initial spotting round is called out as having to be in LOS, so I get very confused when rules don’t maintain their consistency. And I was having a few problems working out what the LOS was from the multi-hex building to other places on the map. As it happened, the first correction was legal – the second wasn’t so much, but it didn’t have a massive effect on the game.
The Germans scattered, the ordnance followed them, and hit them… not quite as effectively as the German defenders would have liked, but still inflicting some damage.
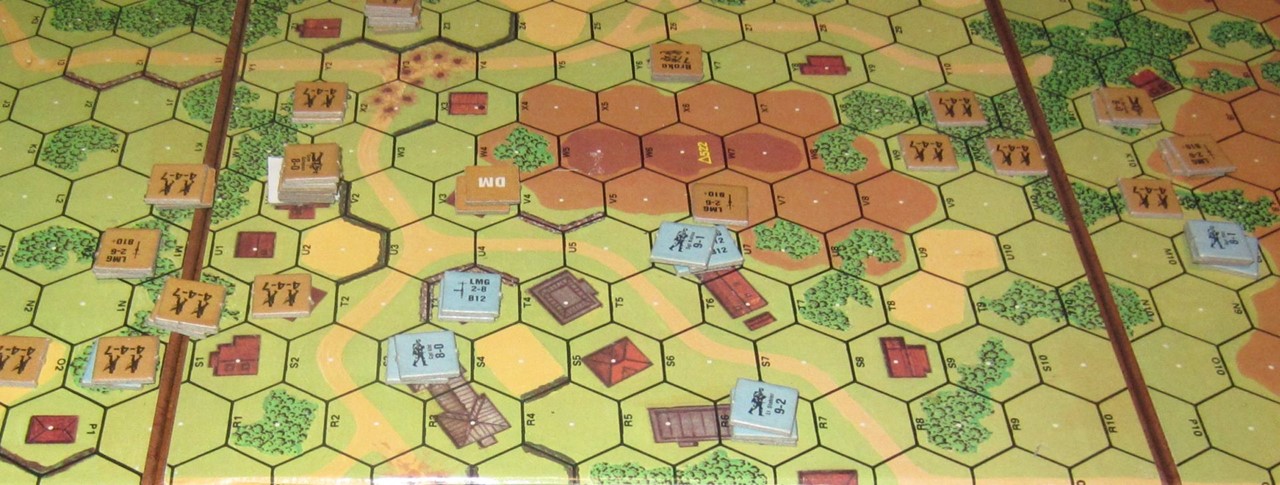
The biggest problem facing the Russians was a lack of leaders – only three in total. Without leaders, their broken units would remain out of the combat. Unfortunately for them, one leader was killed on the crest line and the second, the one in the middle of the Artillery strike, became berserk and began to charge the German lines. Meanwhile, a second flanking force of Russians – to the right – were coming up against the German unit I’d placed there to protect the flanks. It proved more effective than the one on the left, but still had a lot of trouble shooting the enemy at point-blank range! Soon it was overwhelmed, and the Russians began to approach the village from both left and right (north and south according to map directions). The units in the central buildings were drawn into melee, especially as berserk Russians charged them, and the resultant close combats resulted in mutual destruction.
The Russians were also rolling well, making some extremely unlikely shots. Needing a 2 on the dice to even force a morale check? They could do that!

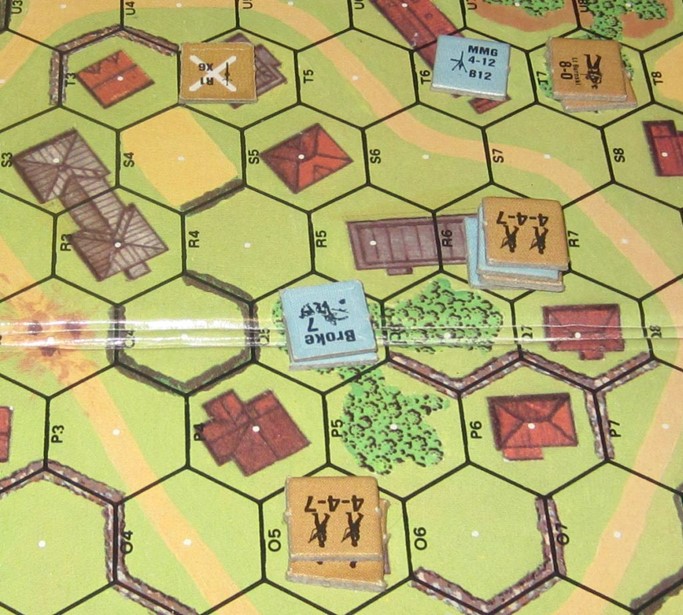
There was plenty of time left in the scenario, and not that many Russian units left compared to the defensive positions of the German defenders, but it didn’t seem to worry the Russian forces; they just kept rolling well and the Germans rolled, not exactly poorly, but not brilliantly. And they needed brilliance at this stage. One by one their strongpoints were overrun and taken, and the Russians moved in for the victory. The Russians needed to take all the stone buildings in the village, and that, they were eventually able to do.


That left just one German squad left, armed with a LMG. It needed to take back one of the stone buildings, but the two squads in O5 seemed too tough to take out. It ran at the lone Russian squad in Q5 and eliminated it, but in that hex it was vulnerable to three stacks of Russian forces firing at it. It broke under the combined fire, and that was that: the Russians had breached the hedgehog and held Piepsk!
The Hedgehog of Piepsk looks like a really enjoyable scenario to play with another player, but playing it solitaire gave me only the indication of what it could be; hidden set-up is such a problem for the solitaire player. It’s interesting to see how approachable the Off-Board Artillery rules are; in ASL, they’re rightfully considered one of the worst explained sections of the rules, which has everything to do with the presentation. The rules are actually not that hard, despite having several steps, but the technical way it handles them obfuscates them dreadfully!
I actually managed to play this scenario at one sitting, which was a surprise (most solo sessions I play get interrupted a lot). It took me only an hour-and-a-half to play through; very quick time for a Squad Leader game!
looks like it was an enjoyable game. When I last played that scenario, the russians had trouble getting over that hill.