
Continuing my tour through the ASL Starter Kit scenarios, I’ve come to the first of the Starter Kit 2 scenarios. This is still an infantry-only scenario, but it adds two major features over the first Starter Kit. The first is that the map now has hills on it, leading to different levels in the Line of Sight rules. The second is that the list of nationalities has increased, with the Italians and the British entering play. The Italians of this scenario are horrible units in terms of their statistics: low morale, low firepower and with rather ineffective leaders. I’ve got a feeling that Mick, like myself, enjoys the challenge that such units present him, because they’re the side he chose to play. His Italians would have to defend a village from an attack from both American and British forces, coming from both sides of the map. If he could keep one unit unbroken within 7 squares of the centre of the town, he’d win. So, I needed to play to break all his units!
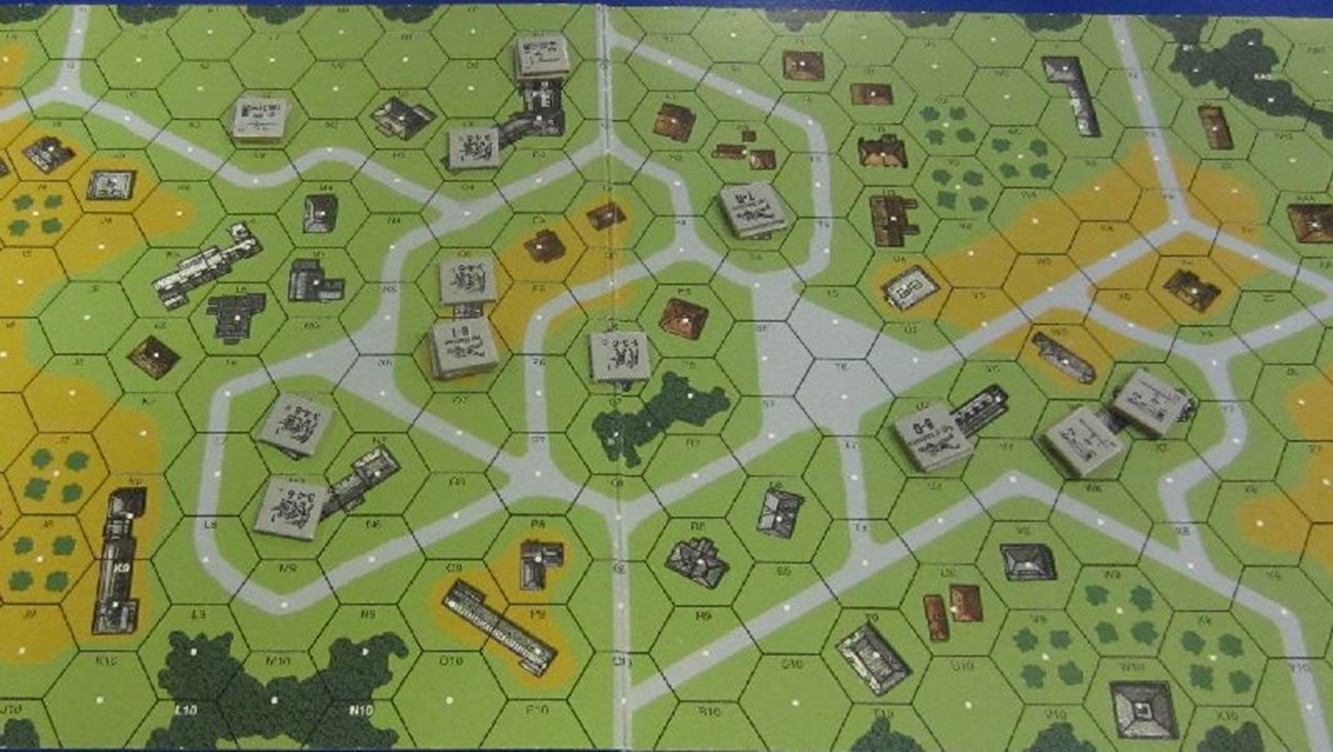
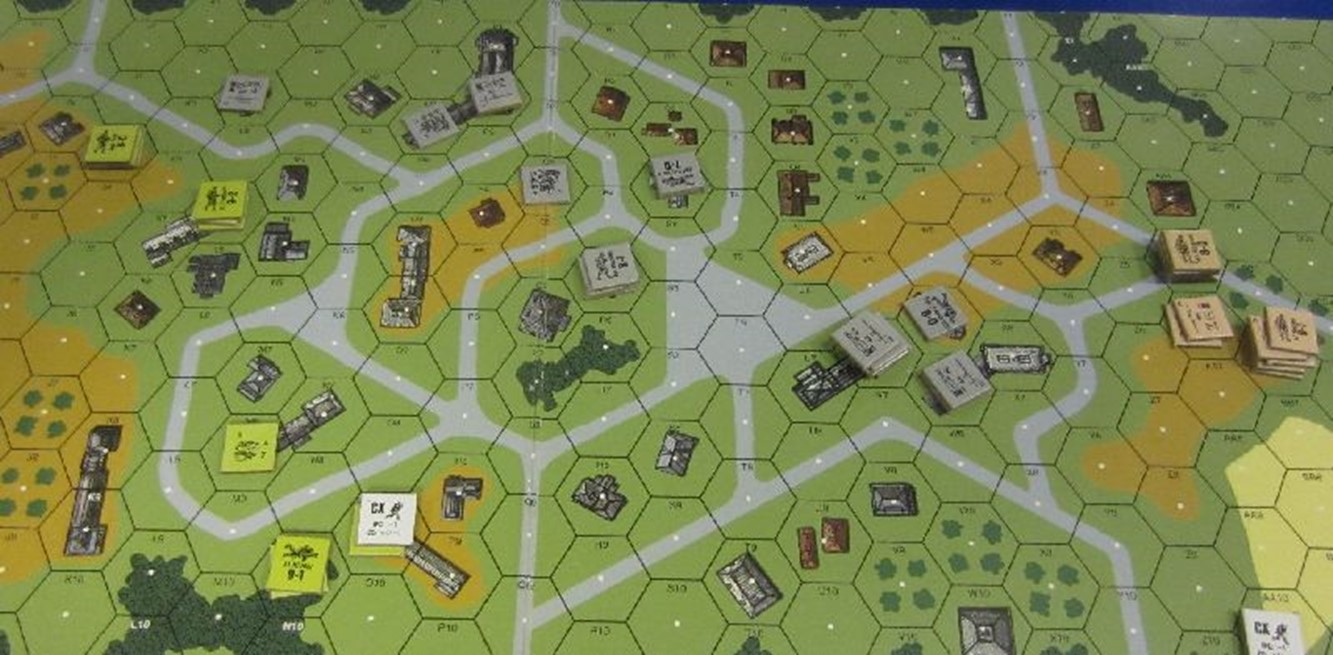
Here’s how Mick deployed his units:
My initial assault would be from the left-hand side of the map with my elite American forces; half-way through the game my British forces would enter from the right, and Mick had his units set-up to make things difficult for me: in stone buildings, with leaders placed to rally his forces, and spread out enough so that my small bands couldn’t overwhelm them all as much. Working against him were their terrible firepower and morale; they’d have great trouble in actually breaking my units even if I were in the open, and once his units were broken, they’d have a very difficult time rallying.
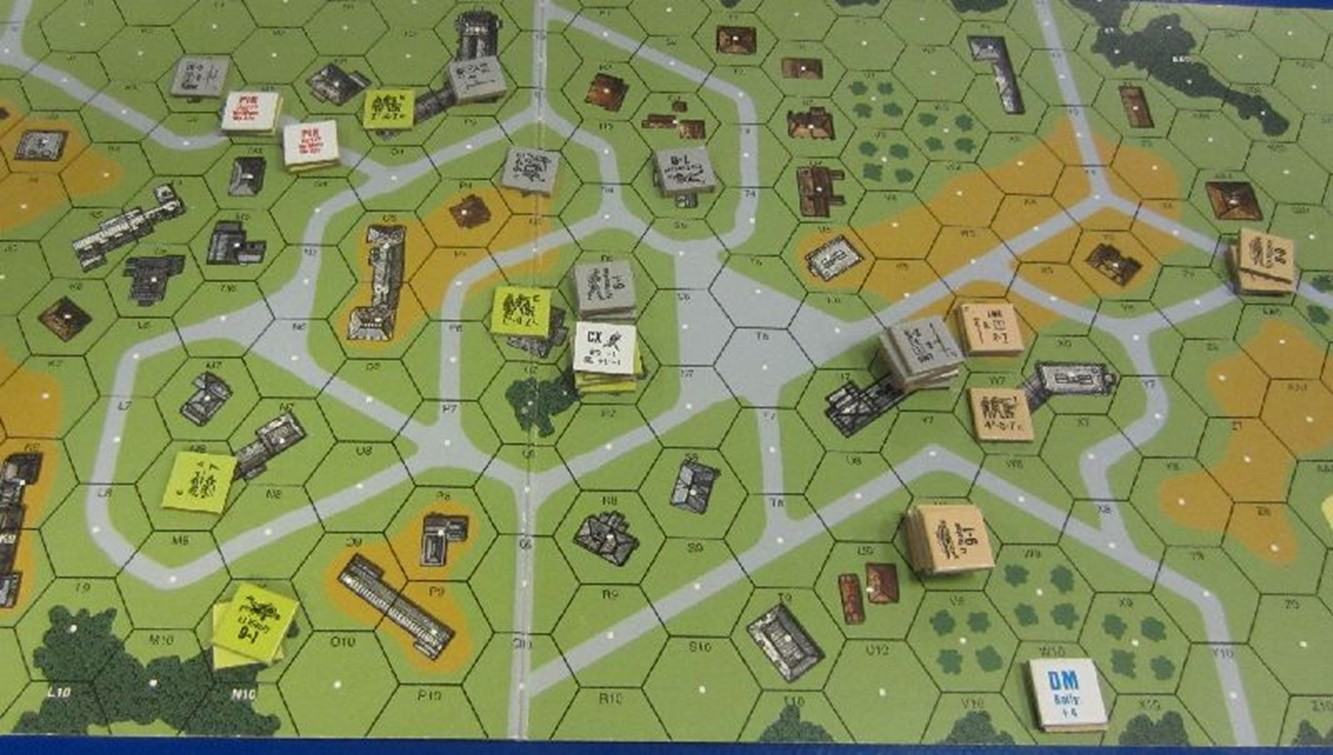
My first turn was spent entirely in double-timing my units somewhere close to his; I took some pot-shots across the valley against the centre hill, but no luck was had. Mick did something very interesting: he moved some of his forward units back, from the M8 complex back to the small hill complex of O9-P8. With my second turn, I was able to take up position in the double-hex building of K8-K9, while also pressing for a vantage point in I3 – only to discover that perhaps the Italians could shoot after all! Despite the really low odds of doing anything, his MMG broke my leader and the two squads it was escorting, and my Americans retreated out of line-of-sight! Hmm – not a good start!
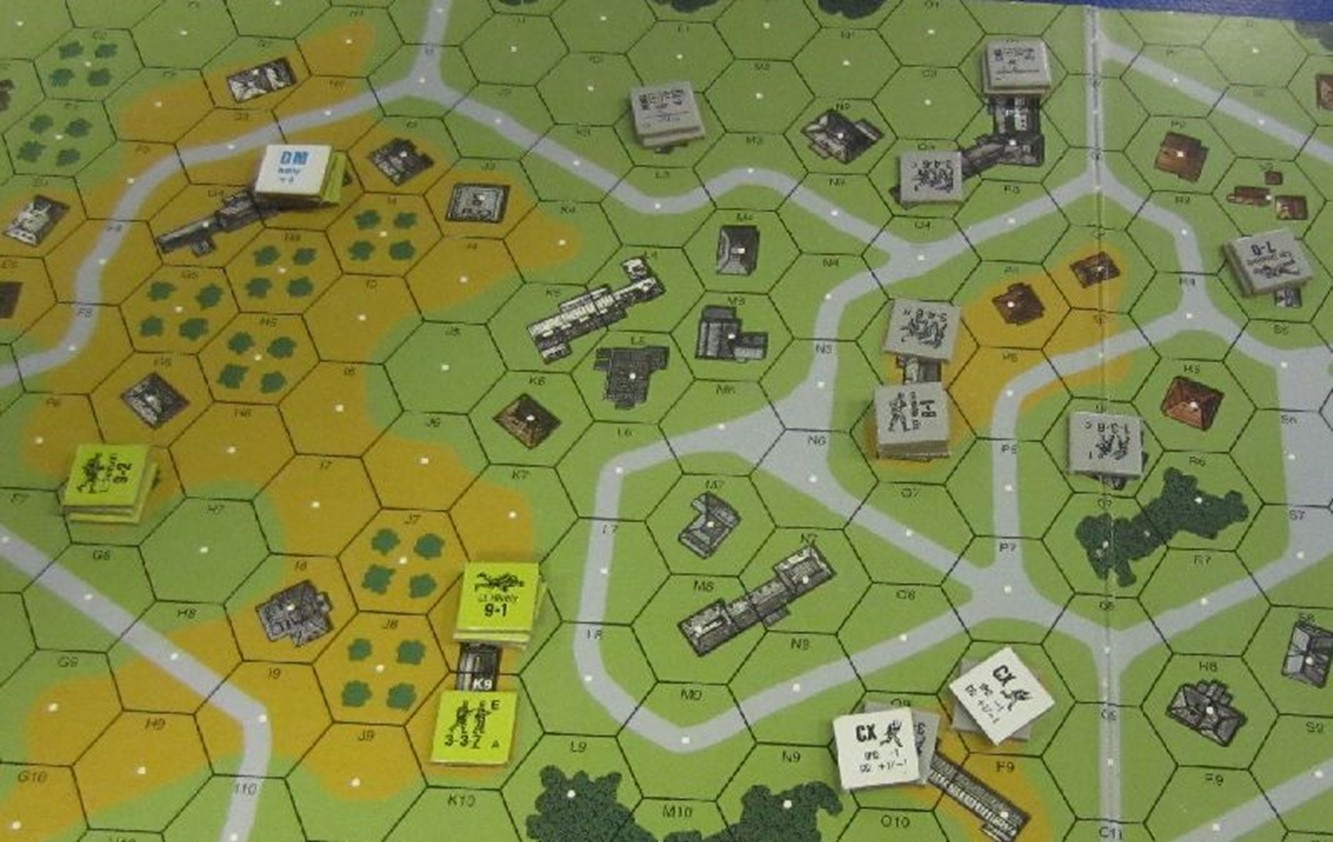
One of the differences between the Starter Kit rules and full ASL is the handling of buildings: in full ASL, any multi-hex building is two-storeys high, and would block line-of-sight from one hill to another (as well as providing an upper level to shoot from). This is not true in the Starter Kits; the buildings are all one level high and so my units on the hills had clear lines of fire to the defending Italian units on the other hills. They were still long shots, but I was able to break and then destroy (aided by Fate) Mick’s squad in O6 which was manning a machine-gun. Mick continued to move his units back, whilst keeping just enough forward to make advancing not without risk.
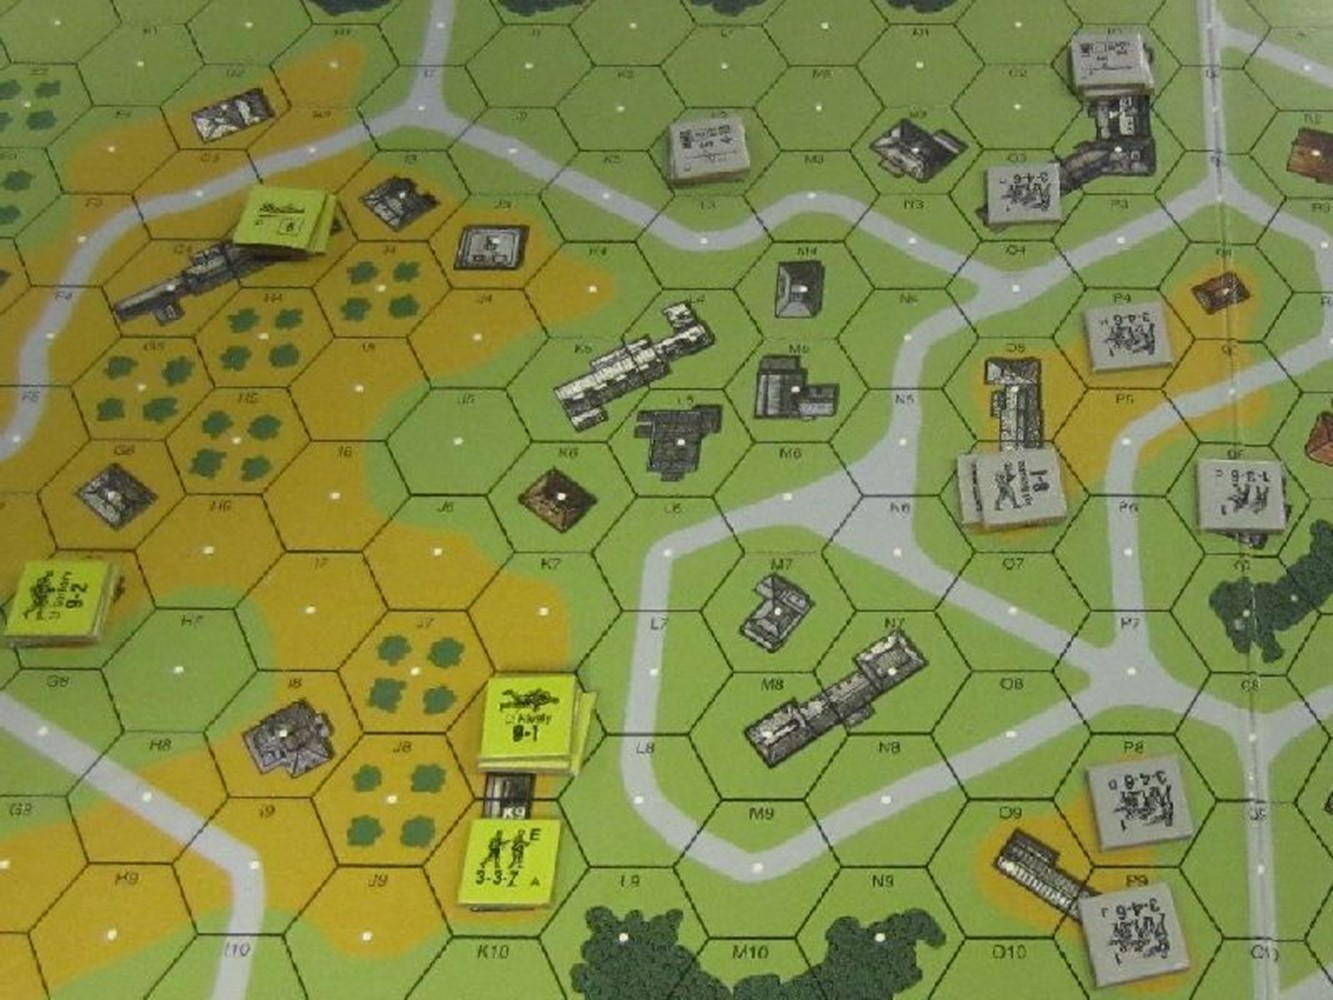
However, time was a luxury I didn’t have, and so I rushed my units forward, double-timing as much as I could. It was tough on my squads, with Tim rolling well again on defensive fire and breaking another two squads, but I ended the turn within range of his units – or almost right on top of them, as I claimed part of the O9 hill. I dropped back my 9-1 leader to rally one of the broken squads, and Mick consolidated his defences: moving more units to attack the machine-gun post I’d set up to the top of the map, while falling back with his leader from the central hill. Seeing that I had an exhausted unit adjacent to two of his units, he chose to enter close combat with both of his units – a risky move, and one that was partially successful, as he reduced my unit to a half-squad.
It was a delicate situation, but I’d done very little damage by the end of the third turn, and there were only three turns to go! I felt very strongly that Mick had the upper hand.
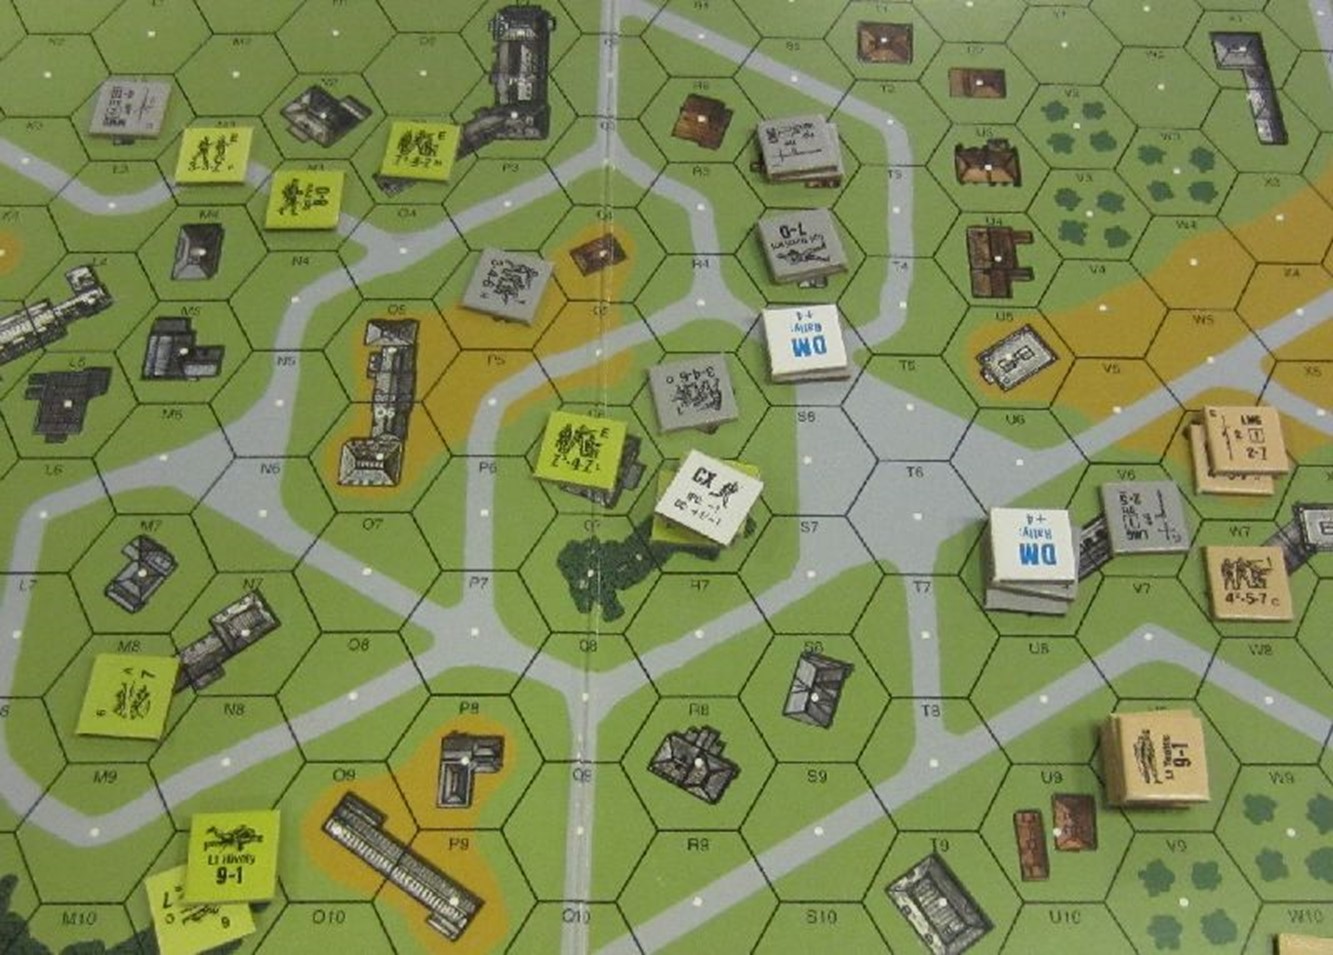
Things began to go my way as my broken units rallied and I could push forward once more. I fired at point-blank range into the melee, breaking the units – both mine and Mick’s. (I dived into the rulebook and discovered that the melee was now over, and the routing could now commence). My British units became making their way onto the map from the right; with so little time, I pushed them forward in large stacks commanded by their leaders, despite the potential vulnerability this would give them to Mick’s defensive fire. They ran up onto a hill and looked down at the Italian defenders.
I was happy to finally neutralise Mick’s machine-gun post at the top of the map, and ran my newly-rallied squads to the hill’s edge, where they could look down at another group of Italian defenders.
Mick’s return fire broke two squads of my British troops, sending them scurrying away. Mick lost the broken squad from P8 for failure to rout – unfortunately, it could see the British troops on the far side of the map, and so any direction it went would see it getting closer to my units. Otherwise, Mick continued to fall back with his units where he could, making it harder for me to take effective shots. He was, however, running out of hiding places.
This next turn, the fifth, was decisive, as my units charged forward. It wasn’t pretty, but I was able to move enough units forward that Mick wasn’t able to shoot at all of them effectively. At point-blank range, I had a real advantage over Mick, with his low firepower unable to do much damage to the units I managed to move into the safety of stone buildings. It still wasn’t easy, though, and I was lucky to escape with only a couple of Pin results towards the top of the map, but I only needed one squad to reach the buildings, and that it did.
Mick withdrew further, where he could, but his units were now breaking with my point-blank fire, and the chances of rallying them seemed small. Indeed, the ability to retreat them was low, with my units beginning to surround them. However, as the fifth turn ended, Mick still had four unbroken squads and a leader. I had more troops, but I needed something special to win in the last turn.
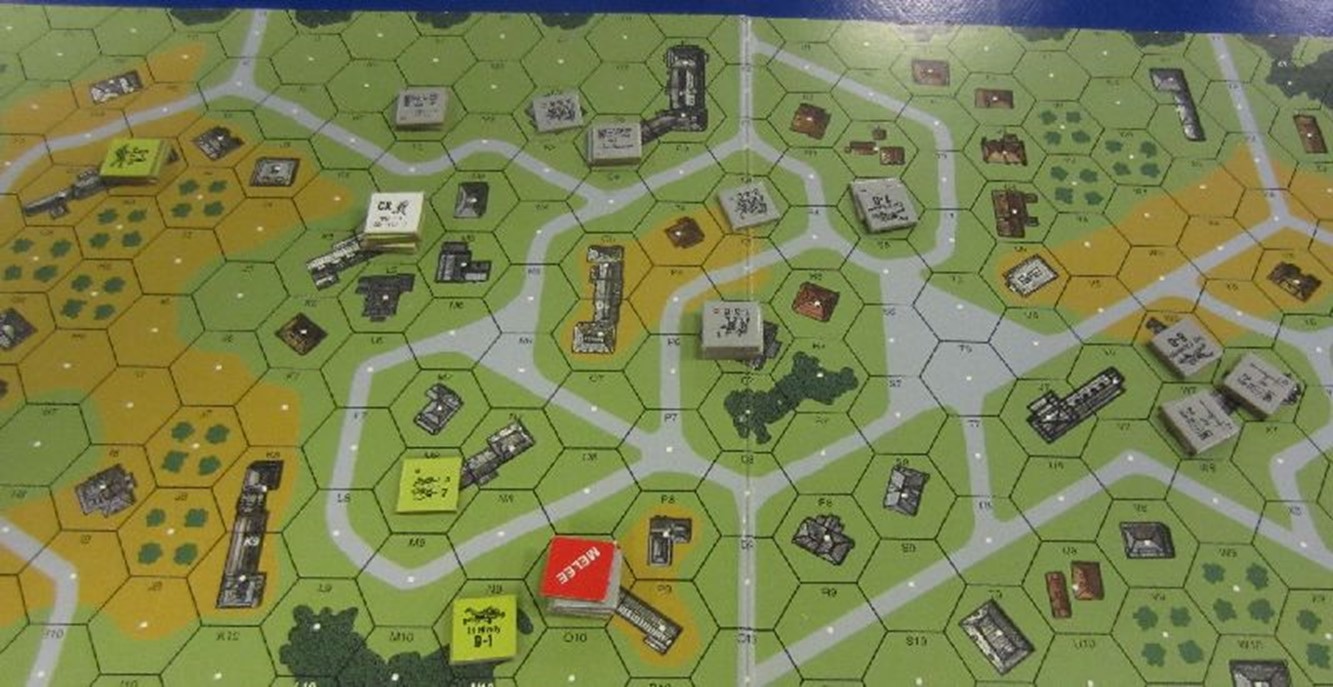
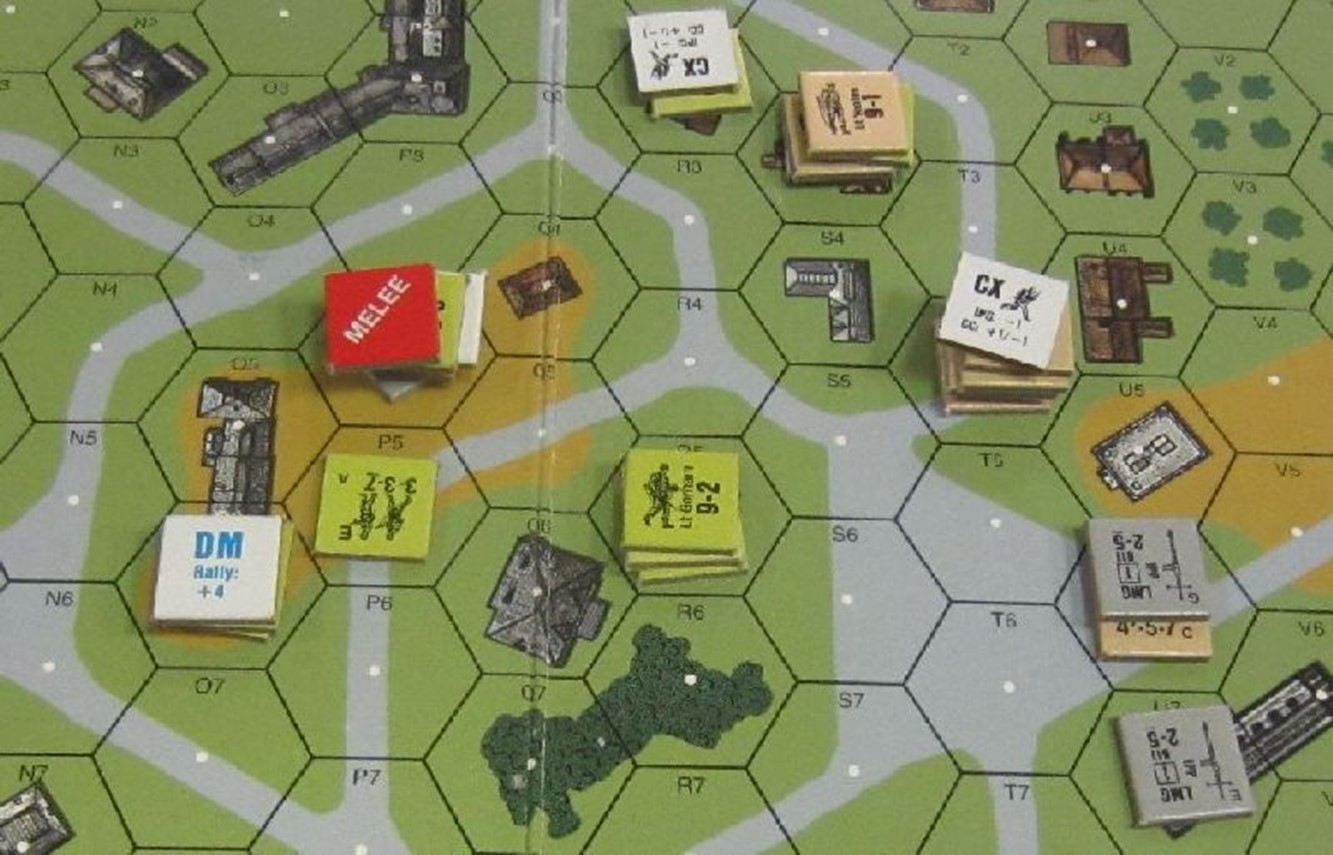
As you can see, it was a rather intense turn:

Mick had lost one unit to Final Protective Fire, others to my Prep Fire, but he was left with two units that then survived the Advancing Fire Phase and I had to tackle them in melee. He’d prevented some of my units from reaching him, but not all. I was most worried about his unit in P4; I only had a single unit that could advance into close combat.
The other unit succumbed to the 4:1 odds in the Close Combat at the end of my turn. P4 was inconclusive.
It came down to one last throw of the dice: the resolution of melee at the end of Mick’s sixth turn. Unfortunately for Mick, the dice came down in my favour, and his last unit was eliminated. I’d won the scenario, but only just: a very close game indeed!
There’s no doubt that I had to be extremely aggressive in my play; there was little time to use Prep fire – I had to move forward and get up close to properly deal with the Italian troops. Their lower firepower and morale made this a lot easier than against German forces, but with Mick’s good rolling at the beginning of the scenario, I was very worried that I wouldn’t have the time left to recover and move on. I also failed a number of “easy” (that is, 9 or less) morale checks in the middle turns, which also contributed to my unease.
I really like this map: it is very interesting to play on, with a lot of unusual line-of-sight interactions. I’m almost at the point of introducing Mick to the Gun rules of the ASL Starter Kits, but I’ve still got scenario S10 to play through before we start with the mortar rules. (I may play it against someone else, depending on availability). This sequence of ASL Starter Kit plays is getting quite long – with Decision at Elst almost upon us, it’ll likely arrive before I’ve quite trained up my opponents to tackle it with me, but I’m really hoping I’ll get a chance to play it later this year.