
My latest game of Advanced Squad Leader saw Mick and me facing each other over the fields of Sicily. The victory condition of this scenario required the Germans to get a certain portion of their force off the far side of the map (lengthwise), whilst not losing too many of his own units. Mick chose to play the Germans (who have a slight advantage on ROAR), and so I set up my Americans in the following defensive positions.
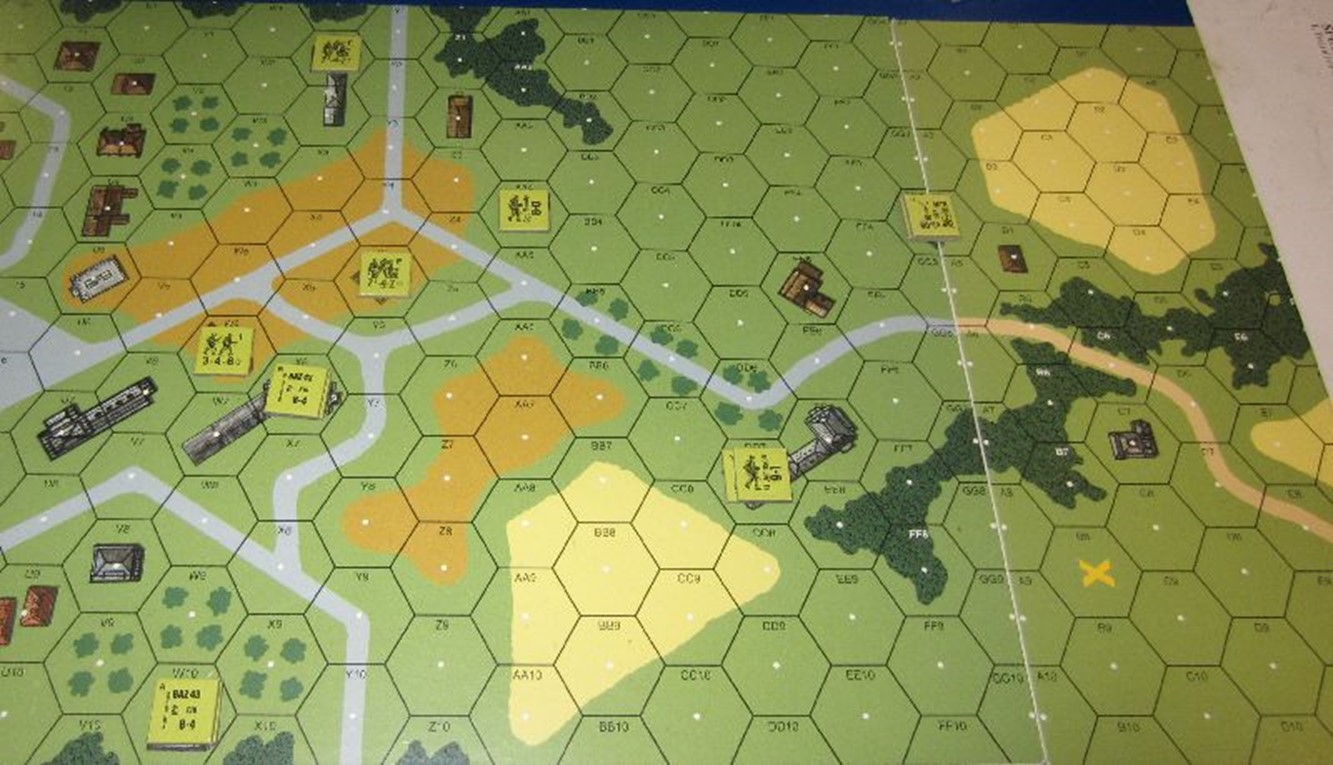
Of particular note in this scenario, the Americans are using a mortar and two early-war bazookas. This is the first scenario in the Starter Kits that uses such weapons, and they have their own little complications. Unlike machine-guns and infantry, which just make the roll on the Infantry Fire Table (IFT), they need to successfully hit the target first – only then can they make a roll on the IFT. Mortars and Bazookas do not like being fired from buildings. The Bazooka, as a high explosive anti-tank weapon, can be fired at infantry only if the target is in a building, so I placed my two bazooka-carrying units in positions where they could make movement through the building-heavy part of the map difficult. The small mortar is particularly ineffective against targets in buildings, as its firepower gets reduced due to all of its fire being considered Area Fire (that is, against the whole hex, and thus being halved in its effective FP), but works a little better against targets in trees due to the effect of high explosives against tree branches – air bursts is what they are known as – so I placed it in a woods hex that could command the other side of the map, including the woods that Mick might take his troops through.
The remainder of my troops I mostly deployed towards the edge of the map that Michael would be entering on, to make his job as hard as possible early on, and with the possibility of retreating them towards my leaders for rallying and further resistance.
Michael, upon seeing this, entered most of his troops in the top corner of the map, where I had very few units available, and also placed some half-squads to stop my other units from intercepting his main force. It was a good, aggressive start, and though I broke three of his squads, the sheer numbers were able to overrun my one squad there, forcing it to retreat.
Michael was able to retreat some of his troops to leaders. I pulled one of my bazooka units back in response, racing it around to my 8-0 leader where it could command a view of the building Michael was likely to come through as he pushed his troops forward. My actual fire was ineffective, as was Mick’s defensive fire.
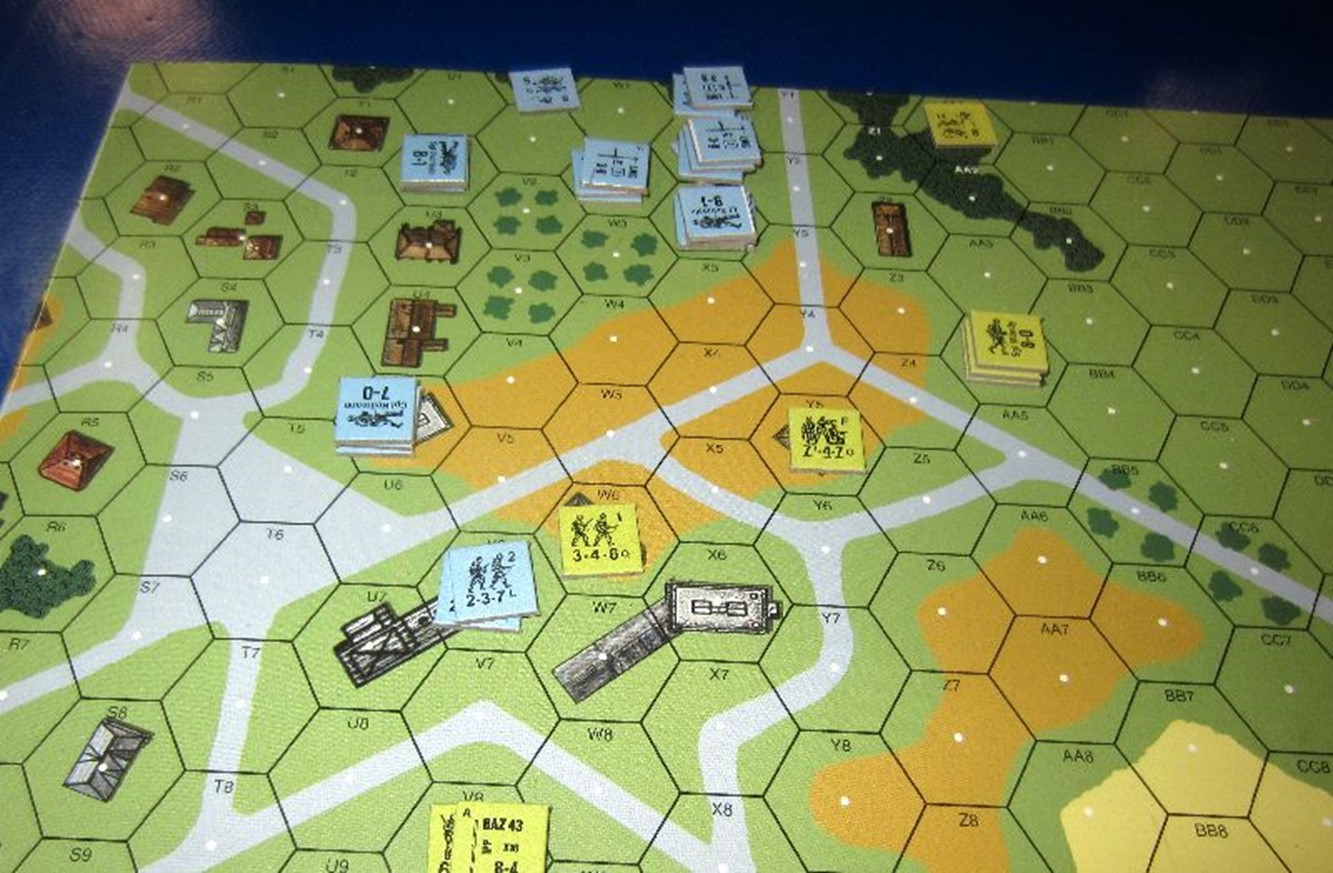
Michael moved his troops up in force to the woods, only to be greeted by my first mortar fire of the game; it broke the first units to come within range of it! As he moved quite a few troops into the building in Z2, I felt it was a good idea to fire the bazooka – and I chose to inflict the backblast damage on the units in the hut. The blast hit Mick’s units, breaking some of them, but not all (quite disappointing), but the blackblast was enough to break the firing unit. The big question I had to ask myself was if I could keep my units in the building and try to rally them, or would retreating make better sense? I was worried about the amount of firepower that Michael could bring to bear on the building without taking fire himself, and so retreated my units out using a Low Crawl.
I also moved my bottom bazooka unit into the open, where Michael’s two half-squads could attack it – although they were still distracted by my adjacent half-squad in W6.
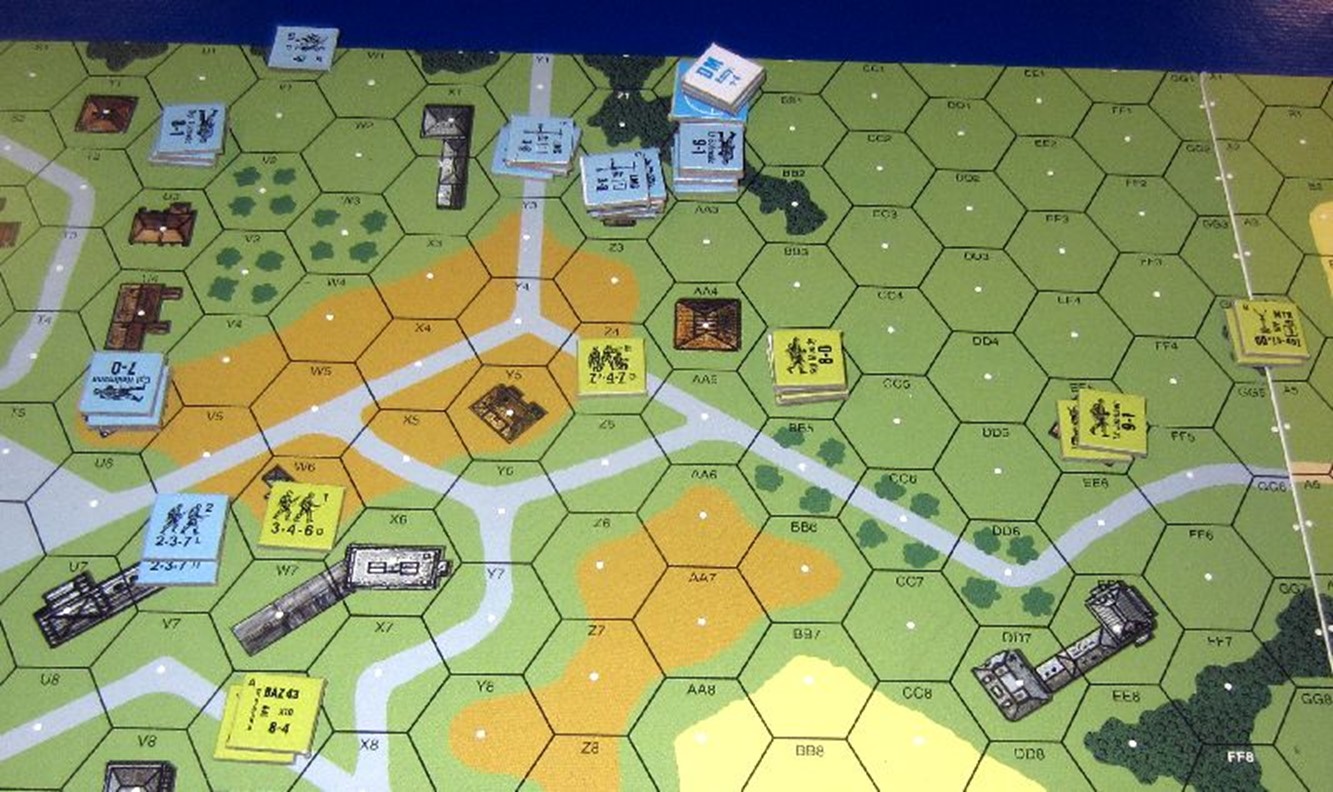
I thought my unit in Z4 on the hill was safe from Michael’s prep fire from his half-squads in U4 – out of range and poorly armed. Then he rolled a natural 3, inflicted a morale check, which I then failed. Losing the use of that elite unit was a problem, as it couldn’t then defend the wooden building in AA4. My bottom bazooka unit got a hit on the two half-squads in V6; by now, I was getting desperate to inflict any casualties on Michael, as his units were retreating away and being rallied. I did get a good enough hit to kill one of his units, but his other unit made the morale check. My choice to rout away proved to be a poor one as Michael caused that squad to be eliminated it with further fire.
Michael moved up a medium machine gun to cover my mortar, and I began to worry. Only three squads and two half-squads on the map? Not much to hold this position with!
My units routed away, and my remaining bazooka squad ran out of ammunition as it attempted to get rid of that last half-squad; continued mortar fire was causing problems for Michael’s medium machine gun; something I was very happy to see! Unfortunately, my half-squad in W6 finally ran out of luck and suffered a K/2 result and was eliminated.
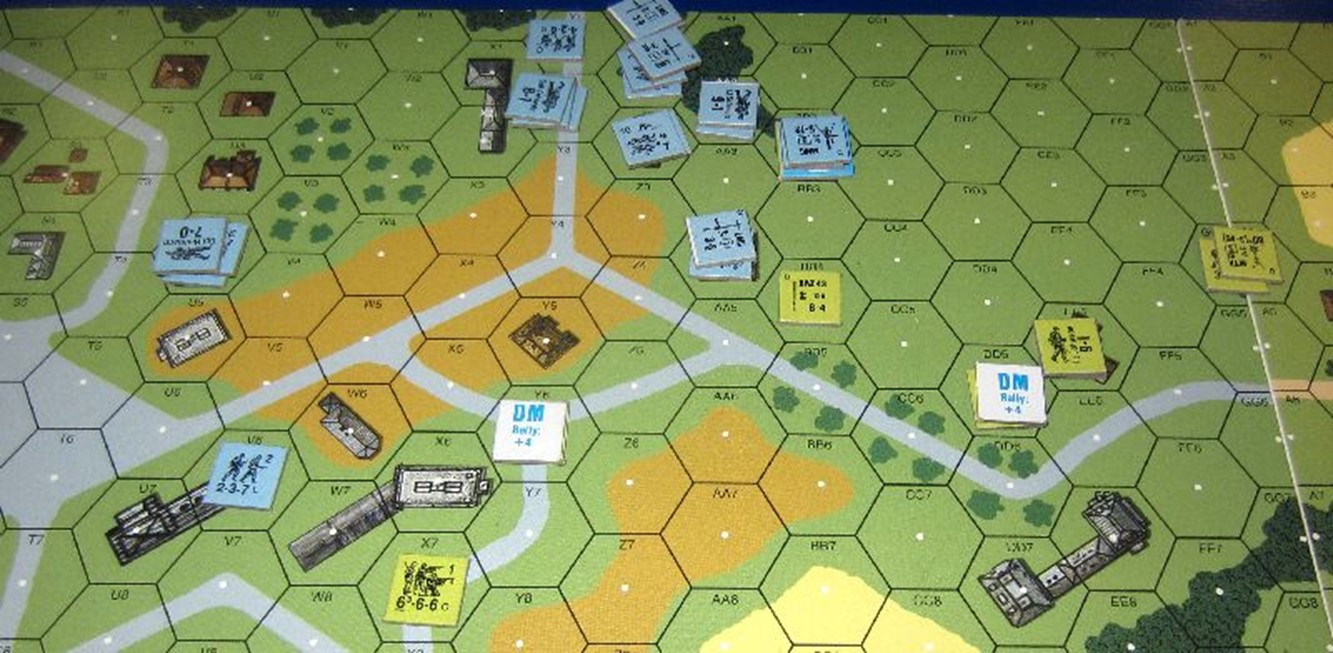
Michael now began to push his troops forward, using double-time moves to get faster into position, moving them over hill and towards the orchards. My first line troop towards the bottom ran around through the grain, looking for a position to defend against the German force – hoping to deal significant damage as they moved over the open ground.
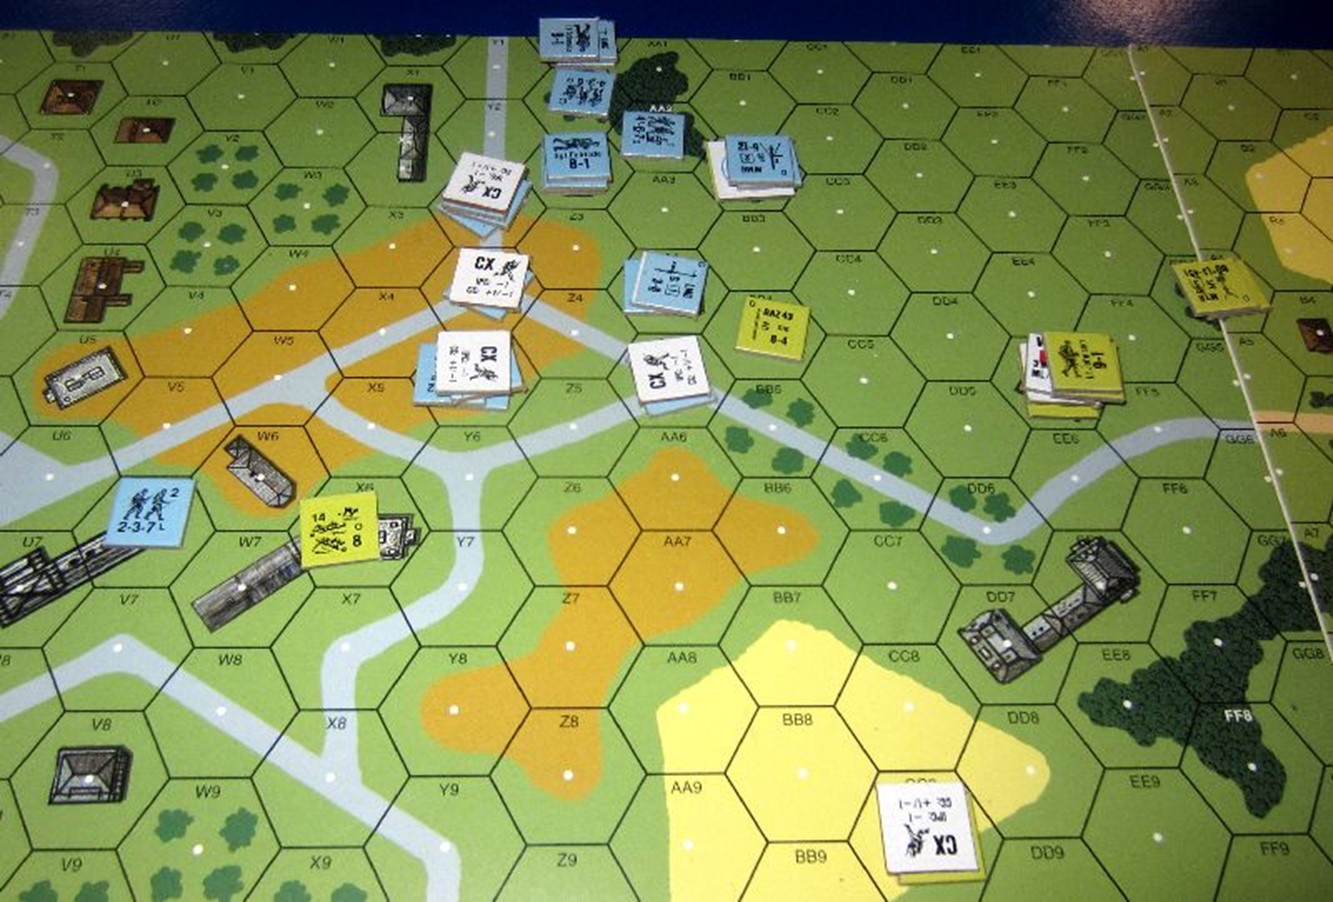
There were lots of CX counters everywhere!
Michael’s response to my move into the field was to speed his units onto the Z7-AA7-BB7 ridge and fire down on my unit, which wasn’t gaining the benefit of the grain’s hindrance due to the fire from a higher elevation. Michael rolled well, I didn’t, and my squad broke and routed away.
Michael also discovered how deadly a mortar could be as I rolled a Critical Hit (a natural 2) as it fired on his machine-gun squad, reducing it and causing it to flee. Unfortunately, my next roll with the mortar was a natural 12, and it broke. Now, only a squad and a half-squad lay between Michael and the victory line, but time was running out. Could he make it all the way across the map in the remaining two turns?
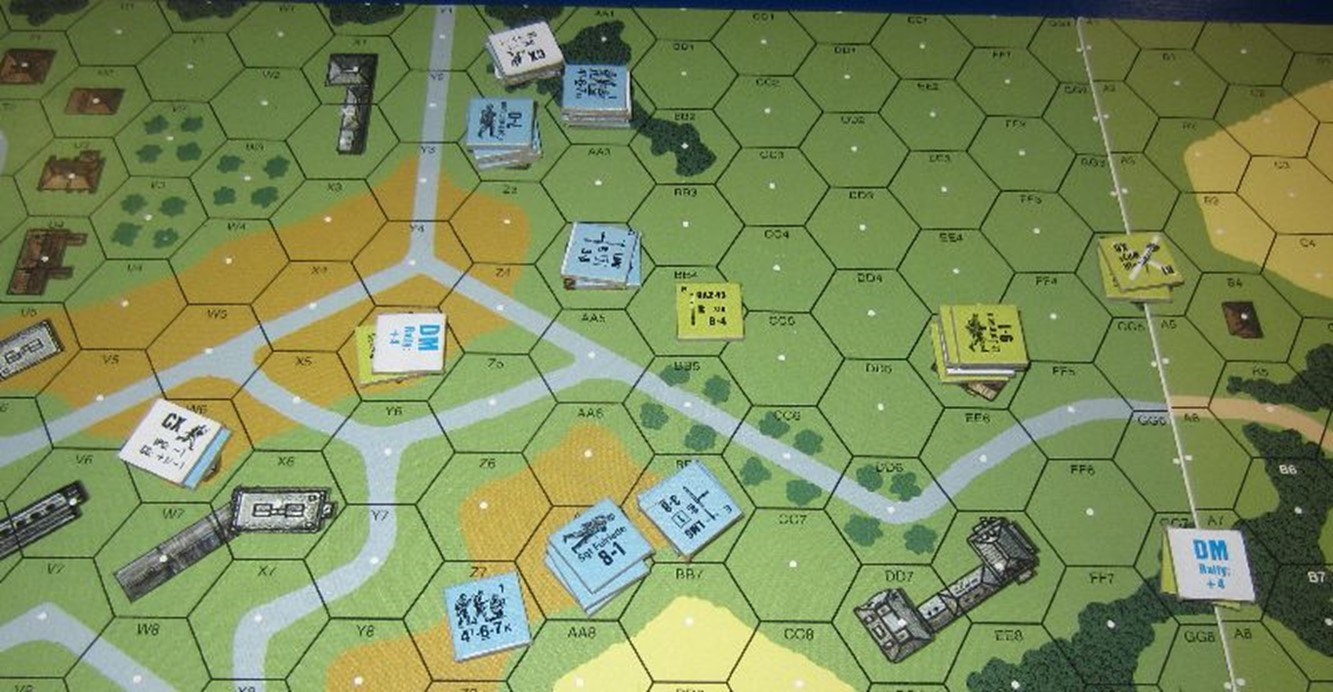
Well, Michael wasn’t going to die wondering, and he rushed over the fields and roads. Several of his units were broken by my defensive fire, but he had so many units! Advancing fire eliminated my mortar half-squad, which had rolled poorly to fix the mortar and eliminated it instead!
Counting the units left, it seemed like Michael couldn’t gain the victory… but was he counting them all? Going into melee with my remaining squad left him with no possibility of being intercepted.

It turned out that if Michael self-rallied the unit in FF0, which he did, he had just enough units to take the victory. Double-timing the units he could, he rushed off the map with four squads and his two better leaders, 9-1 and 8-1. That was twelve victory points – enough for the victory. Counting up his losses, I’d only inflicted a mere 5 VPs of damage. It had been close, but Michael had neutralised my force a lot quicker than I’d hoped, taking several low-percentage shots and then taking advantages of the holes in my lines. The push up to the ridge which killed my first-line squad was especially effective, and allowed him the victory in the final turn.

The next scenario introduces 5/8″ counters in the form of Artillery. I’ve lent Michael a copy of the rules, although I think he finds it a lot easier if I just explain the rules to him!
This had been an enjoyable scenario; if a couple more rolls had gone my way, I well could have won the game, and it’s the tight contests like these that make ASL such an good game to play.