
Although Michael was eager to play another game of Nations, I’d cunningly not brought it in today. Actually, I hadn’t expected to play any games, so having my ASL Starter Kits in the car was pure luck. However, given no Nations, he was more than happy to have a game of ASL, the first one where he controlled counters properly labelled as “Guns”.
And what Guns they were! Especially the 15.5 cm Artillery piece – dealing damage on the 30 FP column of the IFT! I really didn’t want to have my troops hurt by it.
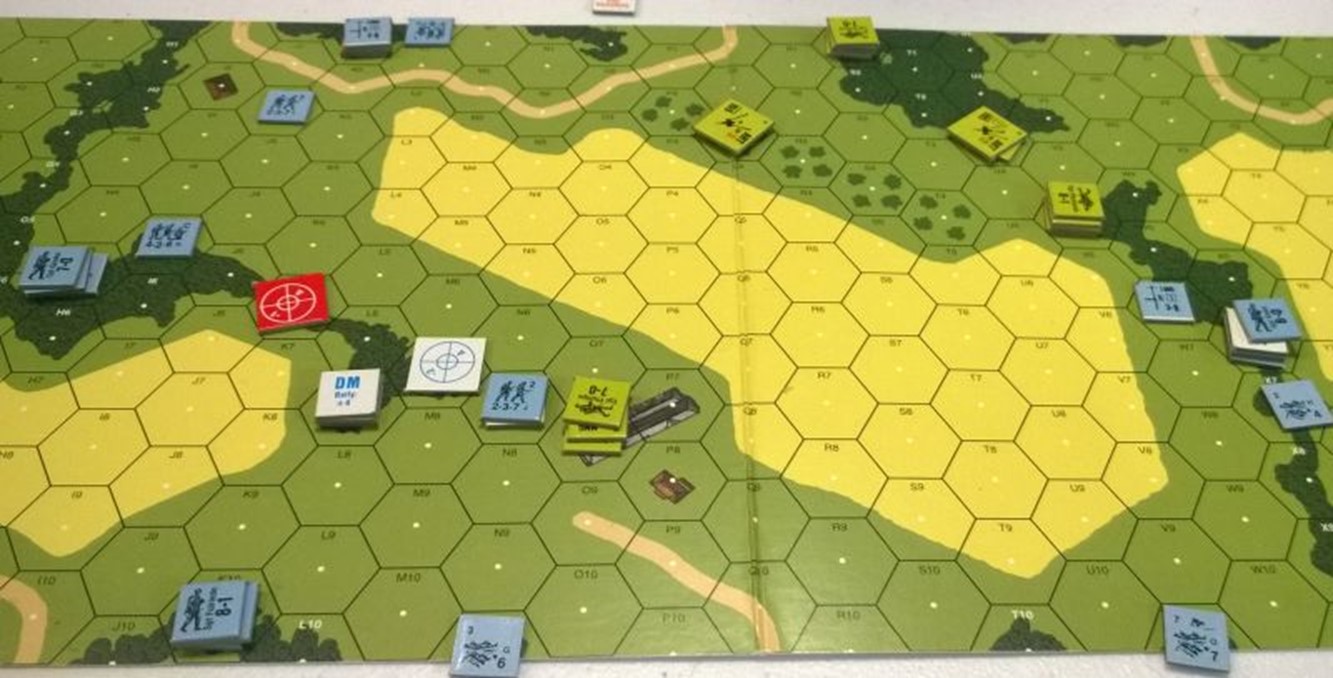
Here’s Michael initial set-up. I would be approaching from the south and potentially the east and west!
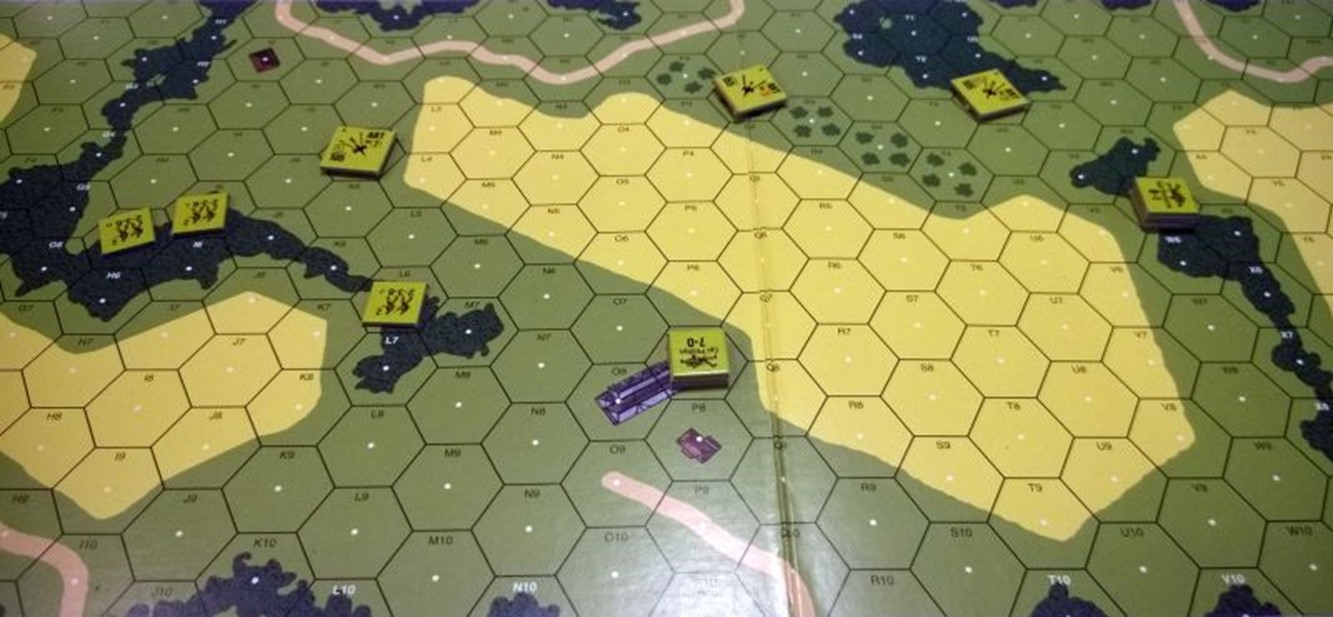
Of particular note is a medium machine gun in the central building, P7. A 60mm mortar is placed in the woods to the right (W5). Michael’s choice of placement for two the half-squads was interesting: they’re hanging back in the trees and can only fire at adjacent units. I felt this was a weaker placement, and so it would prove, but the rest of this placements were pretty good and very frustrating to approach.
Take note that one of his Guns is in the woods to the top-right; it would have horrid “to hit” adjustments if it had to change its Covered Arc, but it commanded a fair deal of the battlefield. There’s a lot of space to the left and right of the photo that I haven’t shown, but which my troops could use to advance.
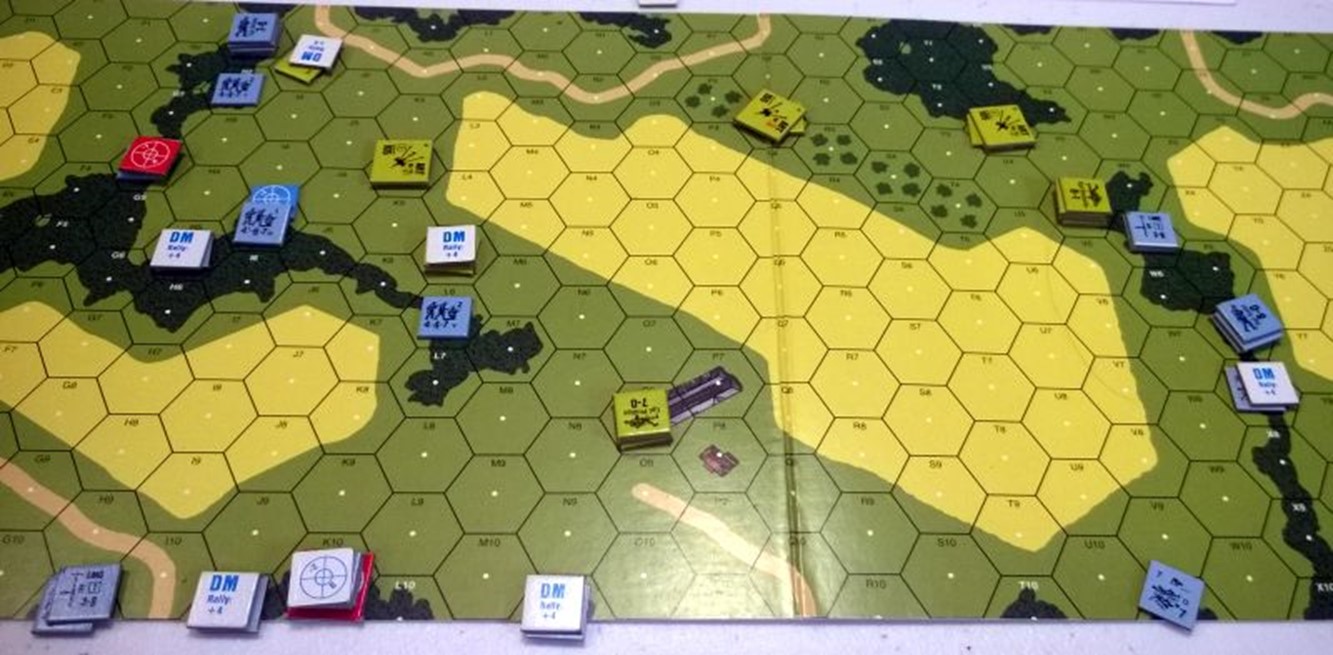
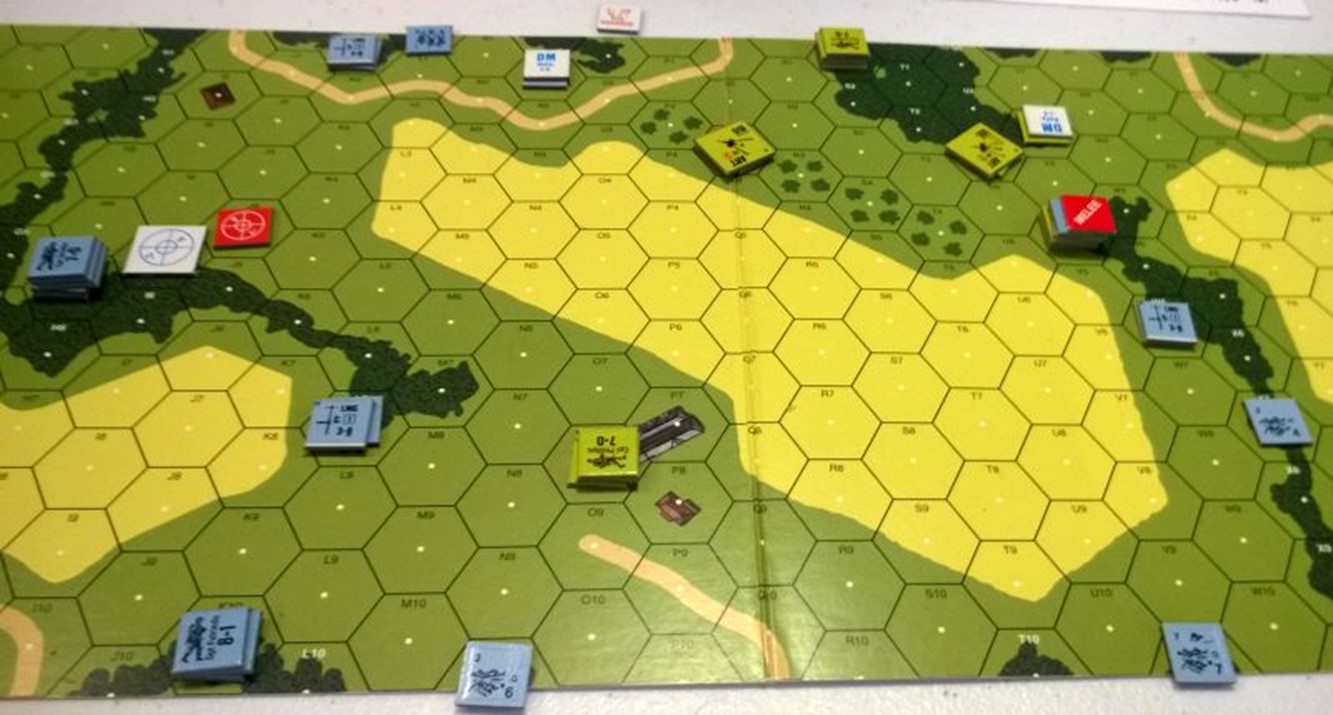
As it turned out, I didn’t use it, instead coming entirely from the south in a major attack group to the left, setting up a medium machine-gun and mortar in the trees of K10 and L10 to cause problems for Michael’s forward defensive troops, and otherwise take pot shots at the Guns. As this was December in Luxenbourg, the fields were considered not to exist and were open ground. Another strong force came up behind the trees on the right-hand side of the map and prepared to assault his mortar.
The placement of my mortar and MMG turned into a disaster, with Michael having clear line of sight to L10 and letting loose with a massive bombardment of artillery fire. The 3KIA result I got destroyed not only the squad but, by subsequent die roll, the mortar as well. My MMG squad survived somehow, but Michael’s troops in O7 were proving really difficult to dislodge.
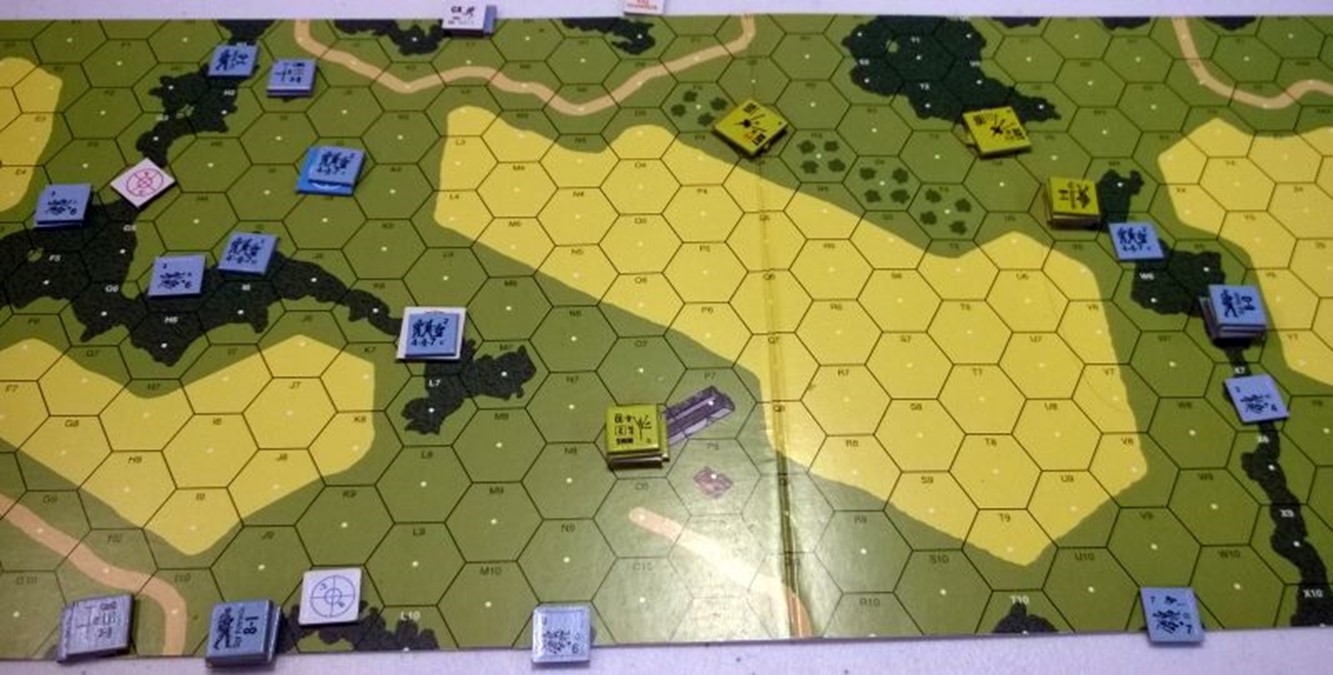
Michael retreated his half-squads from the forest, only to be caught by my squads there. Soon, his left-most artillery piece was left exposed. Unfortunately, my units on the right-hand side of the map weren’t doing any well; as they moved into positions where they could see Michael’s MTR squad and half-squad, they’d be broken by accurate fire. I was able to move them back to a leader to be rallied, but I’d often fail the initial morale check by more than the ELR, and they were decreasing in quality.
At this point, things began to look up as Michael’s left-most artillery piece malfunctioned and then was eliminated by a botched repair roll. Hooray! I was one-third of the way to the victory conditions – destroying or capturing all of Michael’s Guns. With my units rallying on the left-hand side, I was looking a lot stronger. I also managed to move units up next to Michael’s mortar squad, only to discover that they’d break during his Prep fire phase. It turns out that having his 8-1 leader there with a squad-and-a-half was a pretty strong placement. It’d be less strong if I had a mortar, but that was in a lot of little pieces!
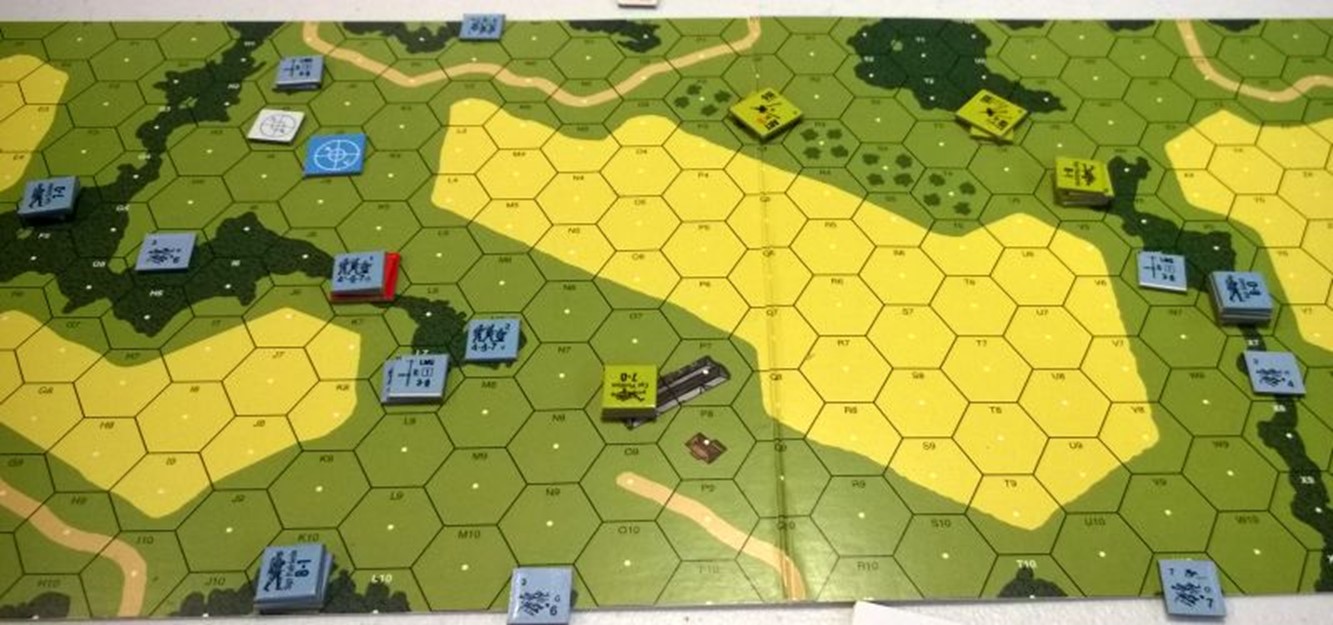
I had a force of first-line troops on each side, who, with a 6 range, were more able to engage Michael’s Guns from afar. He broke my squad in K10 and reducing it to a half-squad, but my MMG remained. It routed away to my leader, who self-rallied and then rallied the squad. They were ready to take on the troops in the building again!
Moving troops up, I began to threaten Mick’s 155 ART.
The biggest trouble I was having was that my squads just didn’t really have the firepower. The stone building Michael had commandeered was way too strong for my pop-gun weapons; I needed to Fire Group, and that was something I was doing really poorly – at least partly due to the position of my troops, and partly due to Michael’s Guns blowing away anyone who dared stand next to each other! As far as this is a demonstration of tactics… ignore everything I did!
I got an effective hit in on Michael’s MMG post… and pinned his leader. A 1MC result on the 155 Gun’s crew gave me the joyous result of… nothing at all. The rare good shots were matched by equally good morale checks.
So, I tried to manoeuvre my troops into better positions, where they could form fire groups.
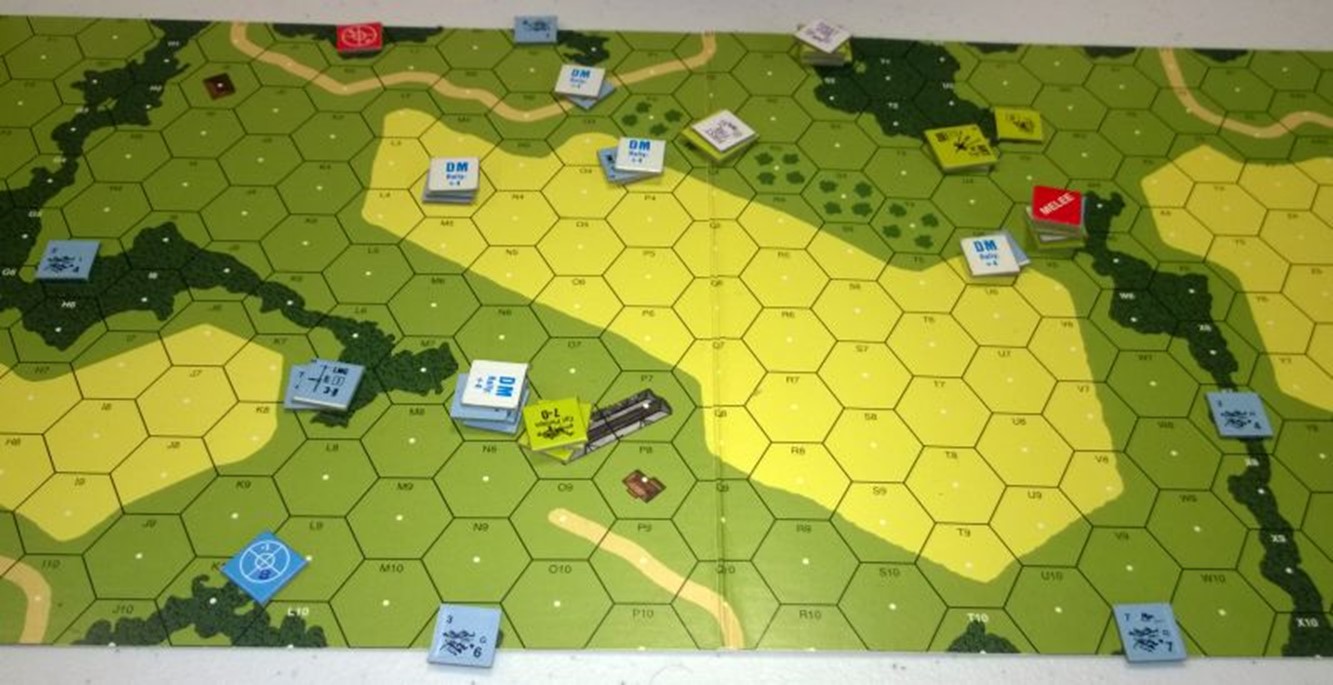
Meanwhile, Michael’s reinforcements came on. His approach to them was interesting: he kept them as one kill stack, keeping them back in the woods so that they couldn’t fire on my troops in their current positions, but they’d play merry hell with anyone daring to attack his Guns! It was smart play, and, as I got my LMG squad next to my first-line squad in the northern trees, I hoped the resulting fire-group would finally cause problems for Michael’s 155 Gun.
It didn’t help that the firegroup I’d finally constructed in the forest near the building and Michael’s MMG nest was falling apart. Desperate, I moved adjacent to his MMG squad with the remaining half-squad that had survived the latest artillery fire. It became pinned. Story of my battle, really!
They did not survive to enter the melee.
At this point, the finer details of tactics – what little I had of them – were going out the window as my initially quite strong force (I mean, Michael started with only two squads, four half-squads and three Guns!) was destroyed in the face of the stunning artillery fire from the Americans. Michael was getting quite enthusiastic about how good his Guns were. I agreed; it’s been a while since I last played a battle with such big anti-infantry guns on the table!
So, running my troops on the right-hand side and the survivors entering melee with Michael’s mortar squad seemed quite a good idea. No ambush, alas, despite my pinning of his troops in the Advancing Fire Phase. Elsewise, my troops were having a horrible time of it.
All of a sudden, it was the final turn. Well, it wasn’t really that sudden, more the cumulative effect of a lot of bad play by me over 100 minutes. What do you do when fire attacks haven’t worked and you still need to destroy or capture two Guns? You charge them, of course!
It worked as well as you might expect, which is not at all. All of my troops were cut down before they reached the guns. Destroying Michael’s gun crews in close combat sounded good, but you have to actually reach the crews. Perhaps this strategy might have worked better at the beginning of the game when I outnumbered him hugely? Perhaps, but I can tell you one thing: it certainly didn’t work now!
Thus ended Michael’s first experience using the Guns of ASL. And he was wildly enthusiastic for their effectiveness. He never needed to use Intensive Fire, his regular attacks were effective enough. The melee in the forest hadn’t gone well for me – I’d lost a half-squad without even inflicting damage on his troops – and I conceded the game before we could finish the last turn’s melee. No point really; I’d lost as badly as I could imagine.
Even my one good roll – a natural 2 on a self-rally check – failed to create a leader as the subsequent dr was a 6! There are times when I feel that I’ve got a handle on the tactics of ASL, but this was not one of those times. It’s still a greatly enjoyable game… I just need to play it better!