
Italy had a terrible time during World War 2. In 1943, Italy attempted to sign an armistice with the Allies, only to have the Germans invade. This scenario took place in June 1944, by which time the Allies were attempting to neutralise the Germans in Italy as well as those forces still loyal to Mussolini. A small number of men from the French Foreign Legion managed to capture Castle Medicis in Radicofani, the German garrison surrendering. However, the battle was continuing in the town outside…
For this scenario, Michael controlled the German (blue) troops, while I controlled the Free French (light brown).
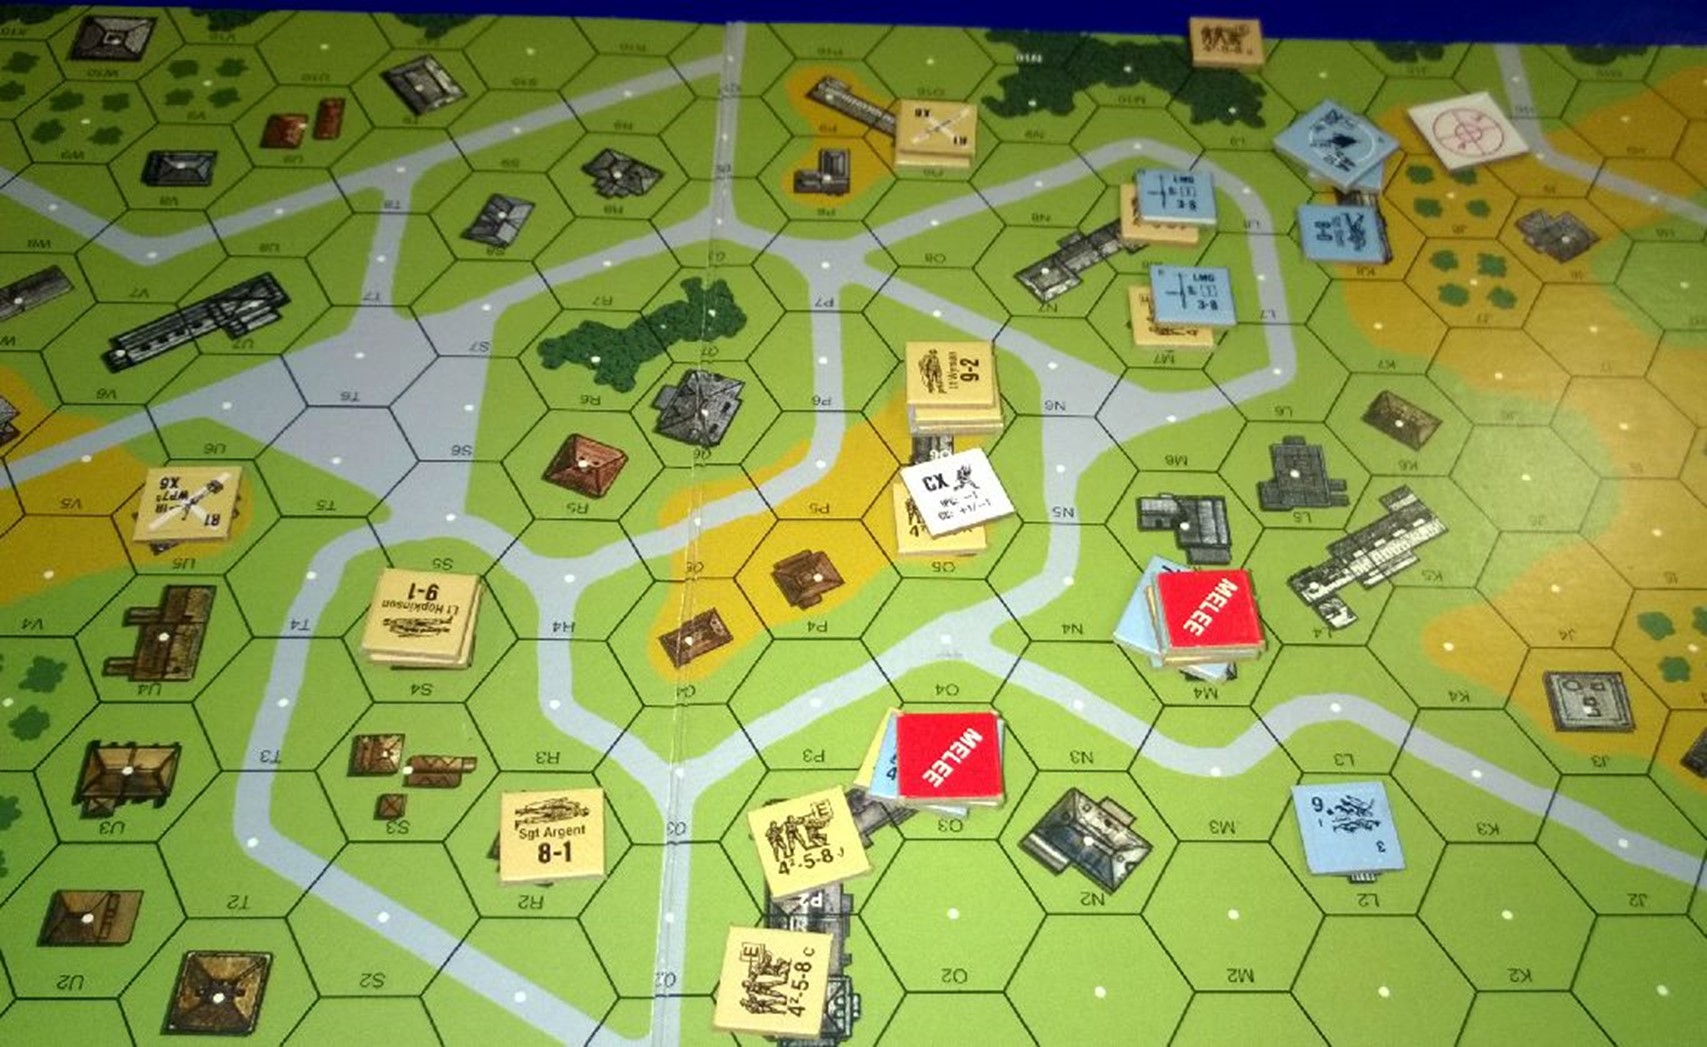
I made one error in this set-up: my mortar should actually be placed in V5 as it shouldn’t be able to fire from the building. I was thinking as I set it up that I’d have to move it, only to forget entirely that it was in a building – I only realised after the game was over. Given the way this game progressed, it’s unlikely this error made much of a difference.
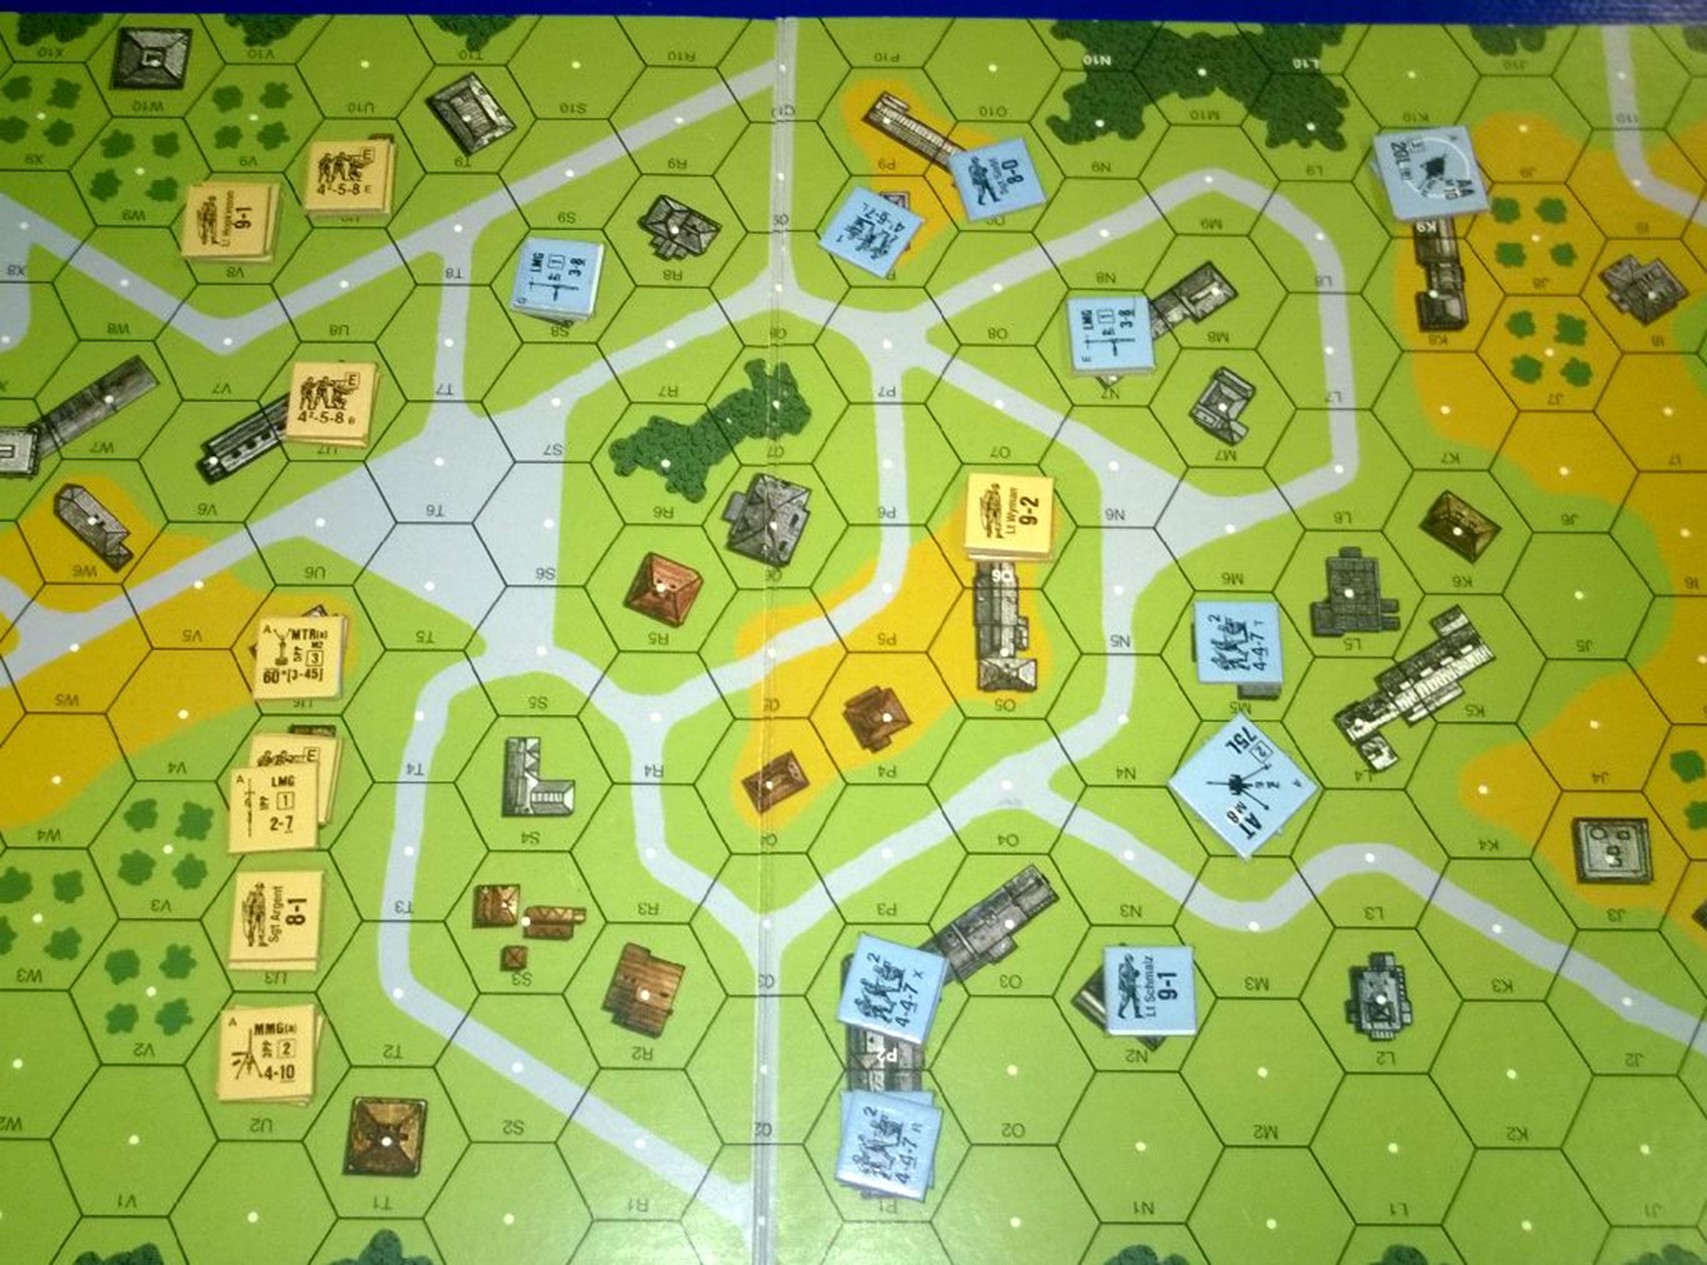
I had a lot of double-stacked troops able to form large fire groups. Michael set-up a large part of his force in the building P1-P2, while having a smattering of other troops to impede my progress. Michael’s biggest problems came from how effective my troops were: superior fire power, range and numbers mean a big game, and I was easily able to reach good firing points from which to attack the German troops.
The first turn was particularly notable for this. I began with two squads and a MMG in U2 (bottom left), which were able to attack his troops in P1 with a 12 fire power. Michael’s return fire power? Only 4, as he was just out of range. In fact, Michael didn’t get a chance to return fire, as my first attack broke both units in the hex; his troops retreated to N2, where he’d set up his leader in case this eventuality occurred. Michael’s other stack, in P2, was far more effective and broke one of my squads as it approached. No problem – it’d just retreat back to my leader (Sgt Argent – unlikely to be his real name!)
Up the top of the map, Michael’s LMG squad suffered a similar fate, with the combined fire from V8 and V9 (a 20 FP) broke them, and I moved up, approaching the first hill. One of my units got pinned in the street, but suffered no more penalising attack.
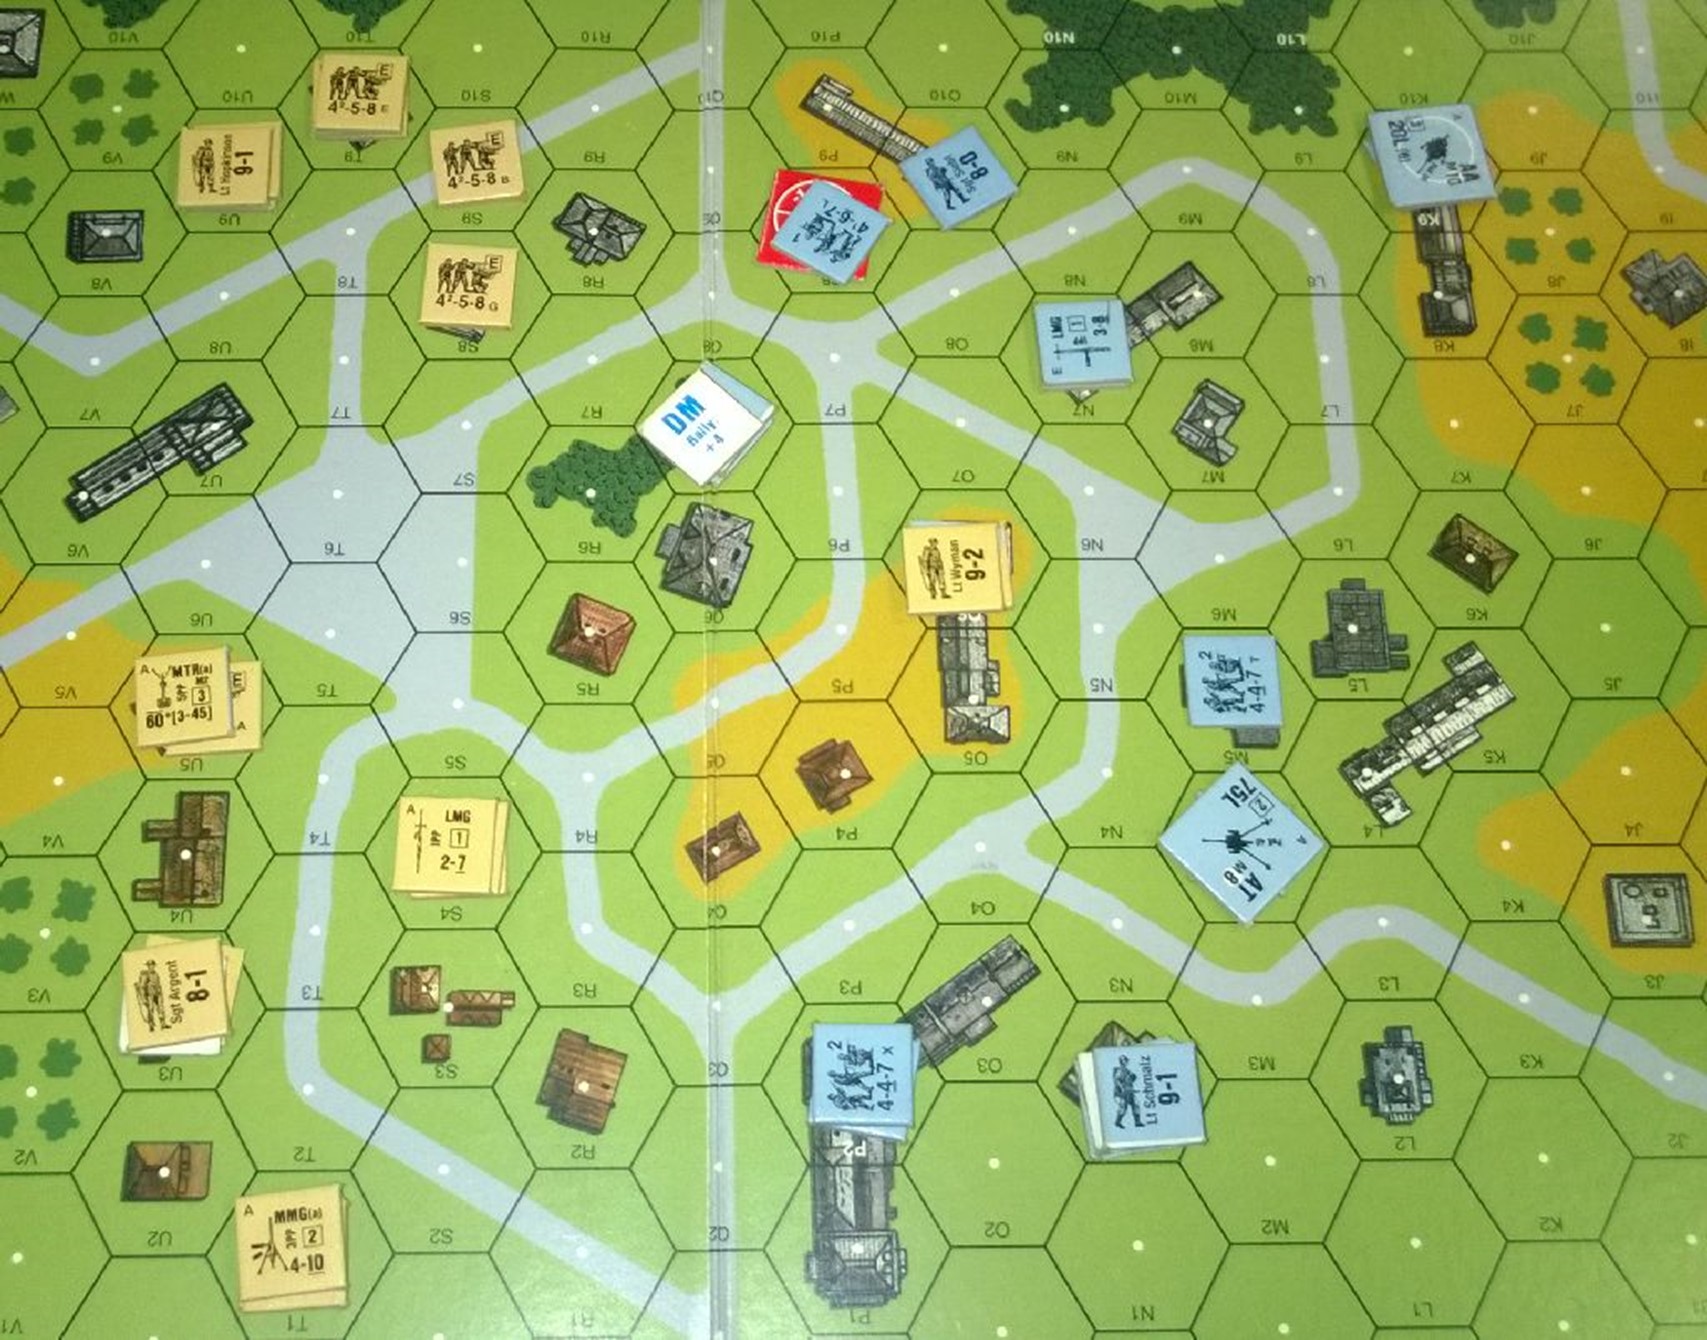
I had a half-squad with a captured machine-gun in the castle – O5-O6. The machine-gun ran out of ammunition with its first attack, but the 9-2 leader allowed even a half-squad to lay down useful fire. Michael was inaccurate with his fire, but my MMG squads in T1 were able to break Michael’s other troops in P2 and cause them to retreat. The units on that side rejoiced, and prepared to advance – although they were wary of the Anti-Tank gun in M4. (Michael had chosen not to set up the Guns using Hidden Initial Placement, which could have caused a few nasty moments for me).
Good rolls – and they were very good – on my part allowed me to break the units on the top hill (P9), and move up to surround it and some of the broken German troops. Michael was firing at the troops in the castle with his anti-aircraft gun now, choosing to ignore the IFE ability in favour of a slightly better chance of actually affecting my troops, but his rolling was poor for effect and they were able to shrug off the attacks. With my MMG squads claiming P1, I was now able to fire on his rally point of N2 (down the bottom of the map, with his 9-1 leader), and I hoped to make a speedy end to this scenario.
However, the turn I’d been moving my men up had been a turn I hadn’t been able to fire on Michael’s broken troops, so most were no longer under Desperation Morale and so were able to rally, Michael moving them back into O3; his original morale rolls had been poor, so I was only looking at a squad and two half-squads. Michael’s turn otherwise saw a lot of firing for no effect, on both sides of the battle.
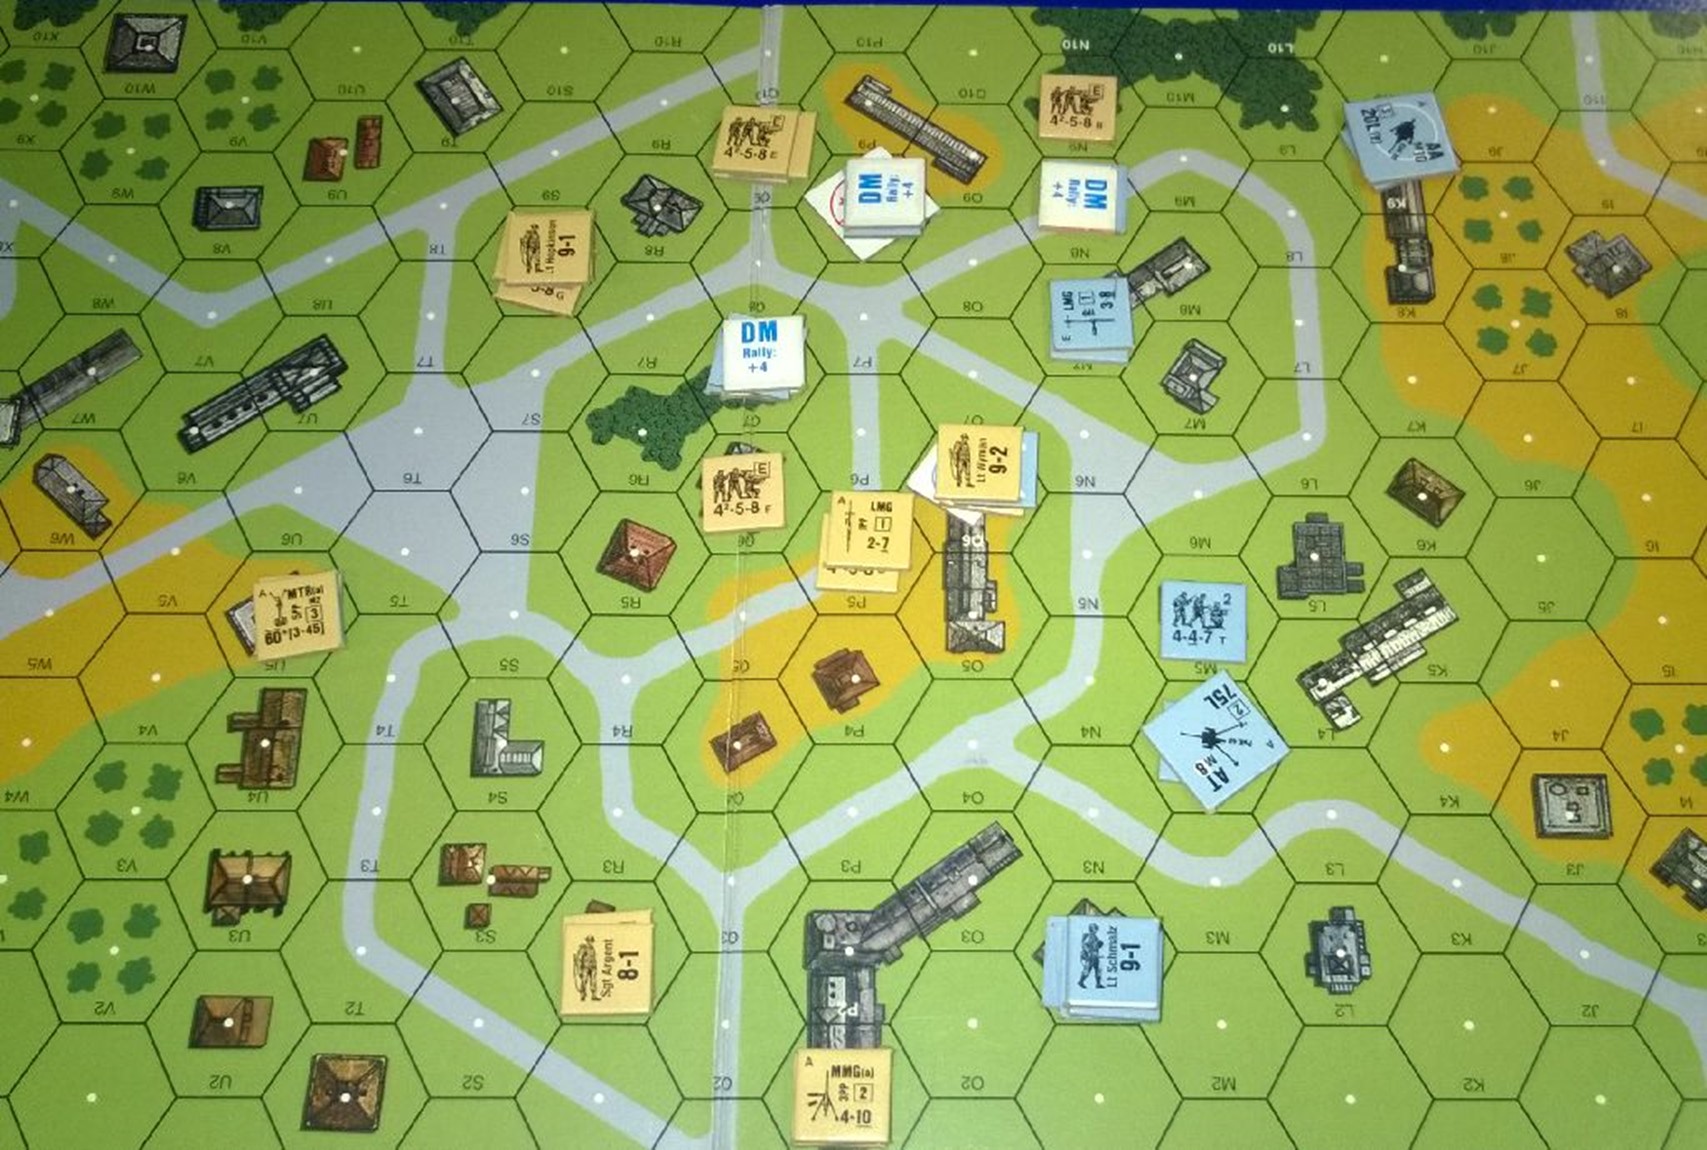
My next Prep Fire phase was astonishing: so many low rolls. We joked that I was now using the pair of dice that Michael had used against me in our last game; in fact, at one stage I even swapped the dice around, but my good rolling continued, although it must be admitted that the high fire power of my attacks made a lot more “poor” rolls into good ones, and the 8 morale of my units made them very hard to break. By the end of the Prep Fire phase, Michael only had two troop counters on the map which weren’t broken – and one of those was in melee! I continued my advance, even speeding the leader and his squads from the top of the board down to the bottom (to O3), where it menaced the broken units in N2.
Michael did have one second-line squad left in that building (N2), and that was able to break my troops, forcing them to retreat back.
I began to move up to Michael’s anti-aircraft gun, moving around the woods and staying away from point-blank range. My half-squad in the castle rushed down into the street, towards the gun crew that Michael had rallied, intending to partake of close combat with it, but I just wasn’t able to make it this turn. Michael had very few active troops at this stage, and I just needed to capture one more multi-hex building to have my victory conditions.
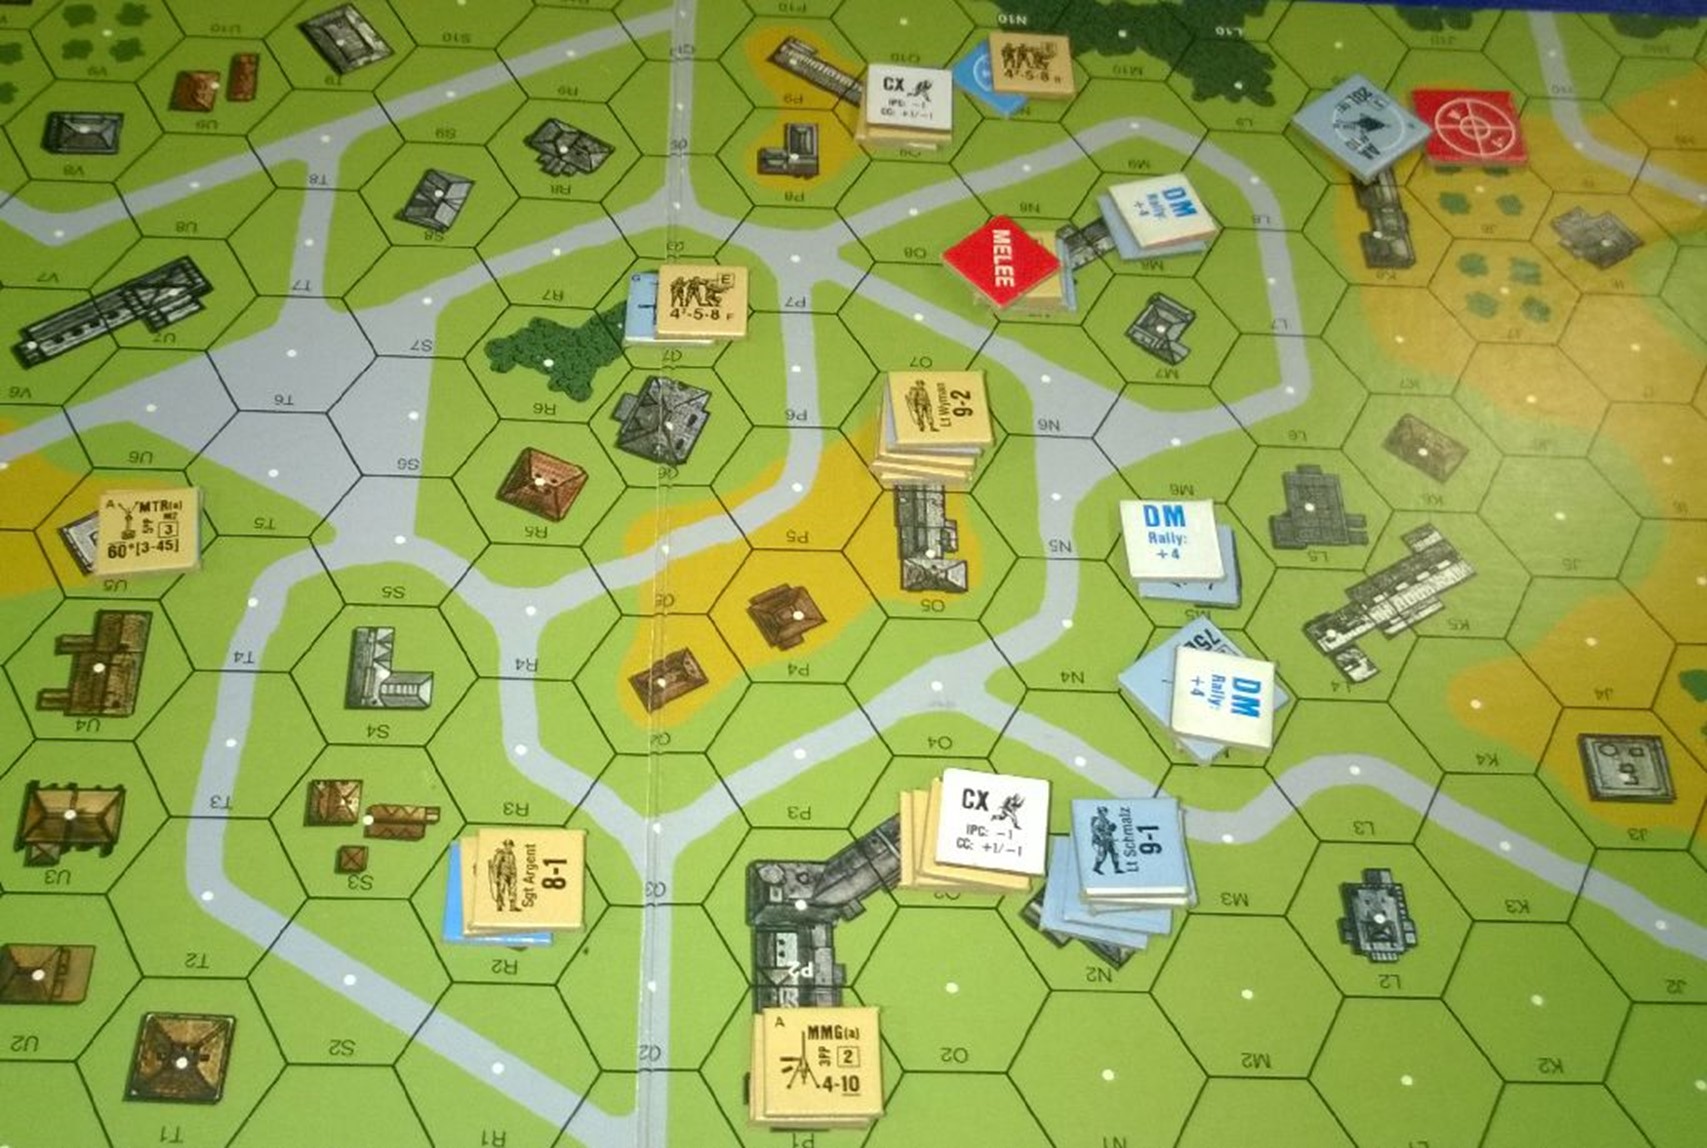
I’d managed to reinforce the melee in N7, and that ended in my favour. Michael’s anti-tank gun got in a good hit on my broken units in R2, and they took casualty reduction and routed further away. Both my MMG and mortar also broke this turn, but that still didn’t change how many troops I had on the board: there were a lot of them!

Continuing to move up my troops, I was able to put two units (both with captured German light machine-guns) in the buildings under Michael’s AA Gun, and put a fair bit of fire-power to bear on the Gun. My half-squad advanced into melee with Michael’s other crew, and Michael, despairing, moved up into melee with his remaining squad and its leader. Neither of the melees resolved that turn, but I now had the four multi-hex buildings I needed to win. There was still a full turn to go, but Michael, looking over the board, conceded at this point: it was pretty much impossible for him to get back into the game.
After a few games where Michael has held the upper hand, it was nice to have a game where I won. This wasn’t the most hard-fought of results, but I’d take any victory I could!
With this scenario, Michael and I have finished all the Starter Kit #2 scenarios; we’re now moving onto a few of the Operations Magazine scenarios (S17, S18, S19) before we reach Starter Kit #3 – and tanks! With any luck, we’ll get in another couple of games this week.
Legio Patria Nostra (The Legion is our Fatherland) is the motto of the Foreign Legion, who were fighting here.
This game took us about 90 minutes to play.