
Most of the Starter Kit scenarios that Michael and I have been playing are quite short, although the later SK3 scenarios with tanks are taking us longer to resolve. However, this scenario, the second-last scenario in Starter Kit #3, took us a much longer time to play through: almost 5 hours in total, split between two Friday afternoons. (I recorded the location of all the units and set the scenario up again between the sessions).
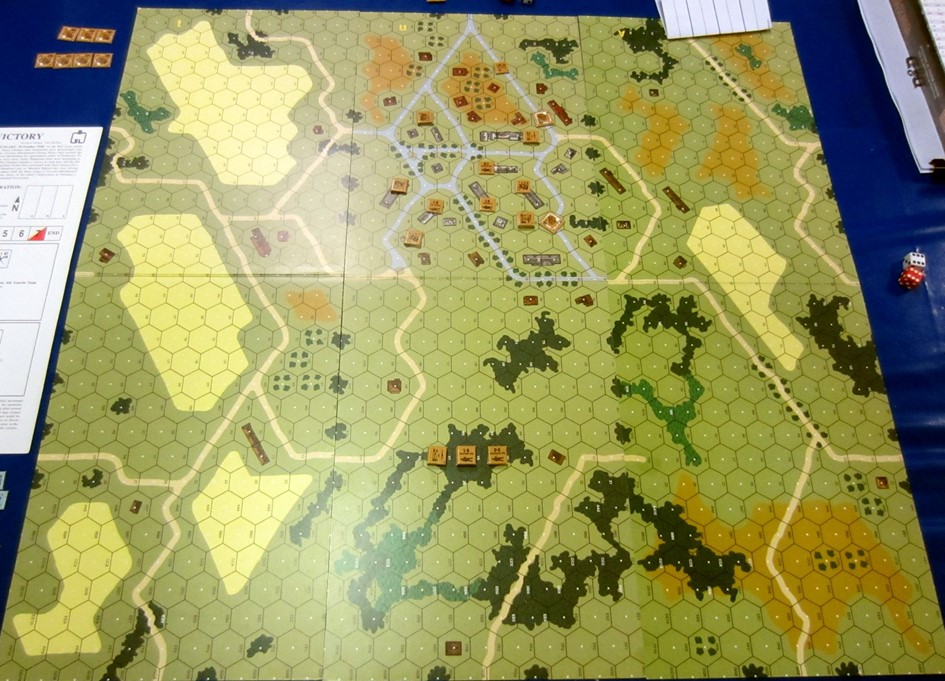
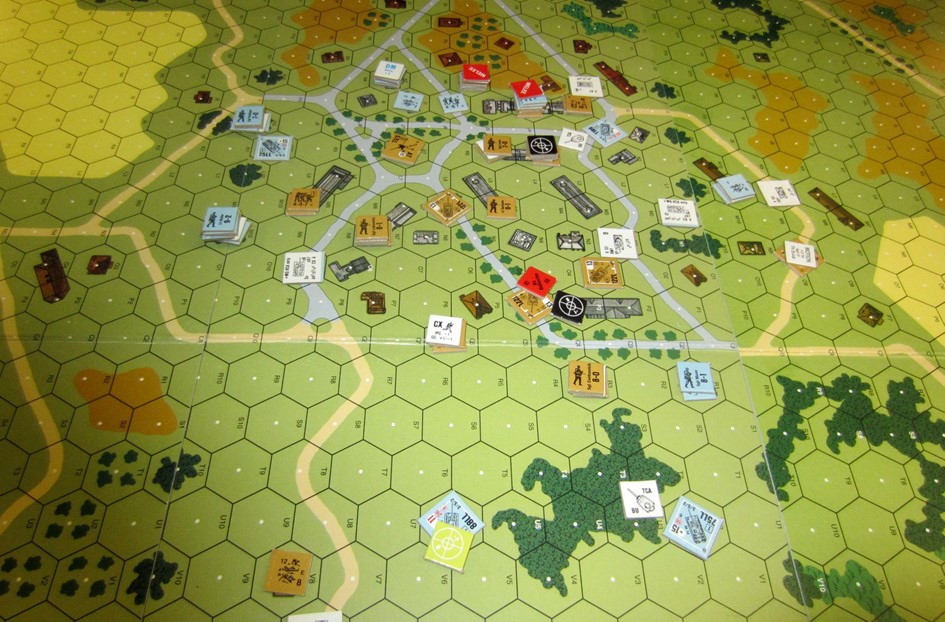
Set in Hungary in 1944, this action saw the German player trying to capture nine or more multihex buildings. Against them was a force of Russian soldiers, AFVs and Guns. Michael chose to play the Russian defenders and I played the German attackers. The scale of the battle can be seen from the map: three boards lined up together, with all areas playable on the boards. The Russians began with 16 squads, 1 Gun and 2 tanks and with 7 more tanks entering on Turn 1. The Germans were assaulting with two waves: 11 squads and 3 tanks from the east and 4 squads and 5 tanks from the west. Before we began, I secretly selected which group would arrive on turn 1; the other group would arrive on turn 2.
North is towards the bottom of the map as I saw it.
I chose my tank group to enter first, sending some of them to assault the village while I sent the others to intercept the Russian tanks that would be approaching from the north. Michael, as I hoped, moved most of his tanks to deal with mine while only sending two tanks up towards the village.
The first sign of that brilliant Russian engineering came as Michael lost the first of his Main Armaments on the tank to a malfunction…
It was now time for my infantry to arrive in force, and they moved quickly across the unplowed fields from the east towards the village. Michael didn’t have that many troops that could slow their advance, especially I used the cover of the hills and treeline as much as possible to impede his lines of fire.
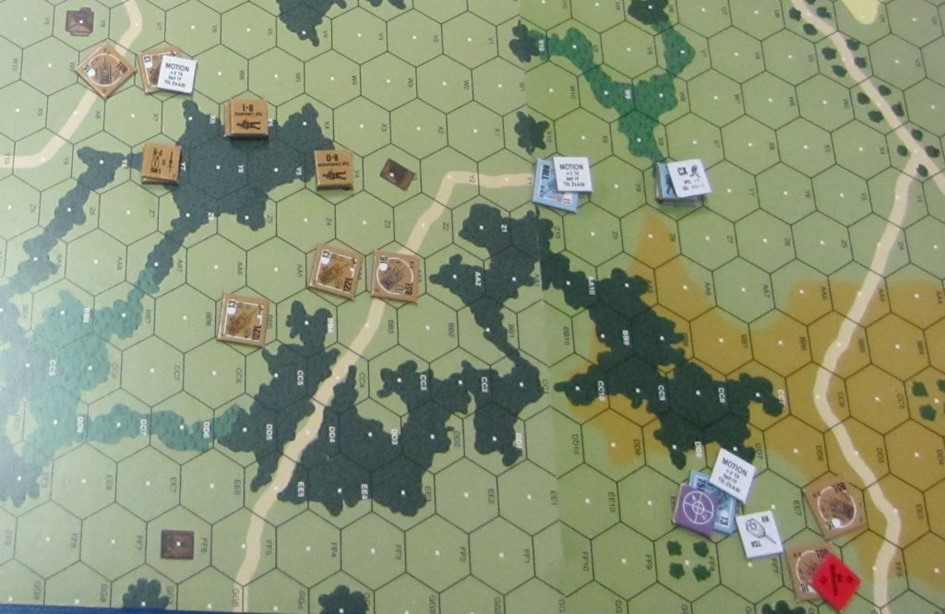
Meanwhile, a lucky shot from one of his tanks destroyed the first of my Pz IVJs. I wasn’t that impressed with that. At the north of the map, I moved my infantry into the woods so they could use their PanzerSchrek and PanzerFausts against Russian tanks that got too close.
The town in the south was now surrounded by my units, but the way in would be difficult, especially as Michael revealed his Anti-Tank gun and began to fire at my tanks!
The second of my Pz IVJs was destroyed by Michael’s T-34 M43 in the town, but I was able to take out a couple of Michael’s tanks with my anti-tank weapon-equipped infantry and my own tanks. Michael moved more of his tanks towards the town to defend it better.
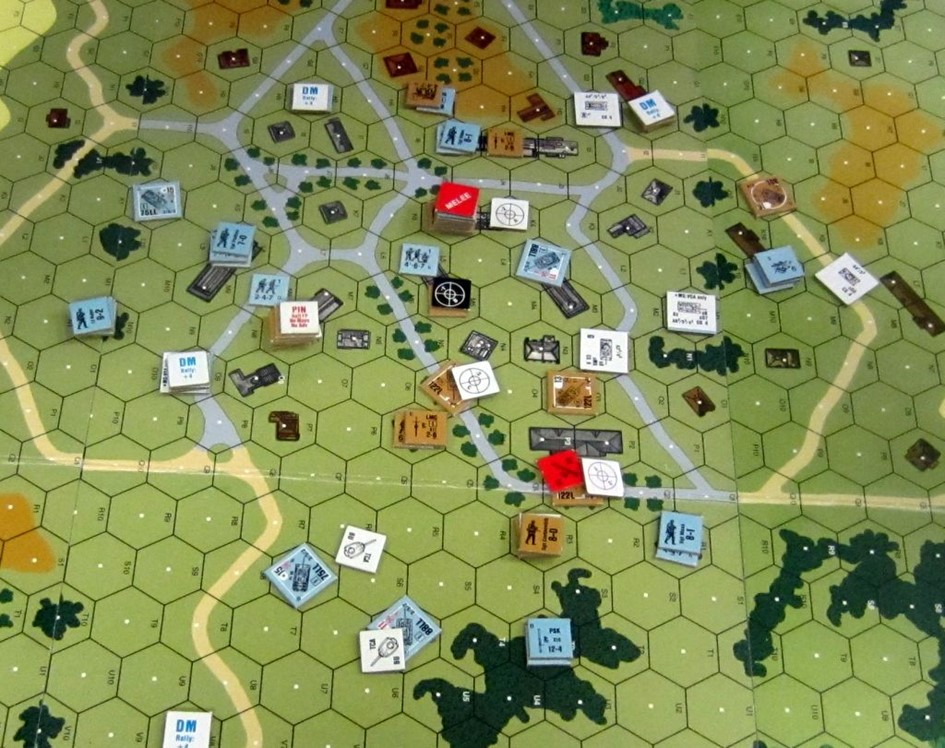
The tank battles were proving very important, and I was beginning to gain the upper hand in them as more and more of Michael’s AFVs fell to my Tigers. It was tough getting my infantry into position, but Michael wasn’t able to cover all the approaches and the bulk of my men swarmed over the hill to the south-east of town and began moving to the centre-south hill from where they could make a determined push for the centre of the town.
We were in the situation now of Michael having most of his forces defending against an encircling enemy; it was a position I was far more happy he was in that me!
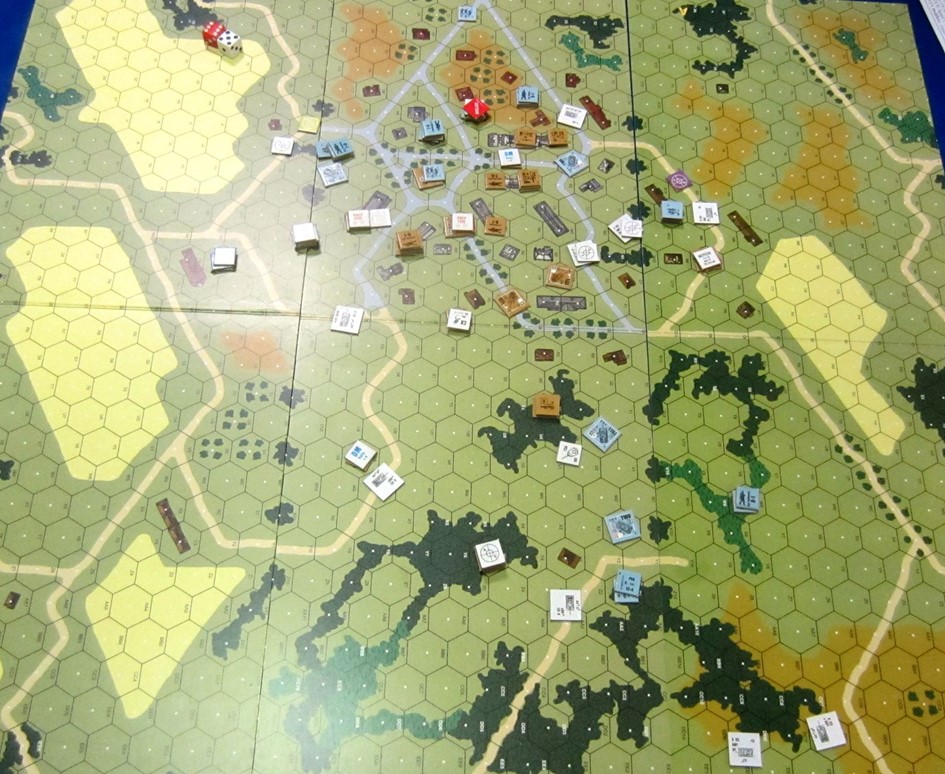
I was very glad to neutralise Michael’s Anti-Tank gun, forcing its crew to flee to a place where they’d have some hope of rallying. As my encirclement constricted around the town, the places to flee became fewer and fewer. Breaking adjacent to a German stack or in Open Ground was becoming a certain path to elimination as all rout paths would move closer to a Known enemy!
However, Michael still had some dangerous tanks in play – even if they’d occasionally lost their MAs to malfunction. However, his lesser tanks were being chewed up by the Tigers – he’d hit, but he’d have no possibility of even denting the Tiger. In the full ASL, he’d be going for immobilization hits, but there wasn’t that option in the Starter Kit rules.
Even so, Michael had enough infantry about to make it hard for my eastern soldiers to advance, although I was very glad to get into some melees with my soldiers flanking from the south.
I made use of any Pin results I got to advance more of my troops when Michael couldn’t use defensive fire at full effectiveness; it still was a risky manoeuvre and one that caused a few of my troops to retreat broken back to a leader, but the pressure was beginning to tell on Michael’s troops.
I drove one of my tanks into a building (amazingly, it didn’t get bogged) to aid me control it. I had to go searching through the rules to find the rule that said that tanks couldn’t gain control of buildings (they can temporarily gain control of the hex as long as they’re in it, but they can’t gain control of buildings).
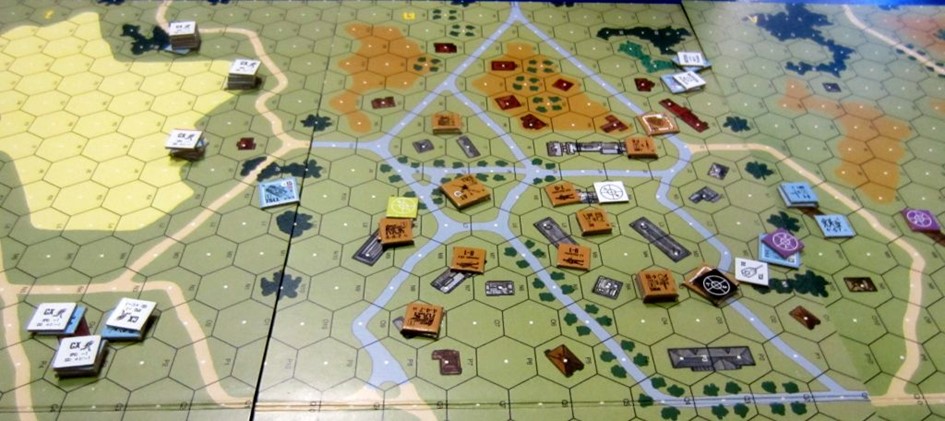
My combined arms attack was now reaping its full rewards, and Michael’s infantry units were almost destroyed.
The trouble, as always, came down to time. Getting control of nine multi-hex buildings was difficult! Michael and I counted and recounted how many buildings each of us controlled. Even as the dust settled on the battlefield as the game ended, I wasn’t sure who had won!
It didn’t help that a multi-hex building to the north had been reclaimed by Michael…
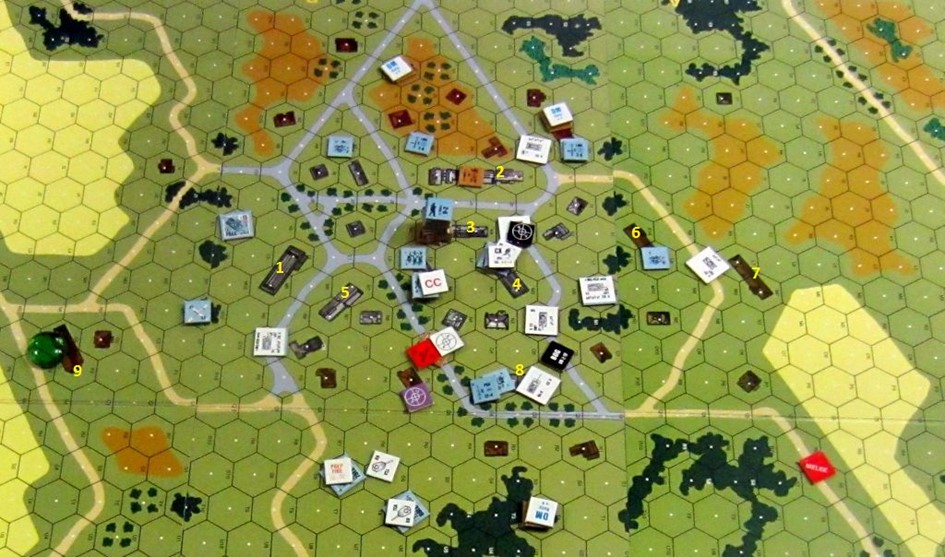
The final count: I just controlled nine buildings (and it was likely that the tenth building would also fall under my control if we resolved the Close Combat there).
It had been an intense battle, but I had finally come out on top.