
 It has been a while since I did much solo gaming – I’ve been blessed with a lot of friends eager to play games, and my writing about D&D on my blog has taken up most of my remaining time. However, I’m hoping this year to play a bunch of the Great Battles of History scenarios, and I was able to get The Great Battles of Alexander onto the table today and played through the Chaeronea scenario for a second time.
For those unfamiliar with the game, it is a hex’n’counter wargame by Mark Herman and Richard Berg. This edition of the game comes with about 20 scenarios, which vary in length from about an hour to four hours. This scenario is meant to be one of the longer ones, but I’ve played the game enough that the rules are pretty simple for me to apply.
They’re likely to be a little fiddly for people playing for the first time, though. The basic rules are pretty simple: You activate the leaders in order from lowest initiative to highest initiative. Each leader can activate a certain number of units (in this scenario, from 36 depending on the leader). Units have a number of movement points to spend (typically 4 for infantry, 8 for cavalry), and once shock battle begins, suffer cohesion hits until they rout. Battle is moderately complex, and is determined by a one or two d10 rolls for each battle, with the exact results dependent on the relative weaponry of the units and whether they’ve managed to gain a positional advantage: attacking from the rear or flank is much better than attacking a phalanx from the front!
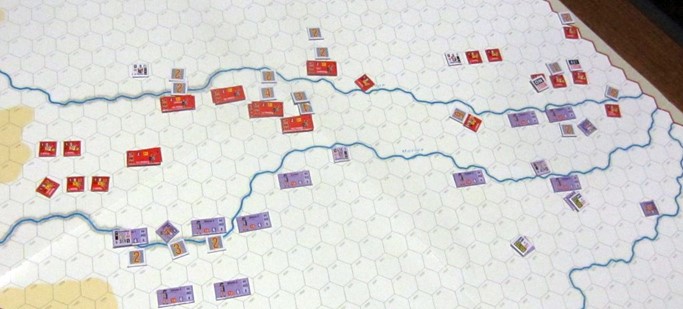
Greeks are purple, towards the bottom of the picture. The Macedonians are red and to the top. The longer units are Macedonian Phalanxes and Greek Hoplites, with the Phalanxes being superior to the Hoplite.
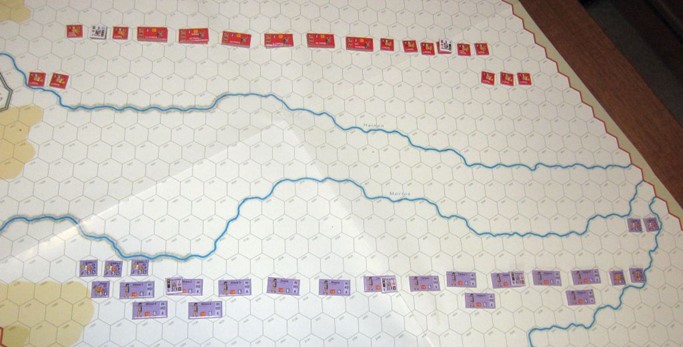
The scenario has Philip II and his soon-to-be-famous son Alexander facing a badly-organised coalition of Greek forces. The first few turns (about four) were taken up with manoeuvring on the flanks, with the Peltasts of both side being used in a little H&D against each other, slowly whittling down at the cohesion of those units. (Peltast units are named for the shield they used, but tactically act as skirmishers armed with javelins who run forward, throw them, then run away).
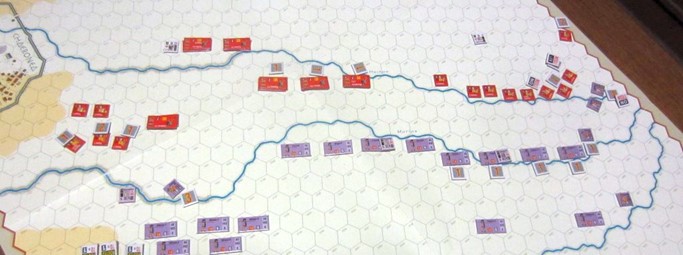
Slowly the Hoplites and Phalanxes began to move up, greatly inconvenienced by the steep-backed streams that were everywhere on the battlefield. The Greeks had hoped to stay back, but the Macedonian Heavy Cavalry finally made its way up and routed their three Hoplite units, and so more troops were needed.
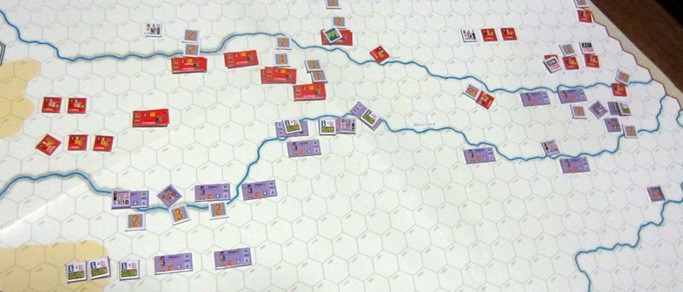
I was settling down for a long, involved battle, but I was very surprised by what happened next: Alexander manoeuvred his cavalry to rout the Peltasts on the right-hand side (per the picture), and the Greek attack in the middle went stunningly badly. It started well enough, with them routing one of the Macedonian phalanxes, but the Alexander sent in the cavalry to attack from the flanks, and Phillip II rallied his routing phalanx and went “attack, attack!” with his centre phalanxes… and that was enough to rout the hoplites.
And this was even with Alexander suffering a Die Roll of Doom that allowed a Greek commander to activate another time – unfortunately, the Greek commander failed to rally his fleeing units, and the attack he pressed wasn’t particularly successful, with the Macedonian Peltast units just withdrawing from the advance of the hoplites.
All the Greek units routed away. The Greek Peltasts could finally reach the far edge and so escaped. The hoplites just dropped their shields and melted from the battlefield. I counted up the rout points for the Greeks, and discovered that exactly 75 of them had routed: the exact number for victory by the Macedonians!
Well, that was one-sided! The Macedonians were greatly helped by the ability of their commanders to activate several times and remove cohesion hits from their units, but the Greeks had moved up their centre units without protecting their flanks, and had paid the penalty.