
Play in my Sunday night Waterdeep Dungeons & Dragons campaign has been somewhat erratic of late, as real life shows lots of ways it can intrude. Our previous session saw the group head north from Waterdeep to deal with a threat at Black Marble Quarry, as I mentioned in my review of that product. That saw some incredibly reckless actions from the paladin that resulted in his death. The party returned to Waterdeep and got the Order of the Gauntlet and raise him from the dead, but finally, the party were in a place where they felt happy going to Helm’s Hold.
What was in Helm’s Hold? Priests of Helm!
In a previous session, the group found an old tapestry showing an ancient order of Helmic Knights. They are now going to return it to the priests of Helm and ask about its provenance. It is a tapestry that dates from around the founding of Waterdeep – a long time ago. And the place they found it was a long-abandoned underground stronghold, but with worrying signs of an incursion by servants of the Aboleth.
Several plot threads are swirling around this, including the paladin’s personal story. He is a warlock/paladin with a Far Realm patron. This detail will become relevant!
A Salad of Slaad
This session dealt with the travel up to Helm’s Hold. I deal with most travel by rolling for random encounters, which simulates the dangers of a journey along the Sword Coast. North of Waterdeep is some dangerous territory! However, I occasionally choose the events or allow travel to proceed unmolested when there is a plot point to reinforce. Such it was this session, with two encounters planned.
The first encounter was as the characters made their way through the mountains just north of Waterdeep. As I was running this session on Roll20, I availed myself of some of the tile and map packages there, settling on Gabriel Pickard’s range – his Quick Encounters: Mountains for this encounter. As the party travelled along the road, a red, toadlike creature appeared before them!
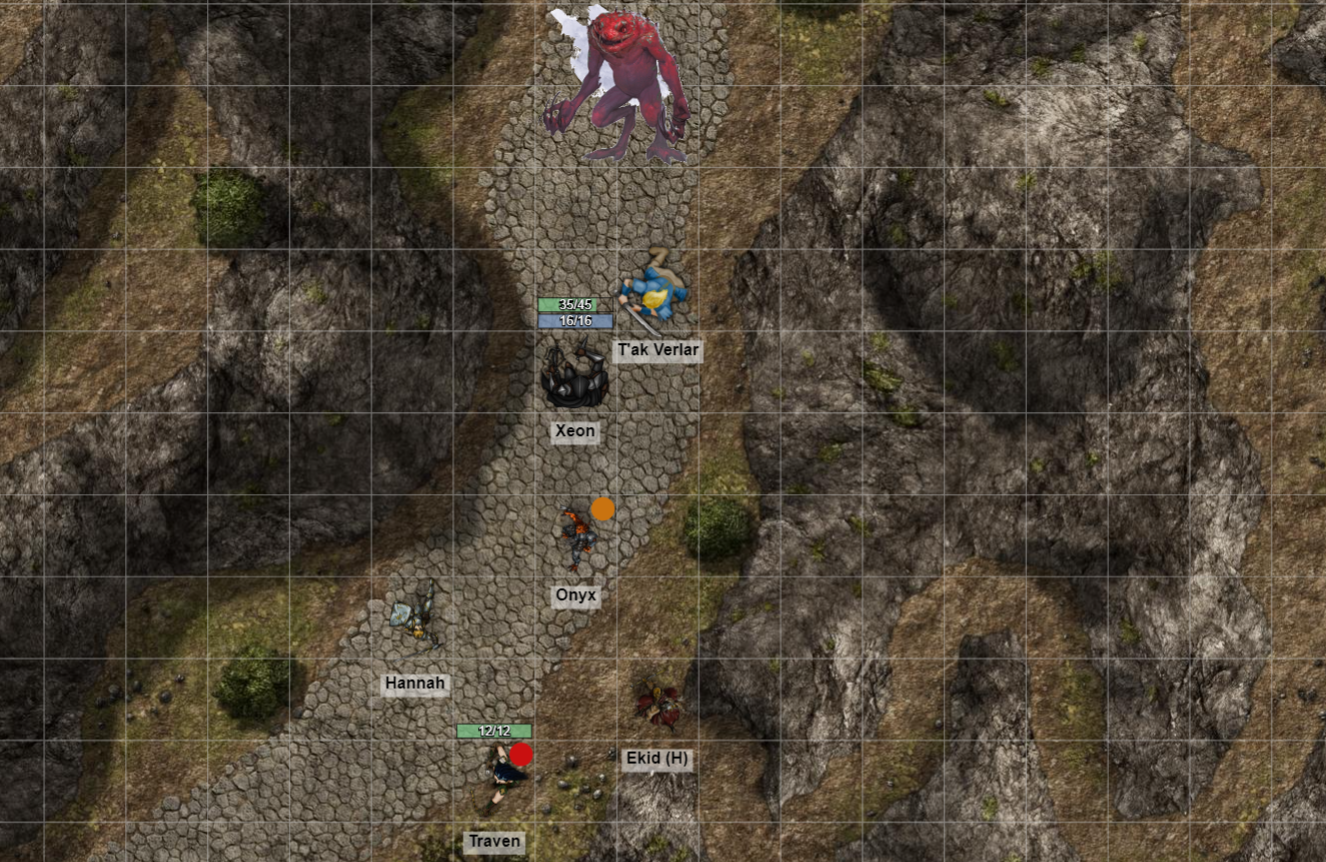
The characters performed well in this encounter, although a second red slaad appeared behind them, assaulting the poorly armoured rogue and wizard. When the fight ended, two of the characters had failed saving throws against the Slaad, but I had never identified the creatures as such. I just said that there was no immediate effect from the failed saves.
They checked the wounded characters and discovered the area around the (healed) wounds was somewhat reddish and inflamed. Disease? They proceeded as quickly as they could to the nearest cleric. Which, as these things go, was in Leilon.
By the way, isn’t the artwork for the map glorious? Gabriel Pickard is an incredibly talented creator!
We’re Off To See The Wizard, The Wonderful Wizard of Leilon!
If I had run this session a month before, Leilon would have been a ruin. However, for the past month, I have been running Storm Lord’s Wrath for my Wednesday group, and it describes Leilon. So, I suddenly had a wealth of material for the town. And I made use of it this session.
The characters wanted to find a cleric to heal their diseased companions, but then they saw the wizard’s tower in the centre of town. Upon learning of its provenance, which included a research laboratory on extra-planar creatures, they immediately wondered if it had a connection to the slaad that had attacked them.
It was not. There is another reason for the attacks!
They met the wizard currently in occupation, though. And they looked suspiciously at the art I had chosen for him. “Is he a Red Wizard?” asked the rogue suspiciously. “Is he bald? Does he have tattoos?” I answered no to all of those. Not all Rashemi wizards are Red Wizards.
Just most of them!
He revealed that he had noticed a tremor in his planar portal a couple of days ago when the slaad appeared, but no more than that. The players are still looking for an explanation.
They did finally find Merrygold, the cleric of Lathander, and he healed the disease the two adventurers had contracted. He also inquired why the paladin had not healed them himself. The paladin’s player quickly looked up the Lay on Hands ability and is now more knowledgeable about its effects!
A Second Helping of Slaad
Finally tearing themselves away from Leilon, the journey continued north. And, as the road passed through a small wood, more slaad appeared and attacked!
Red and Blue ones this time. This was a more dangerous encounter than the first!
One aspect of this battle was that the slaad were not immune to the poison damage of the paladin’s spear of the adder. His attacks were very damaging. Every so often he got it through his head to cast greenflame blade instead, which was not so good. However, the arcane casters of the group struggled with their elemental attacks, to which the slaad were resistant.
When the slaad attacked the fourth-level wizard henchman, the henchman has a bad day! (The players did well enough that I passed on making any loyalty checks – not that there was anywhere for the henchmen to run!)
Fighting in the open meant that protecting the less-armoured characters was difficult. To represent the chaos of the slaad, I randomly determined who they attacked from those next to them, reducing their effectiveness somewhat.
After the battle, the paladin used his lay on hands ability on those infected by the slaad.
No-one chose to search the area to see if there were clues to the slaads’ appearance. They just headed north along the road towards Helm’s Hold. I wonder if they missed anything.
At the end of the session, I described how the party could see Helm’s Hold rising in front of them. They had made it!
This was a relatively short session – about 2-1/2 hours as players had other commitments – but an entertaining one. With their arrival at Helm’s Hold, it is time to solidify some of the plot threads and give them a new overall quest!
Resources Used
Dungeons & Dragons Sources
Roll20 Marketplace
- Gabriel Pickard’s Quick Encounters: Mountains
- Gabriel Pickard’s Vile Tiles: Forest Mapper 1